



The complete guide
How To Choose And Fit A Room Divider Curtain Track
The problem with rooms that do two jobs
Plenty of homes have one space carrying two lives. The bedroom with a desk jammed against the wardrobe. The open-plan living area where a bed sits in the corner because the flat only has one room. The spare room that became an office, then a nursery, then both. None of these are design failures. They are just what happens when square footage costs money.
The usual fixes are poor. A folding screen falls over and only covers about a meter. A bookcase eats floor space and blocks light. A stud wall needs a tradesperson, a permission slip from the landlord, and a decision you cannot undo. Meanwhile the actual need is simple. You want to not see the bed while you work, or not see the desk while you sleep, and you want that to take two seconds.
A room divider curtain track is the honest answer to that. A rail goes up overhead, a curtain hangs from it, and you pull it across when you want the two halves separate. Open, it stacks to one side and the room is whole again. It costs a fraction of building work, it leaves nothing behind but a few screw holes, and it goes up in an afternoon.
How a ceiling curtain track actually works
The important difference between a track and a curtain pole is where the weight sits. On a pole, rings hang over the top of a round bar and drag across it. Friction is high, the noise is a rattle, and a heavy curtain bunches as you pull.
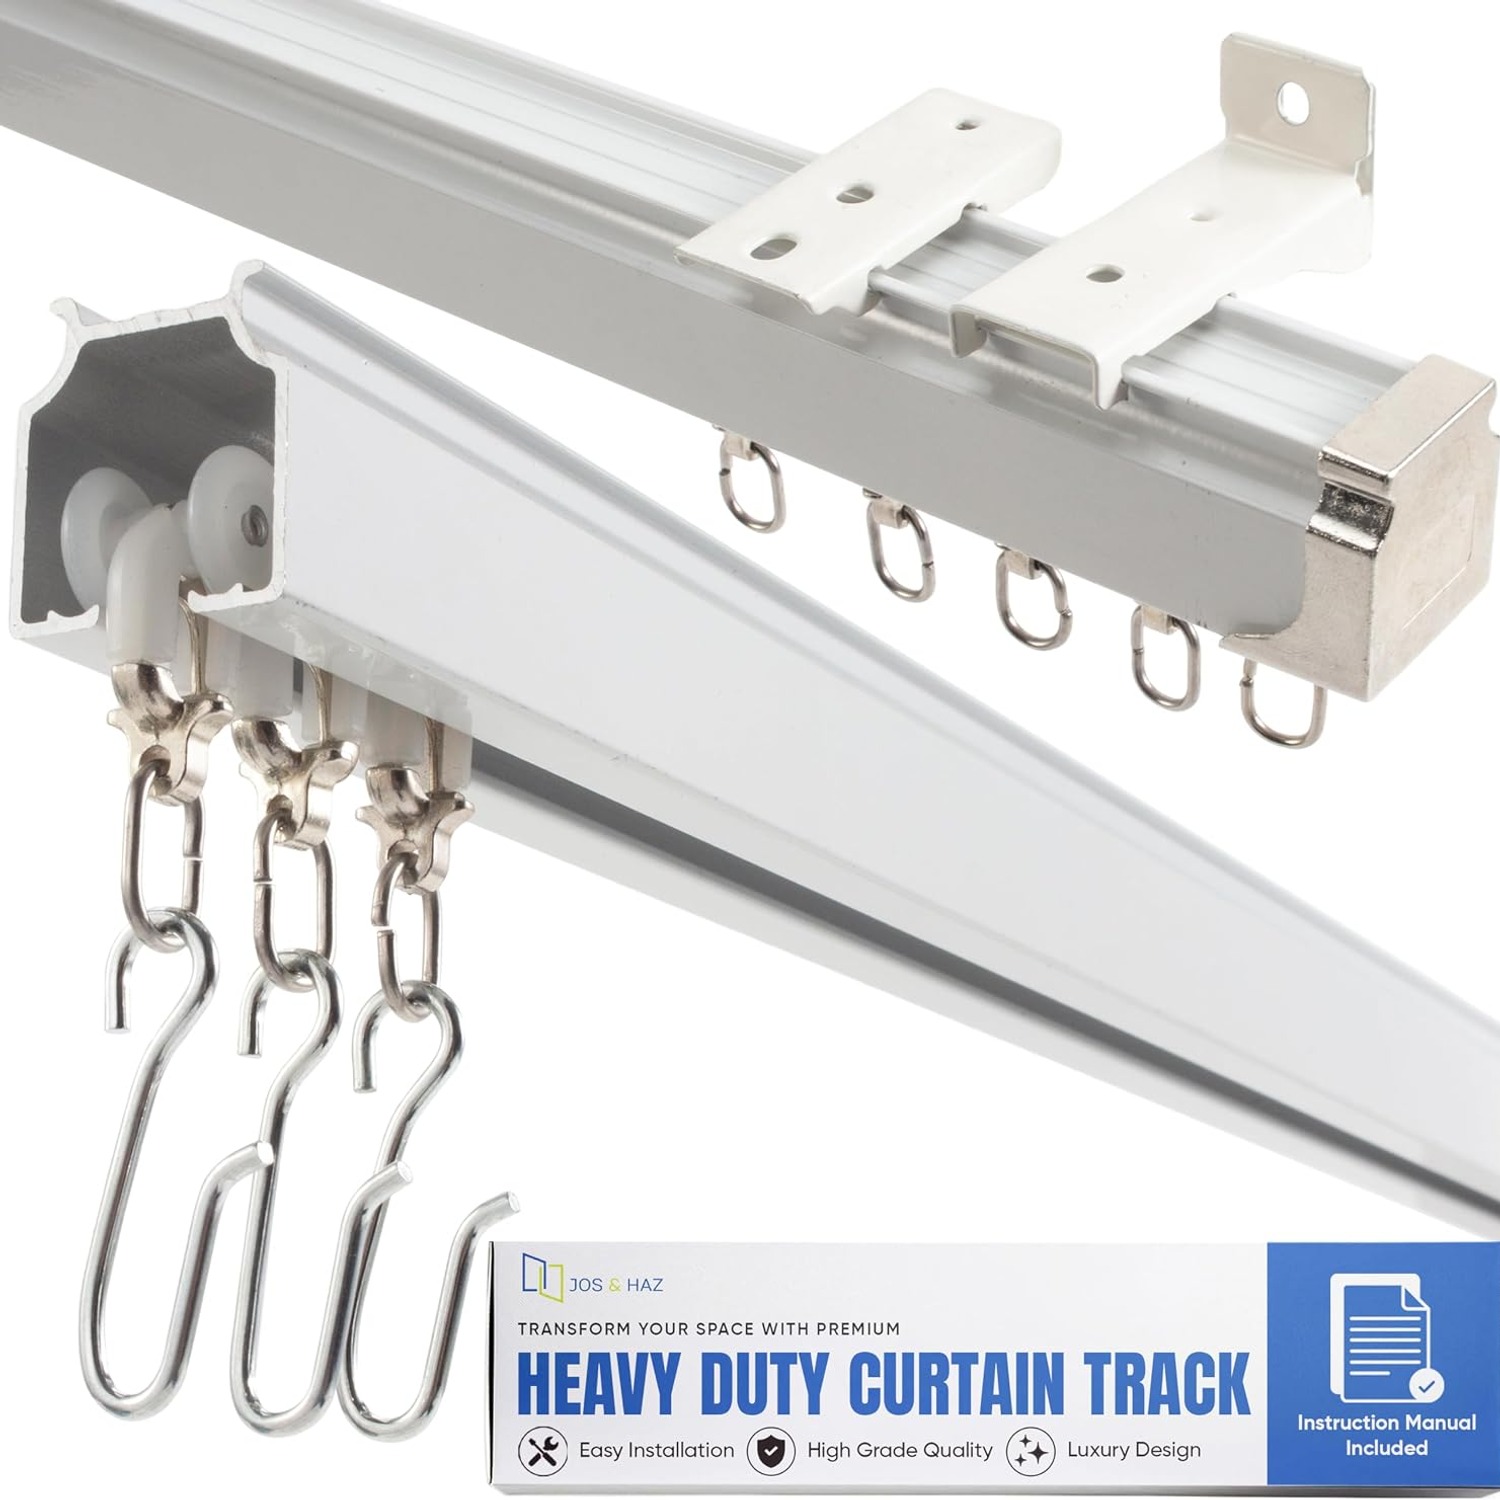
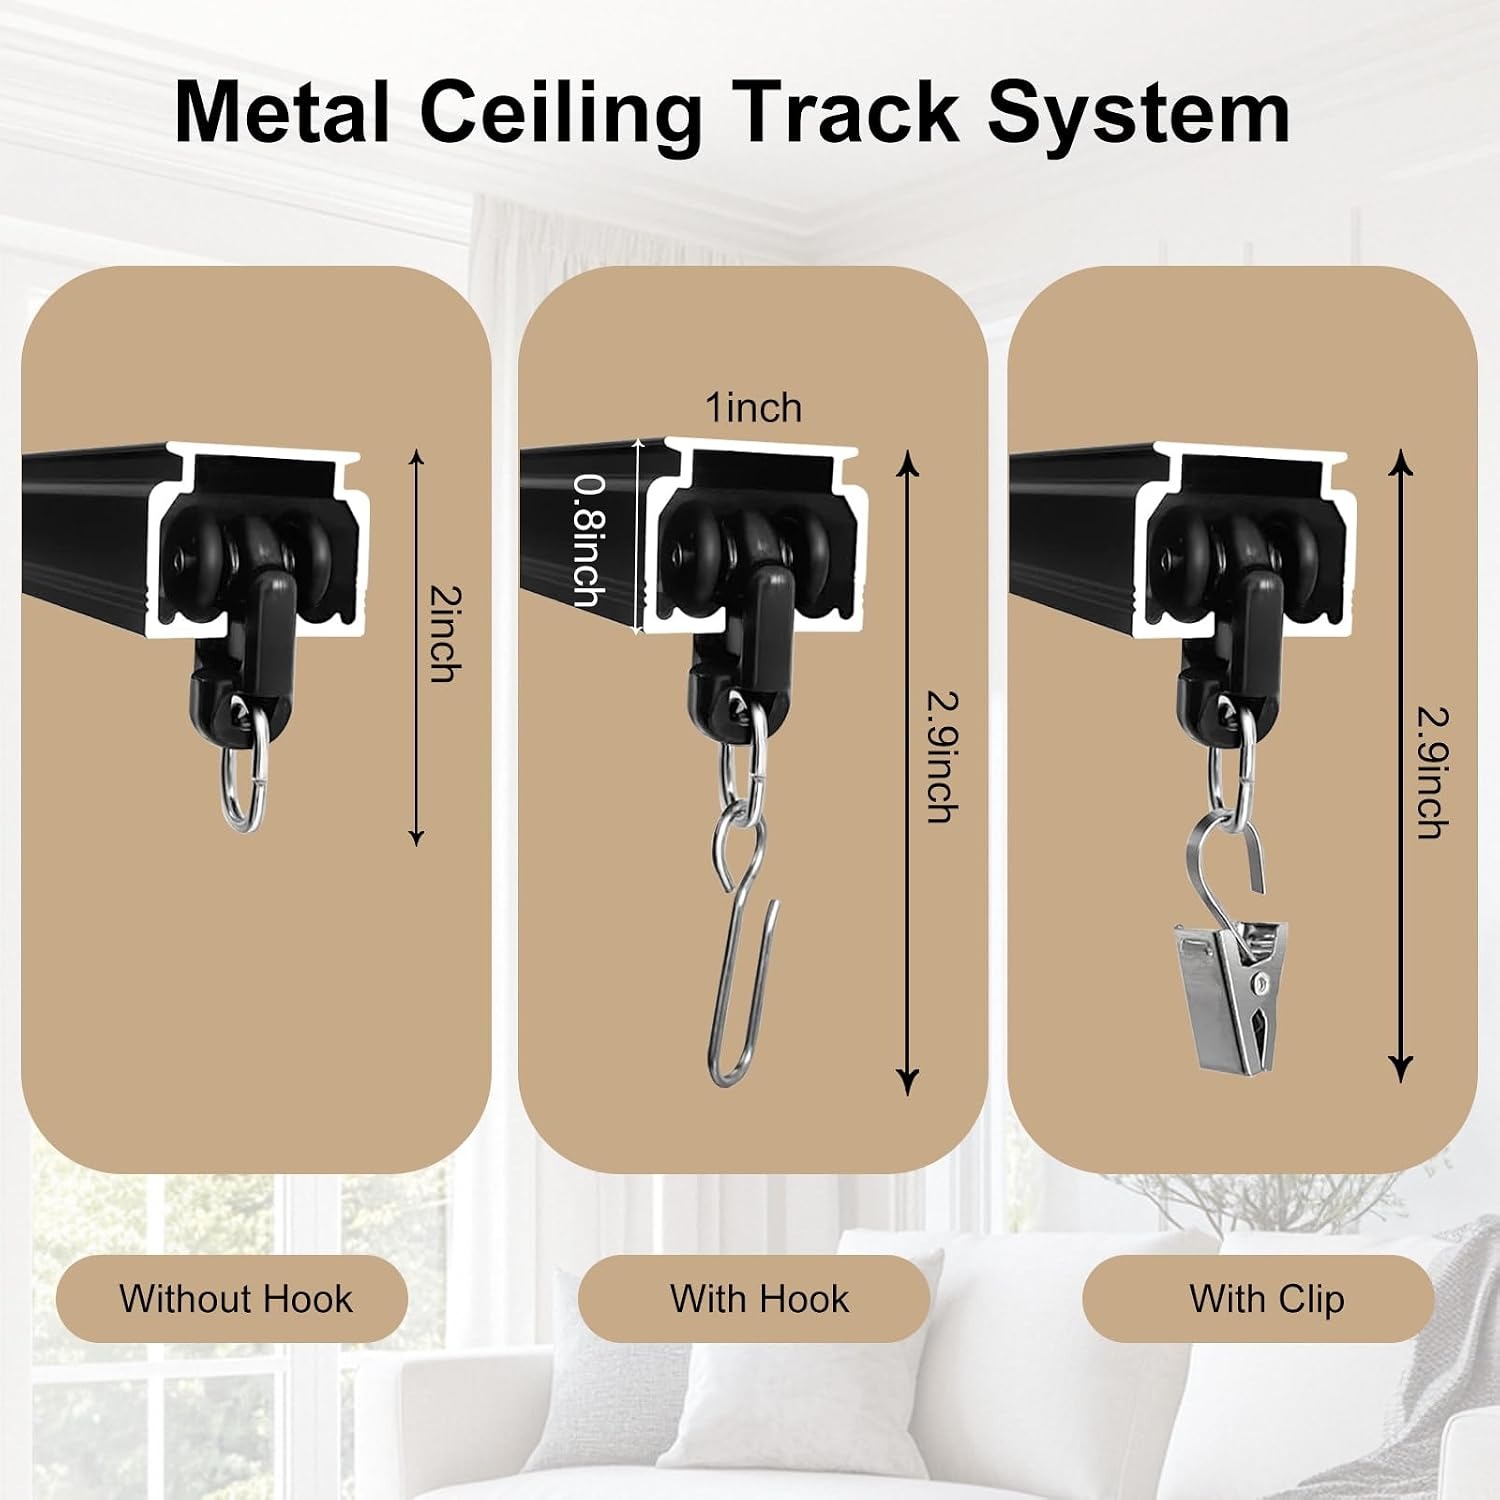
A track puts the carriers inside a channel. Rollers sit in that channel and run along it, carrying the curtain from below. The load goes straight up into the rail rather than sideways, the running surface stays clean, and the pull feels like one continuous motion instead of a series of tugs. That is why hospitals, hotels, theatres and photo studios all use tracks rather than poles. They get opened and closed dozens of times a day and nobody wants to hear it.
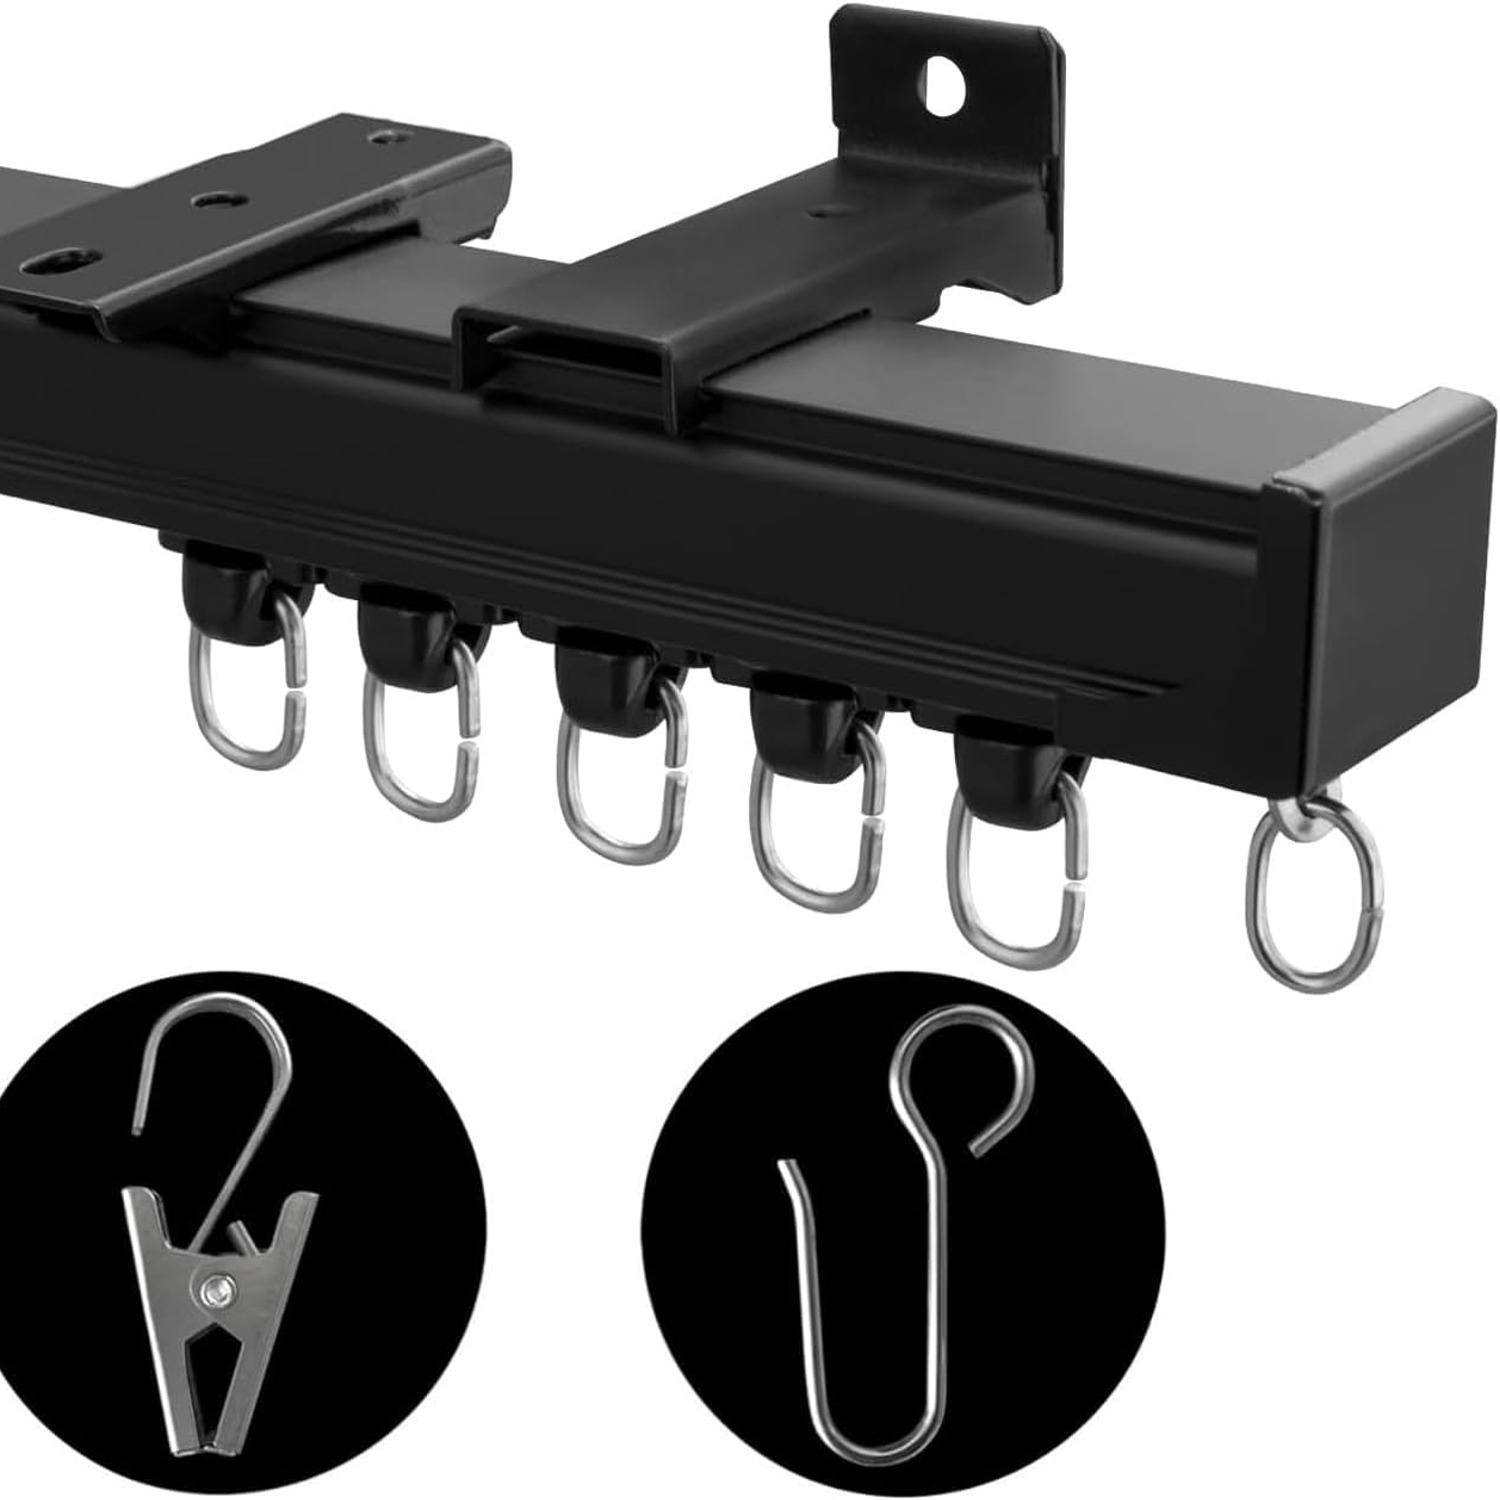
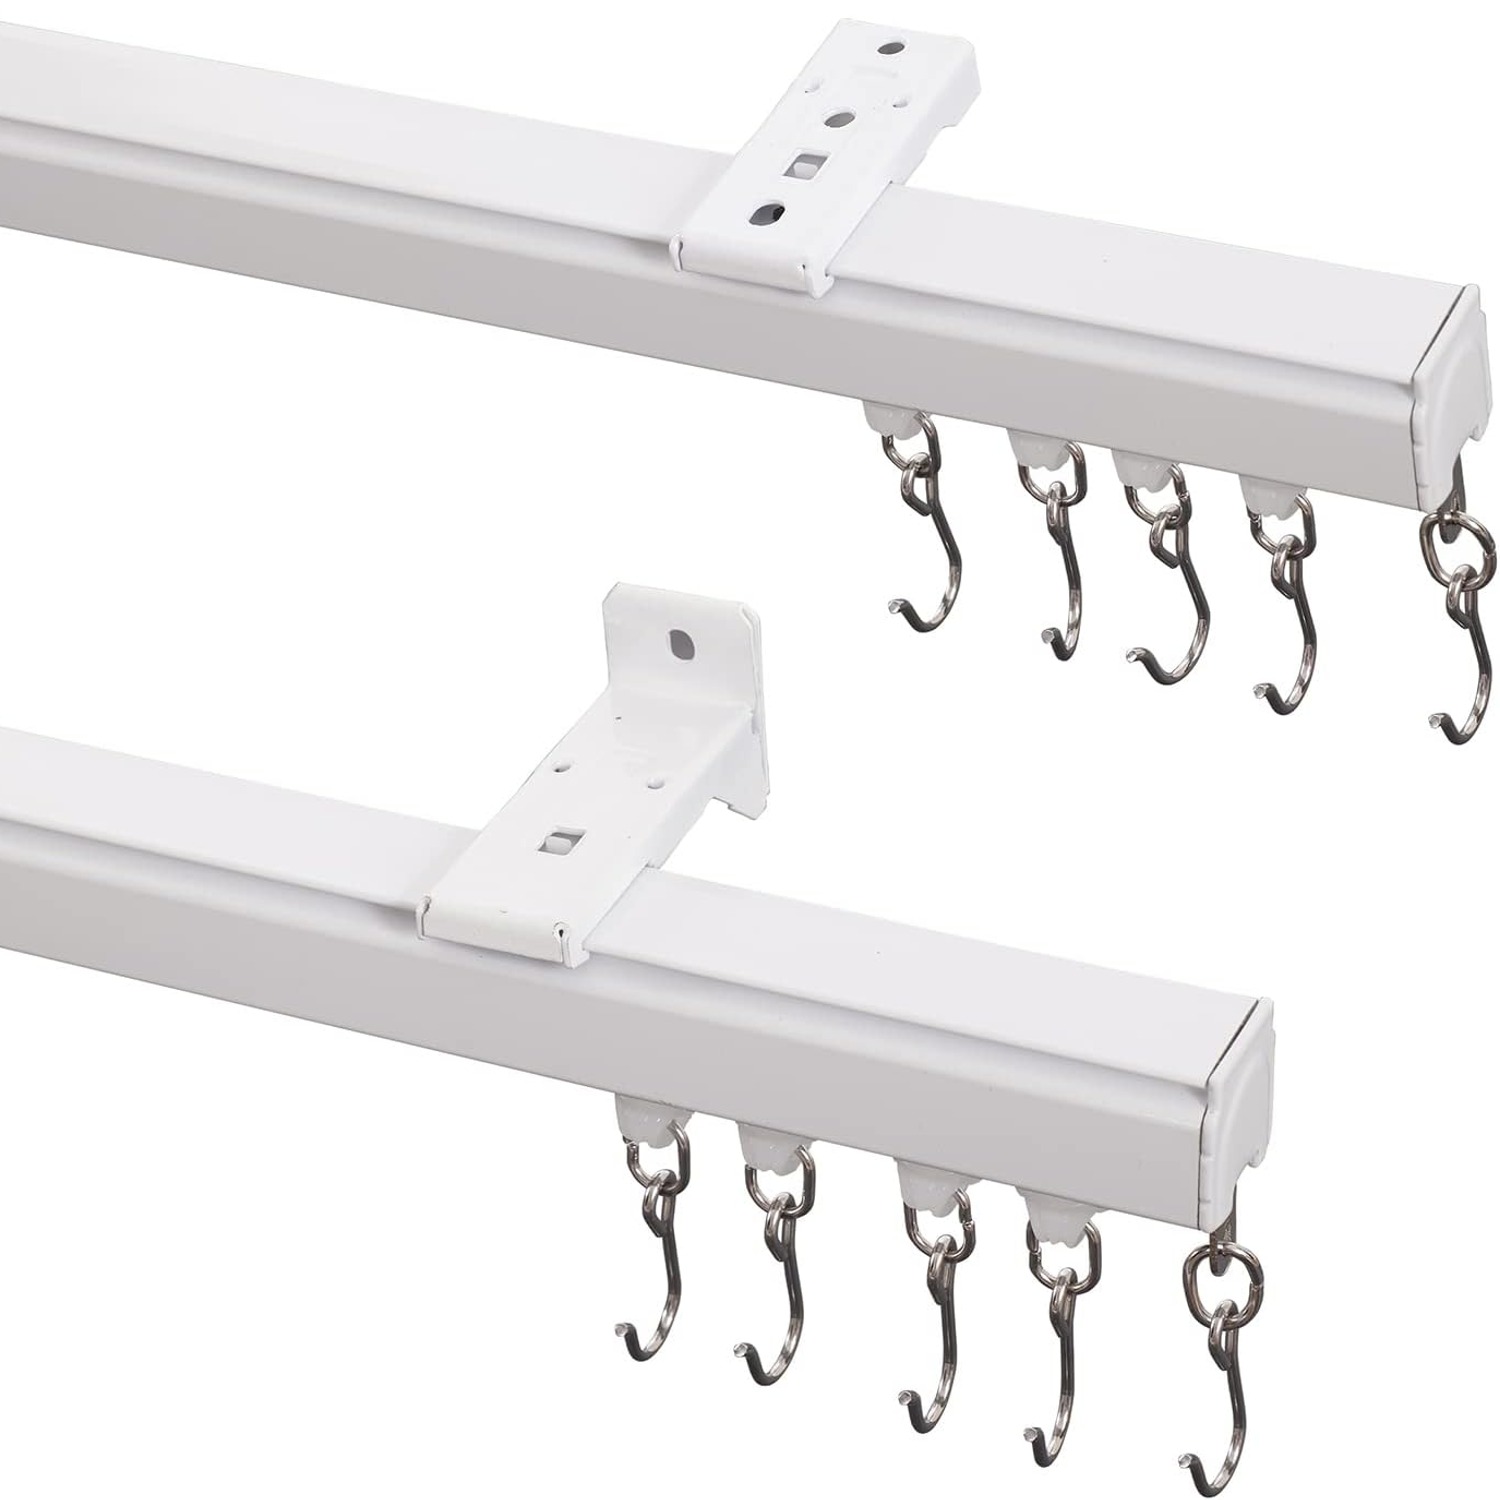
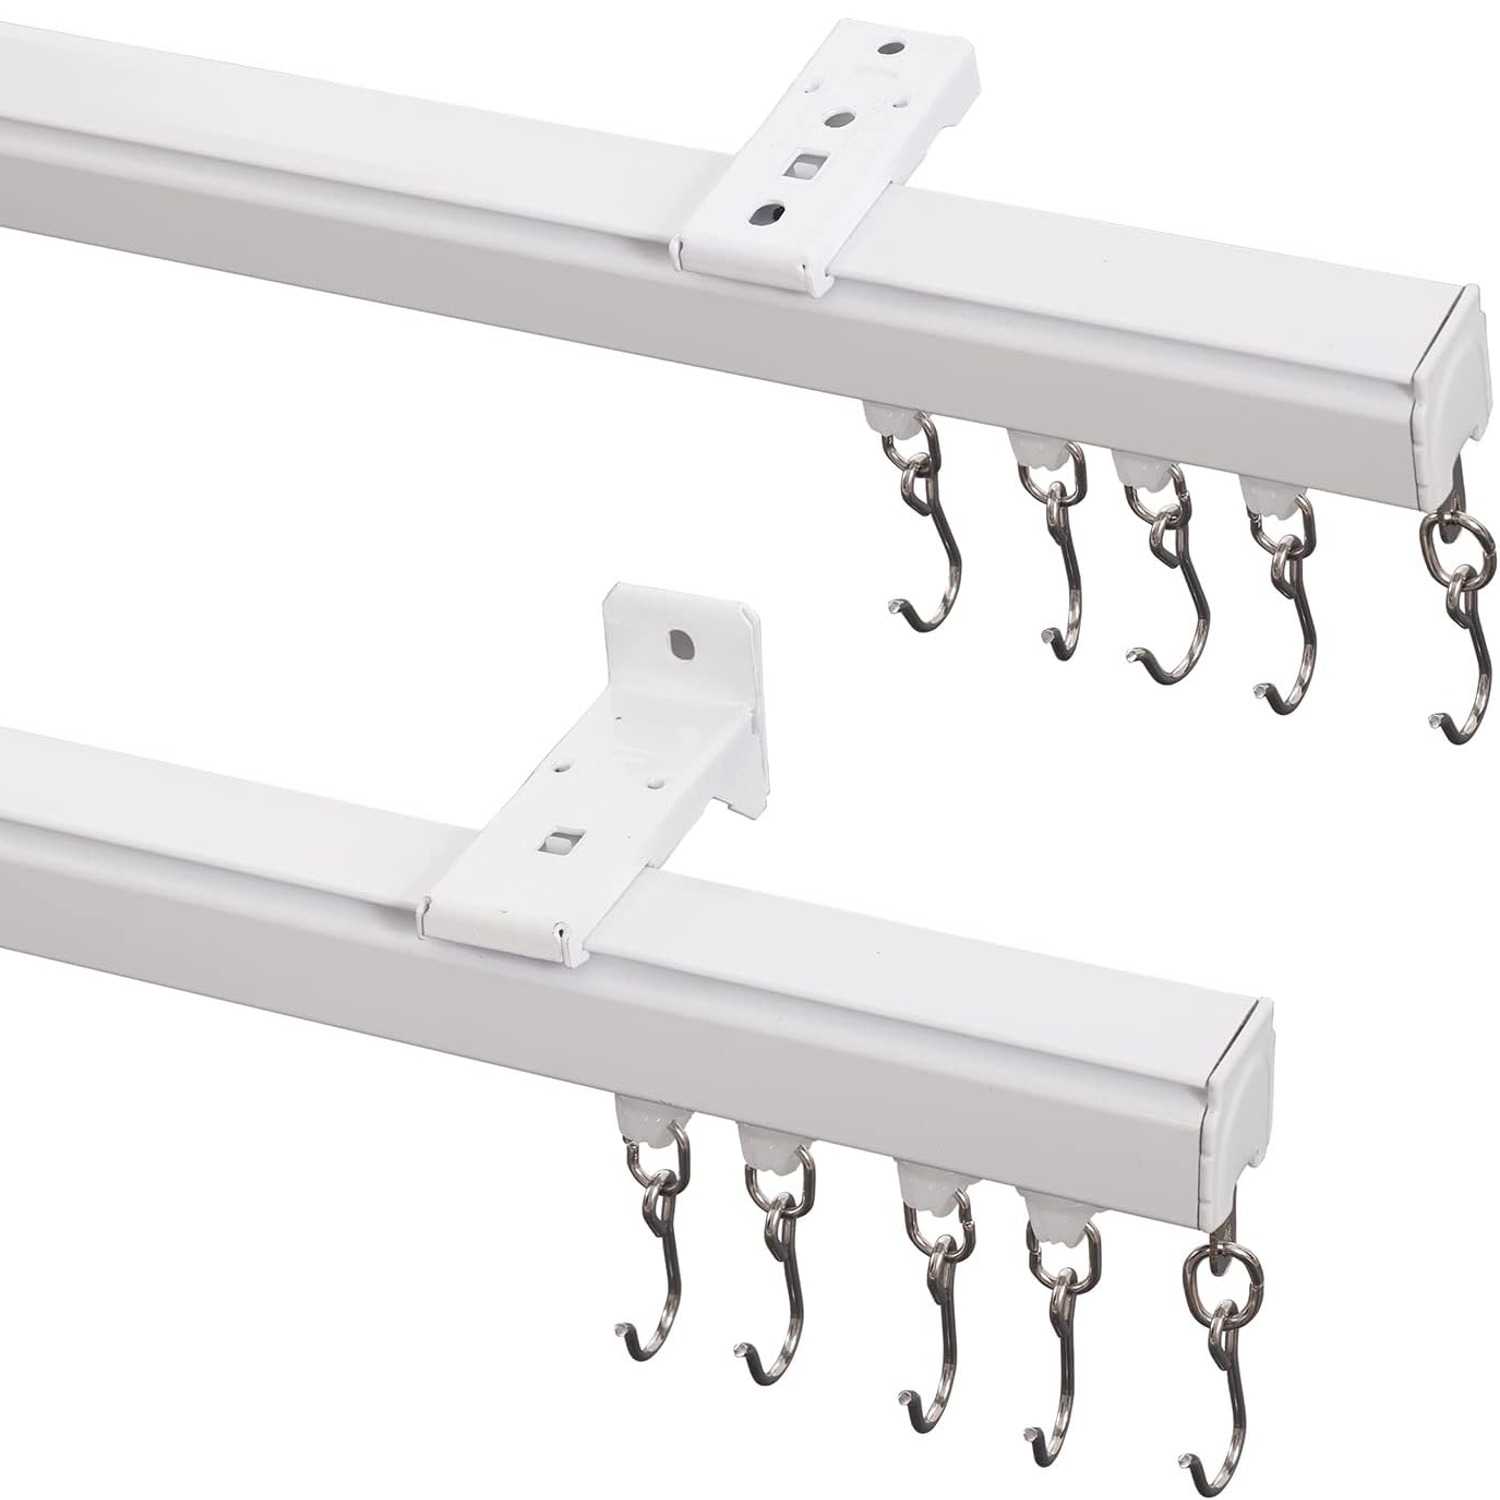
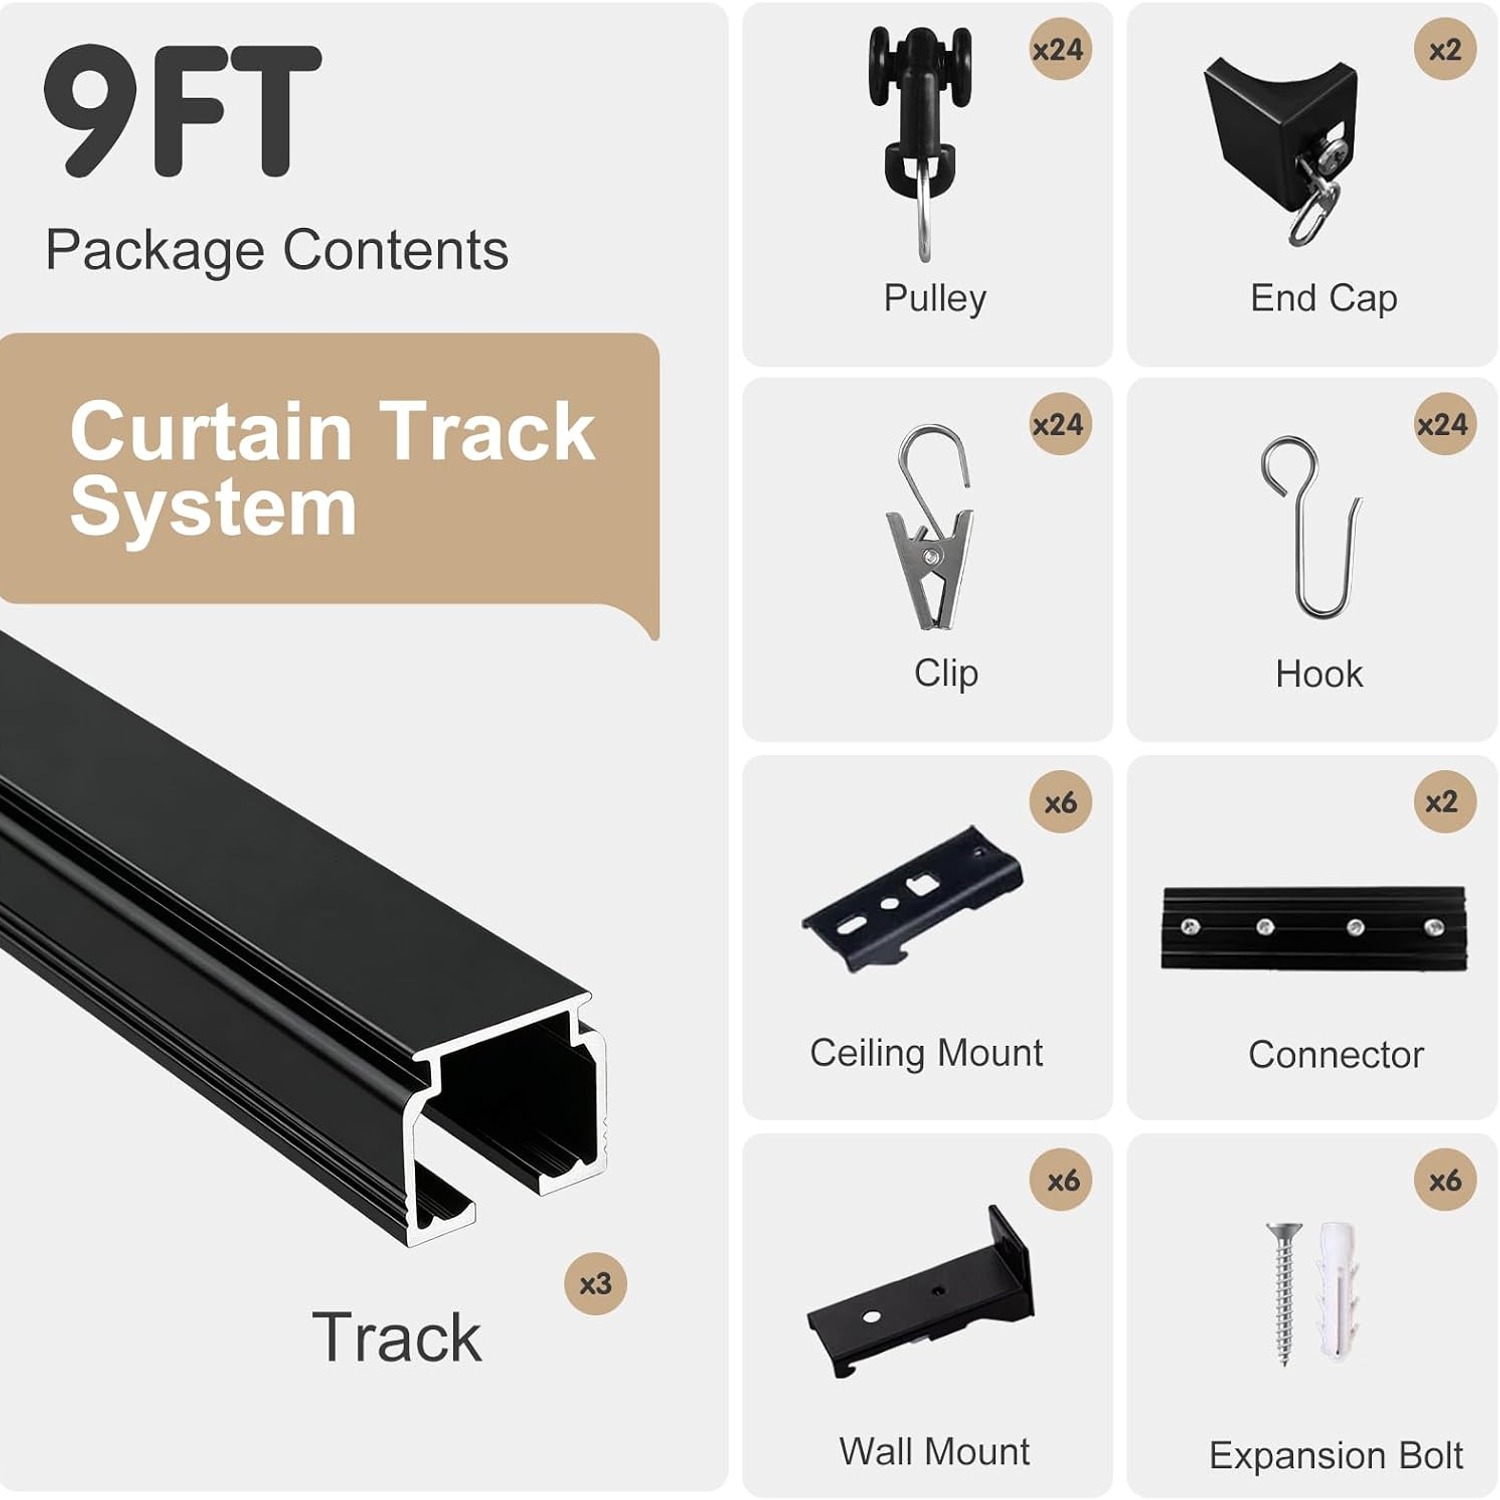
This system uses that same principle. The rail is aluminum alloy, finished in black, with pulleys running inside. Hooks and clips are supplied so the curtain can be attached either through tape pockets or by gripping the fabric directly. End caps close off the run so nothing slides off, and connectors join sections where the span calls for it.
Aluminum is the right material for this job. A divider run is long by nature, and a long rail made of something soft will bow in the middle once a lined curtain is hanging on it. Once a rail bows, the rollers hit a low point and the draw gets sticky at exactly the spot where the curtain is heaviest. Alloy holds its line. It also shrugs off damp far better than bare steel, which matters in a bathroom or a van.
Who this suits
The most common buyer is someone splitting a studio or a large bedroom. A single long run across the room, a blackout or lined panel, and the sleeping end is separate from everything else. It is the cheapest privacy you can buy per square meter.
After that come shared bedrooms. Two children in one room, or a teenager who wants a wall and cannot have one. A curtain gives real visual privacy and costs almost nothing to change when they outgrow the color.
Home offices are a third group. Closing a curtain across the desk at six in the evening does something psychological that closing a laptop does not. The work is gone. The room is a living room again.
Then there are the less obvious ones. RV and camper owners fitting privacy curtains behind the cab. Salons and studios needing a changing corner. People draping a space for an event and taking it down the following week. Workshops closing off a dusty end. Anywhere a curtain needs to move along a straight line and disappear when it is open.
Working out what you need
Start with the span. Measure the full distance you want the curtain to cover, then add a little at each end. That overlap is what stops a gap of daylight or a sliver of bedroom showing at the edges. If the curtain is going to stack back out of the way when open, allow space for that stack too. A gathered curtain takes up more room than people expect, roughly a fifth of its width.
Next, check what you are fixing into. This is the step that catches people out. A drywall ceiling with nothing behind it will not hold a loaded rail on plugs alone. You want joists, a timber batten screwed across the joists, or a solid concrete slab with the right anchors. The screw expansion plugs supplied in the kit cover common cases, but your ceiling decides what is actually safe. If you cannot find a solid fixing overhead, wall mounting is the fallback, and this system supports both.
Then think about weight. The maximum weight recommendation here is 40 pounds. A light voile panel is nowhere near that. A full-width blackout curtain with a thermal lining can get closer than you would guess, especially once it is wide enough to cross a room. Weigh the curtain on bathroom scales if you are unsure, and add brackets rather than reducing them when you are near the limit.
Finally, consider what the rail will look like from both sides. This track is black on both faces, which is a small detail that matters for a divider. One side of the room does not get the finished face and the other side the raw one. Both halves see the same thing.
Fitting it without drama
Give yourself a clear afternoon and a second pair of hands. The rail only weighs 1.34 kg, but holding a long section level above your head while marking holes is a two-person job.
Mark your bracket positions first, all of them, before drilling anything. Use a level or a laser line. A rail that is a few millimeters out over a short distance becomes visibly crooked over three meters, and the curtain will drift towards the low end every time you open it.
Follow the bracket spacing in the instructions. If your curtain is on the heavy side, add one more bracket than the minimum. Extra brackets cost nothing in appearance and remove flex entirely.
Drill, plug, and fix the brackets. Clip or screw the rail up according to the design, join any sections with the supplied connectors, then load the rollers into the channel before fitting the end caps. Put the end caps on last. Forgetting them and then having to take the rail down to add rollers is a common and annoying mistake.
Hang the curtain, draw it a few times, and watch where it hesitates. A sticky spot usually means a bracket is a fraction low or a section join is not fully seated. Fix it now rather than living with it.
Keeping it running
Maintenance is light. Dust is the main enemy, because it collects in the channel and gets ground into the roller path. Run a vacuum nozzle along the track once or twice a year, or wipe it with a dry cloth. That is usually all a sticky draw needs.
Resist the urge to oil anything. Oil feels like the right answer and is the wrong one, because it turns dust into paste. Clean and dry beats lubricated and gritty every time.
Clean the visible rail with a dry or barely damp cloth. Keep abrasive pads and solvent cleaners away from the painted finish. In a bathroom, dry the rail when you dry the room, and keep the extractor running.
Check the bracket screws annually. Anything that gets pulled on twice a day will eventually loosen a fixing. Thirty seconds with a screwdriver prevents the one failure mode that actually matters.
The short version
A room divider curtain track gives you a second room without building one. This one is aluminum alloy in black, mounts to the ceiling or the wall, runs on internal rollers for a quiet draw, and is rated to carry up to 40 pounds of curtain. Track, pulleys, brackets, end caps, hooks, clips, connectors and plugs are in the box, and the manufacturer lists a one year warranty.
Measure your span, add overlap at both ends, confirm you have something solid to fix into, and weigh your curtain if it is lined. Get those four things right and the fitting is straightforward. After that, it is just a curtain you pull, and a room that becomes two whenever you want it to.