
The complete guide
How To Choose And Fit A Flexible Ceiling Curtain Track
The problem with straight rails
Standard curtain rails are built on an assumption: your window is flat, your wall is flat, and the curtain travels in a straight line from one end to the other. Plenty of rooms break that rule. Bay windows have three faces and two angles. Studio flats have no walls where you need one. Campervans have curved sides. Loft rooms have sloped ceilings and odd corners. In all of those cases a rigid rail either cannot be fitted at all or has to be chopped into sections joined by plastic elbows, and those elbows are exactly where curtains jam.
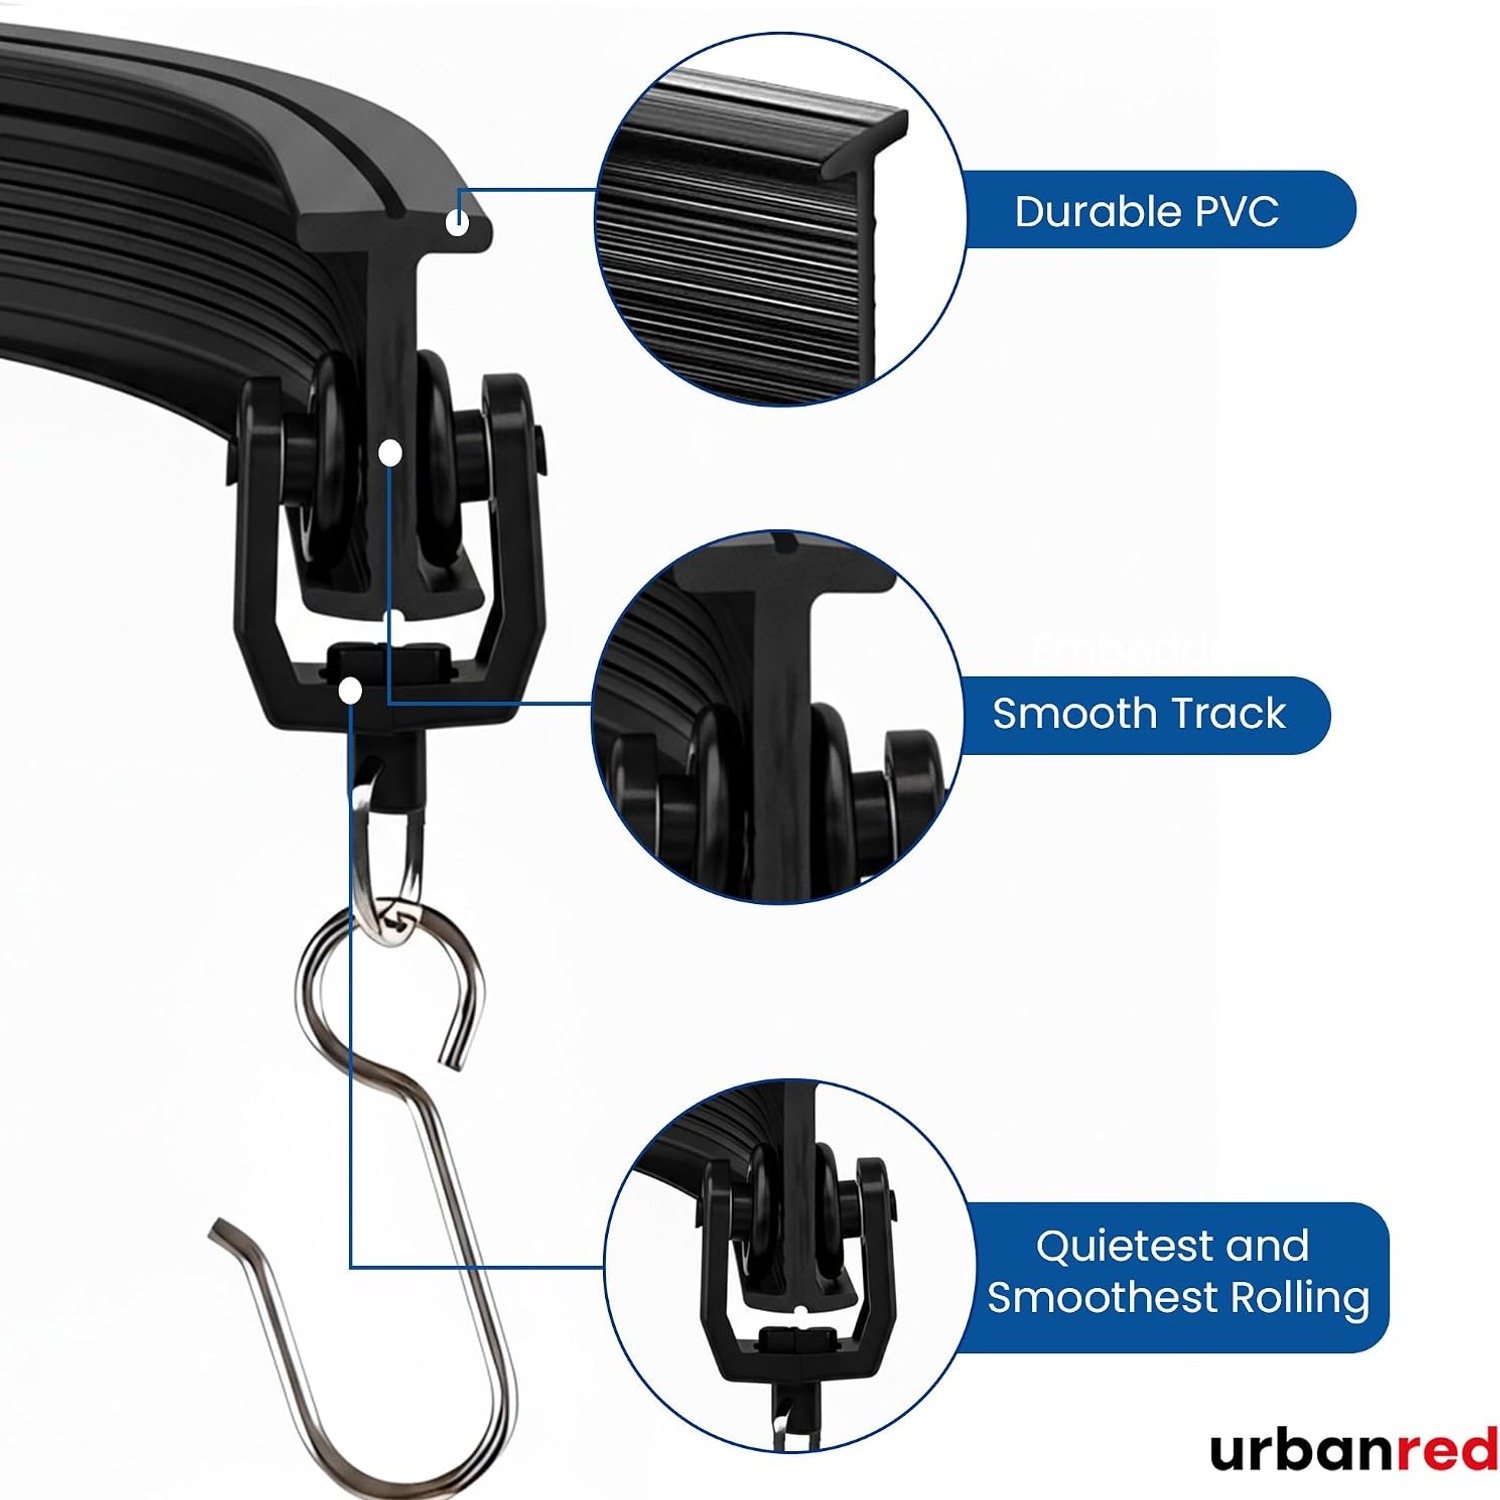
A bendable rail removes the joints. The track is one continuous piece of flexible vinyl, so the rollers run through a curve the same way they run along a straight. No snag point, no gap, no hunting for the right angle connector.
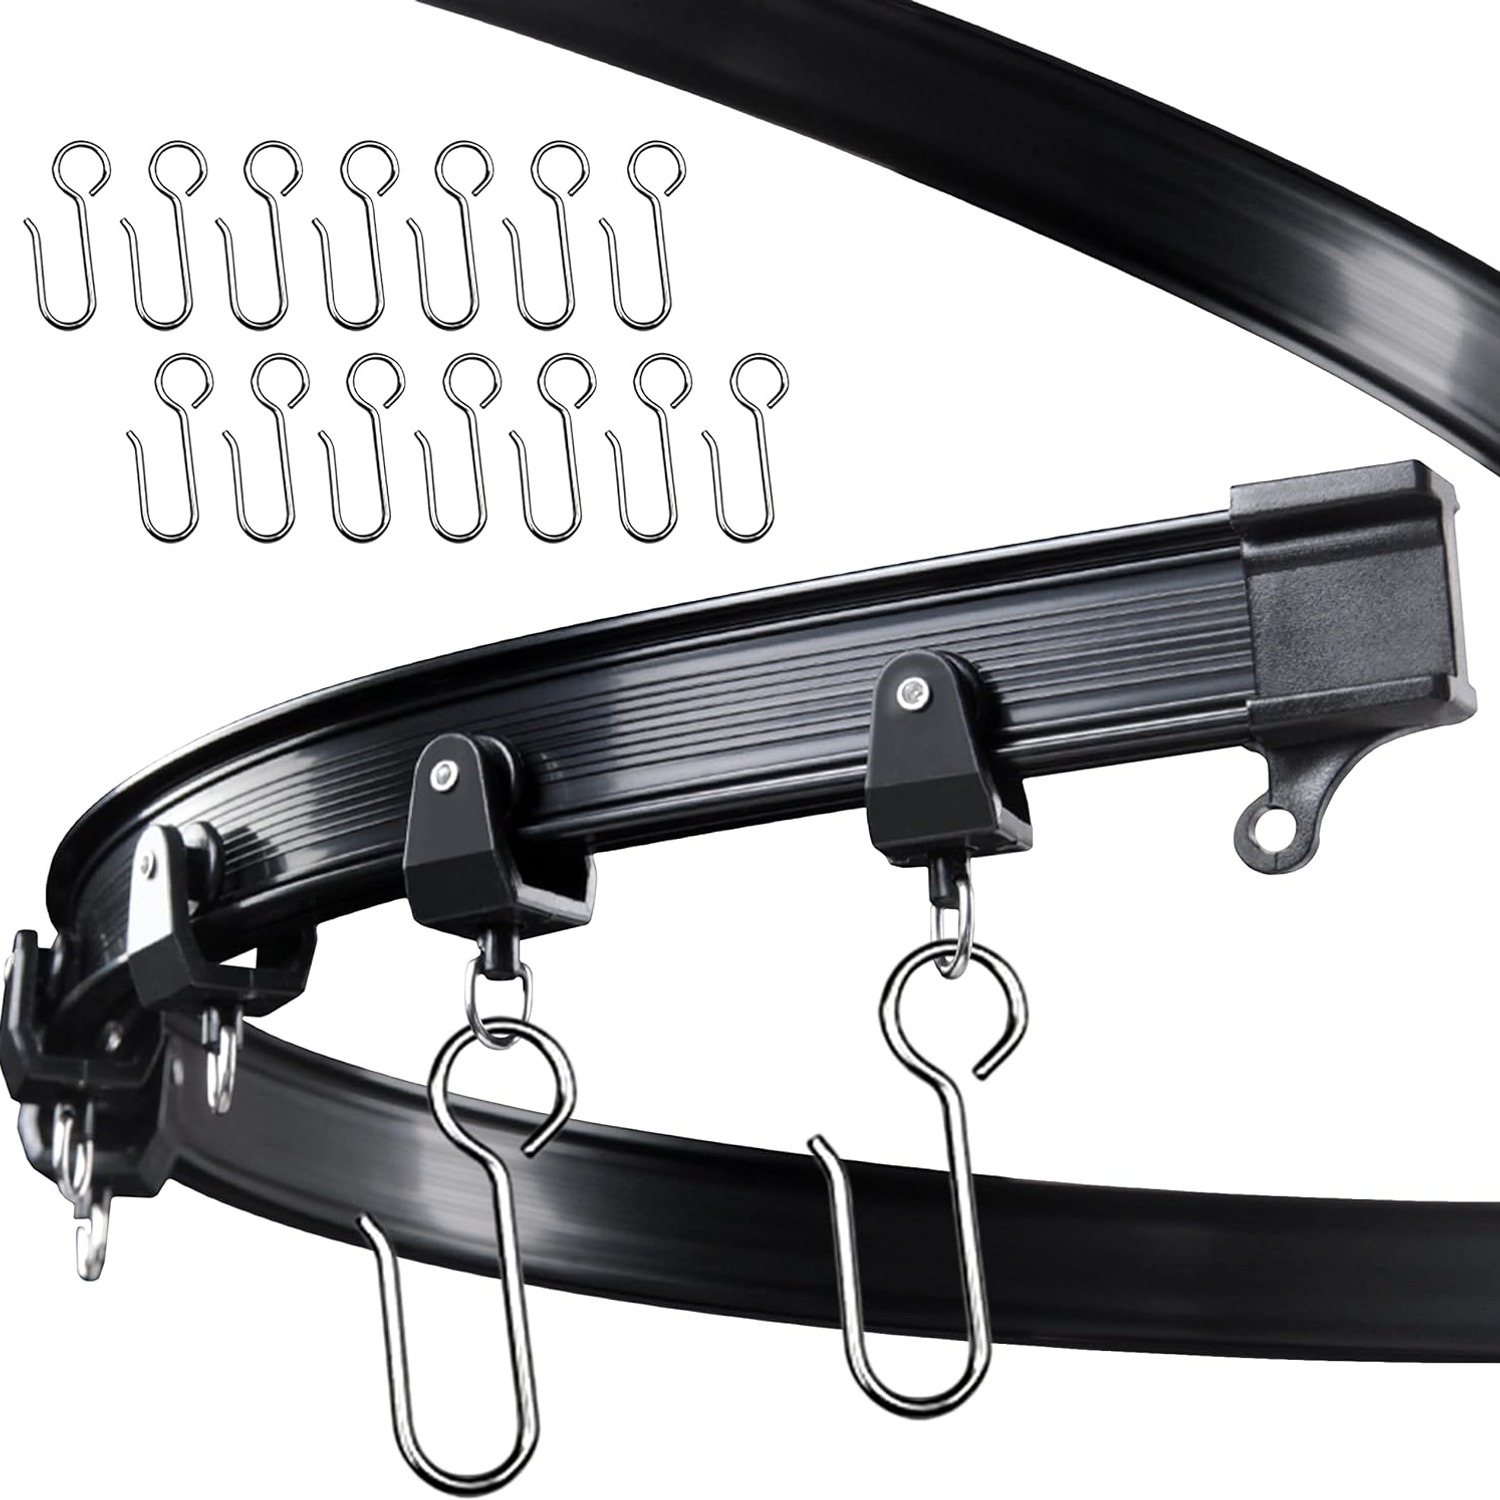
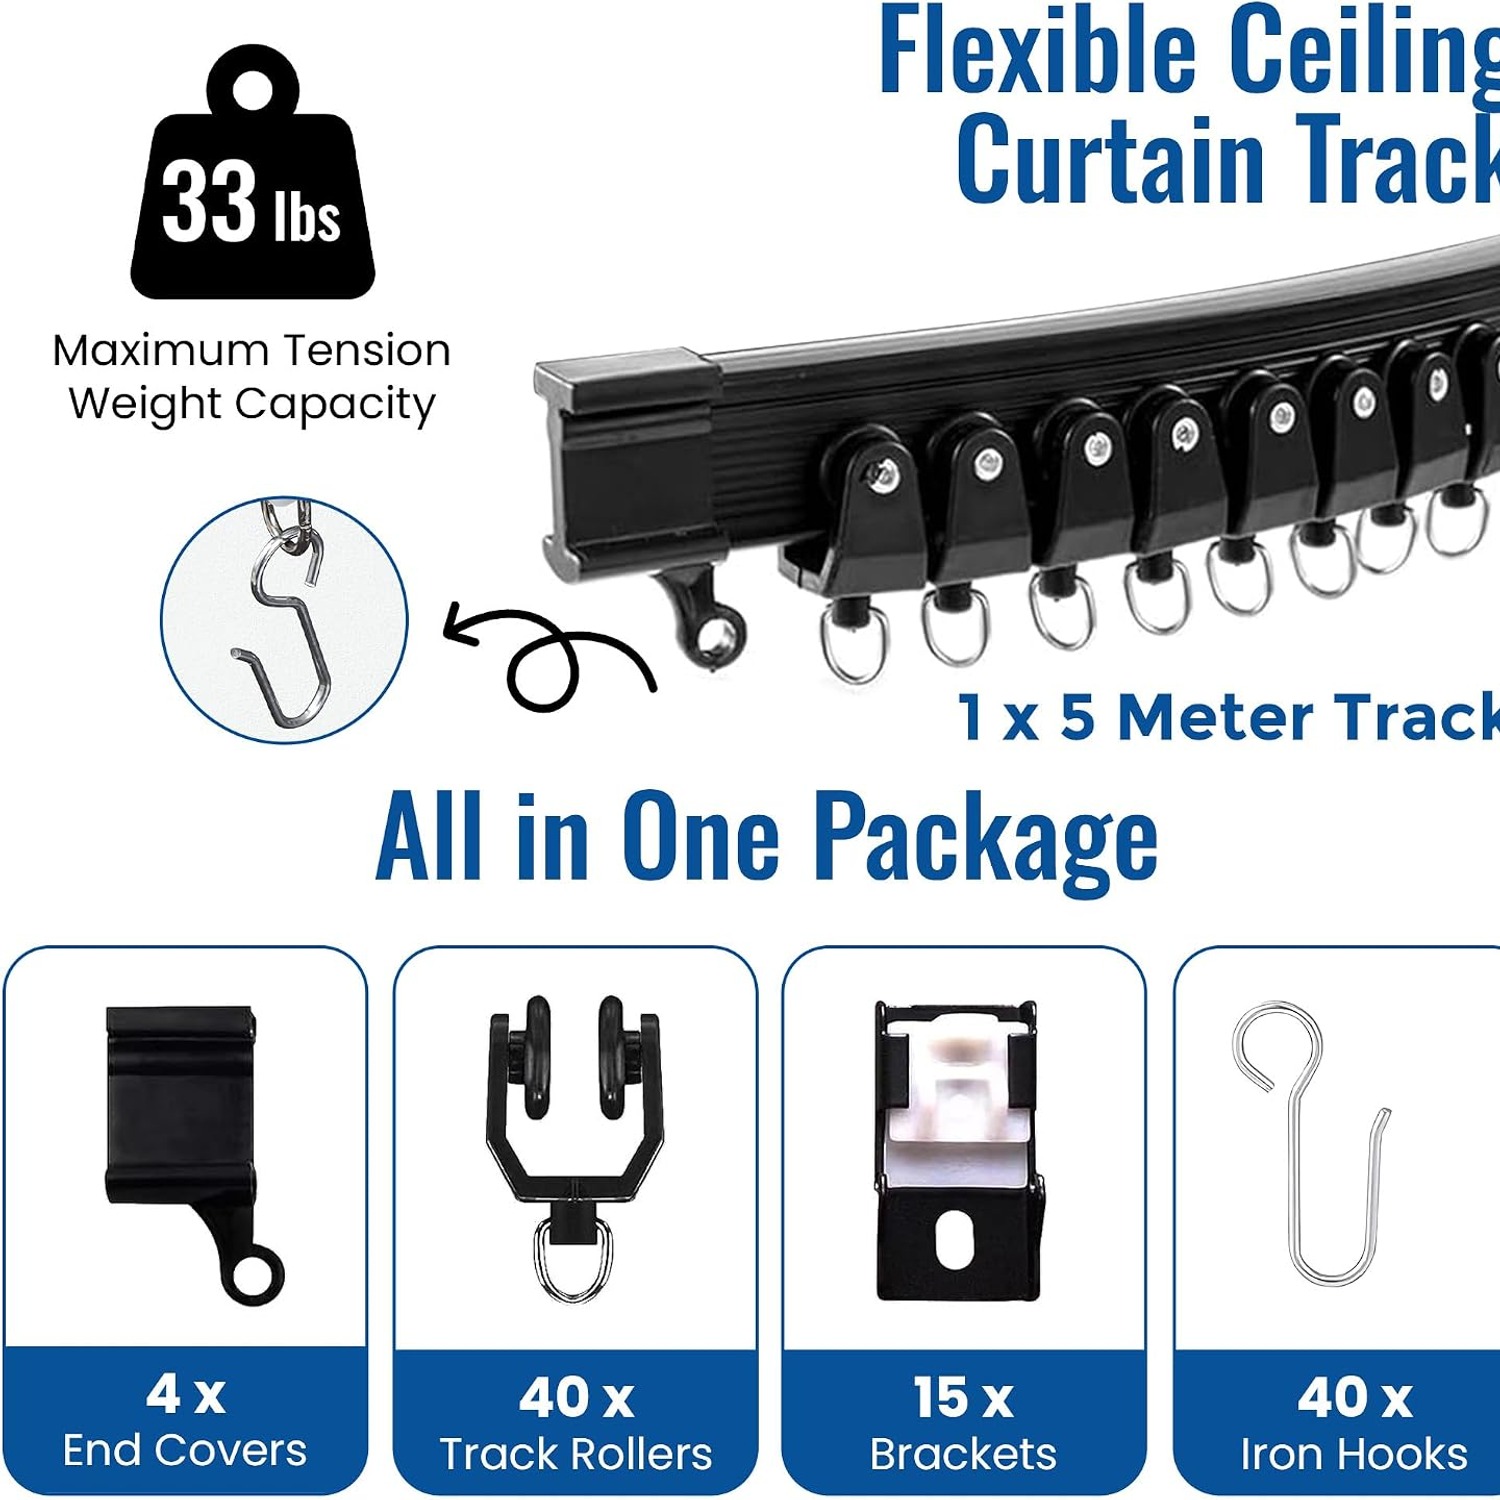
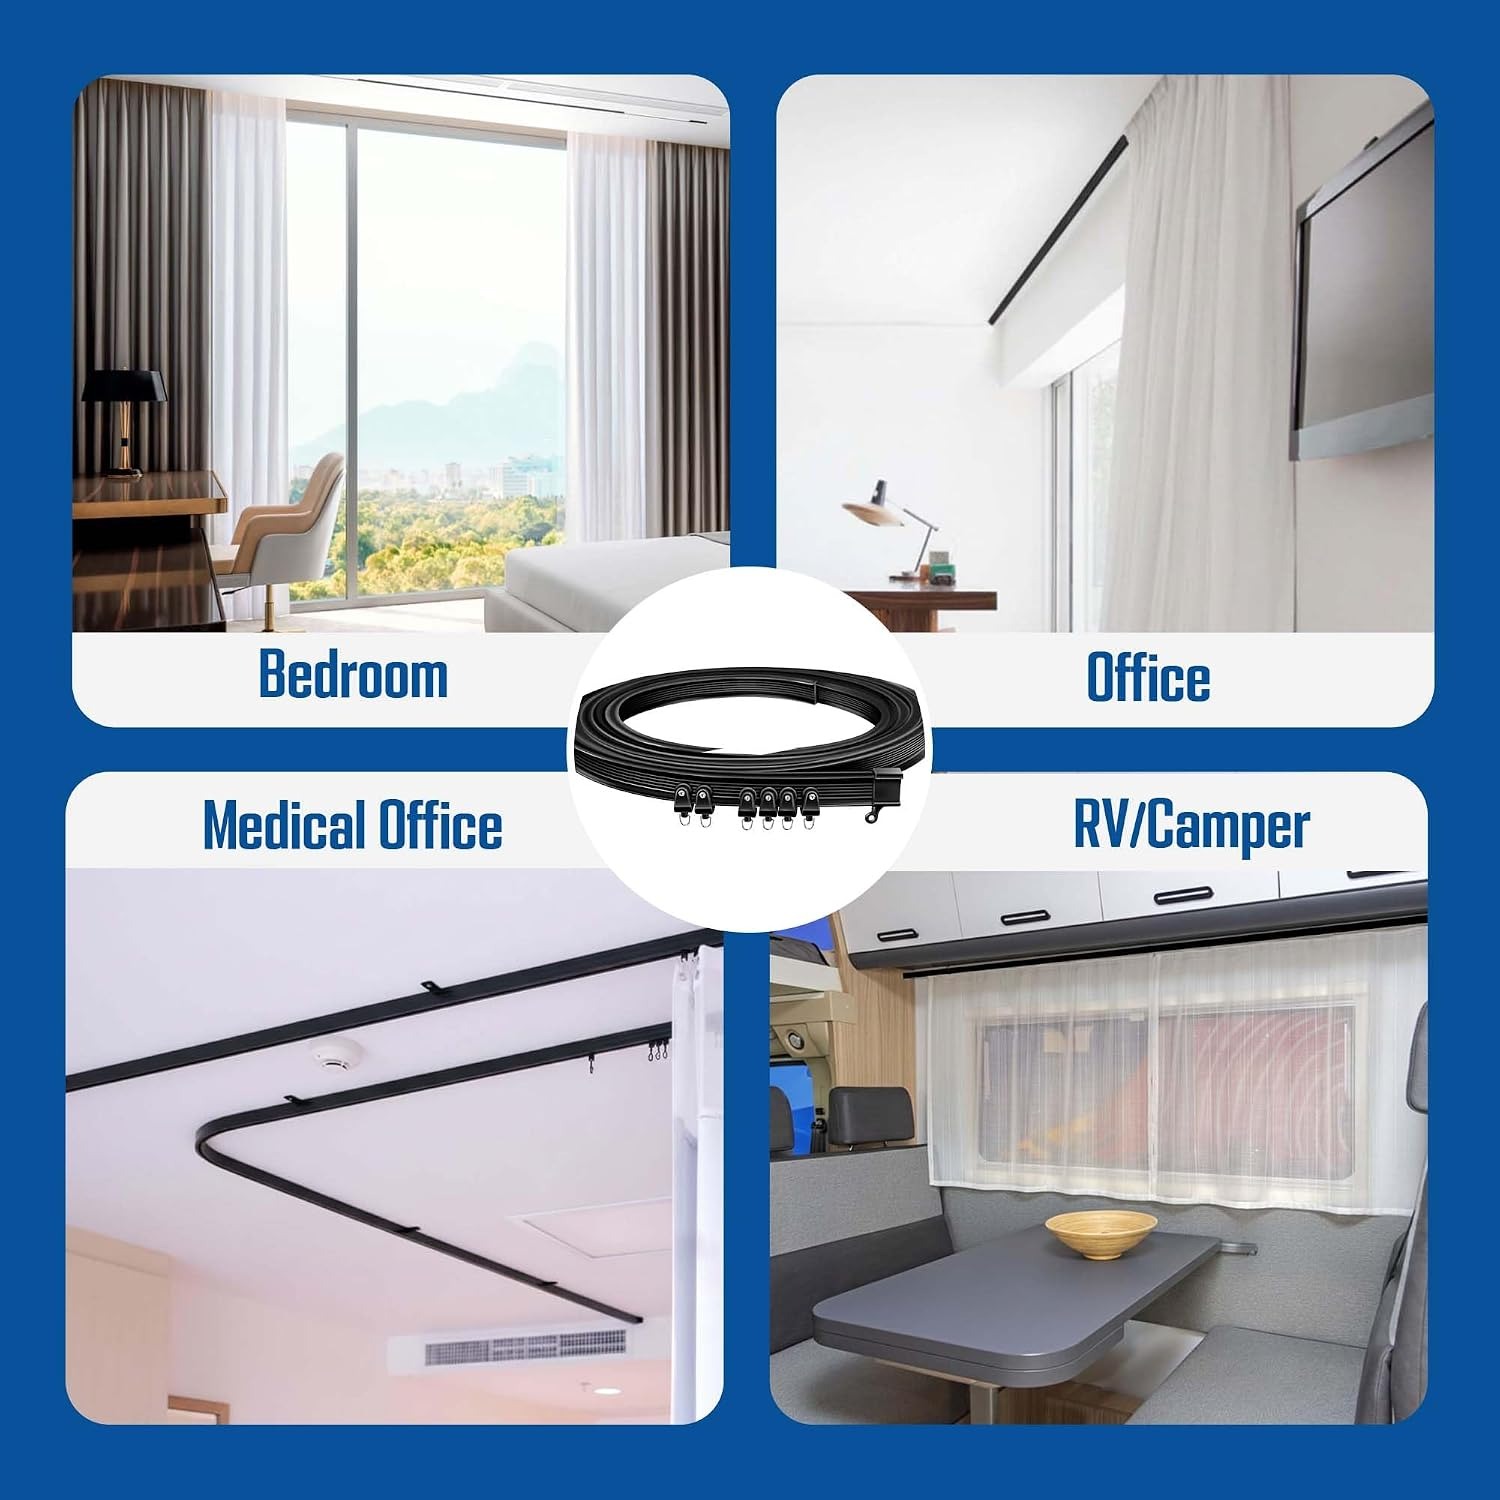
This kit gives you 5 m (16.4 ft) of that rail in black, with 40 rollers, 40 iron hooks, snap-on ceiling brackets and end covers. The recommended maximum load is 15 kg.
How it works
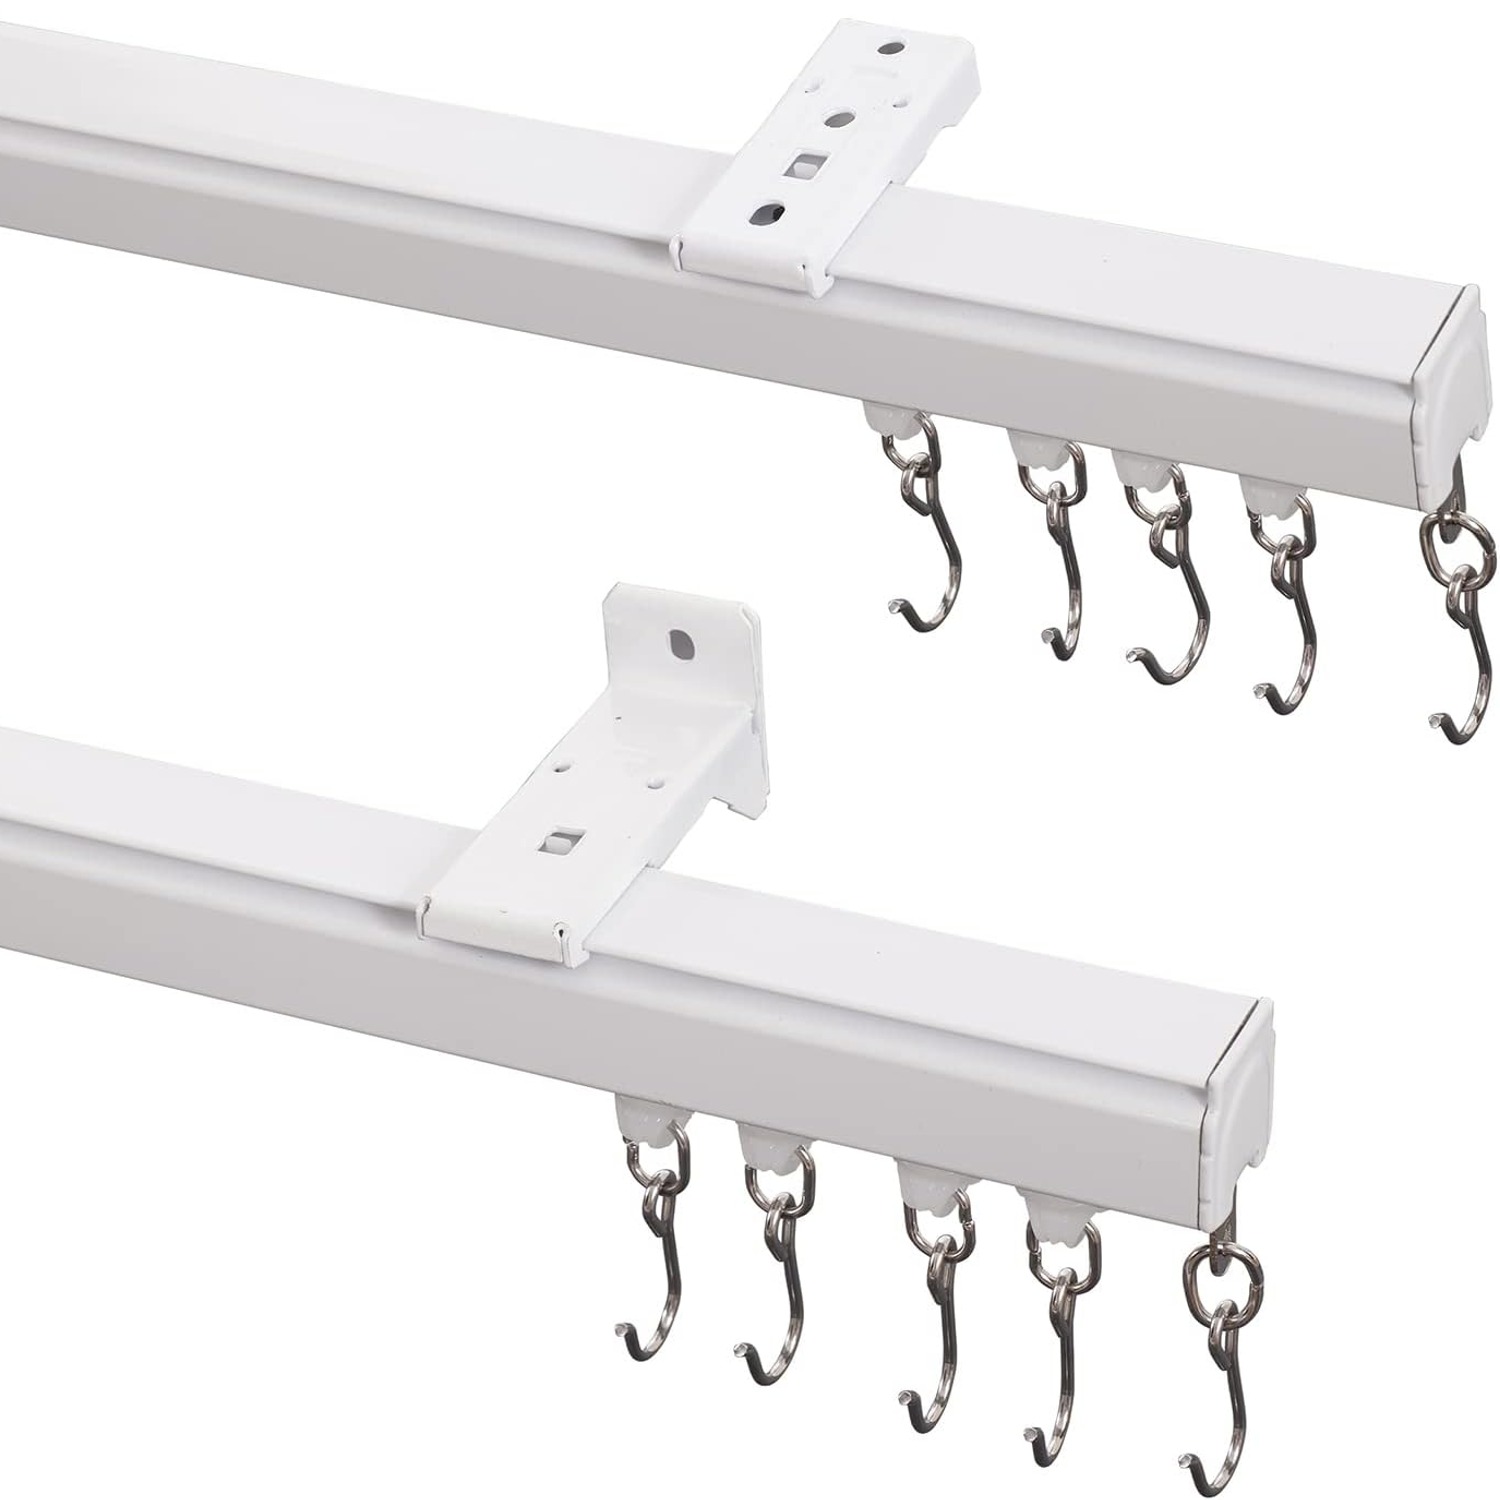
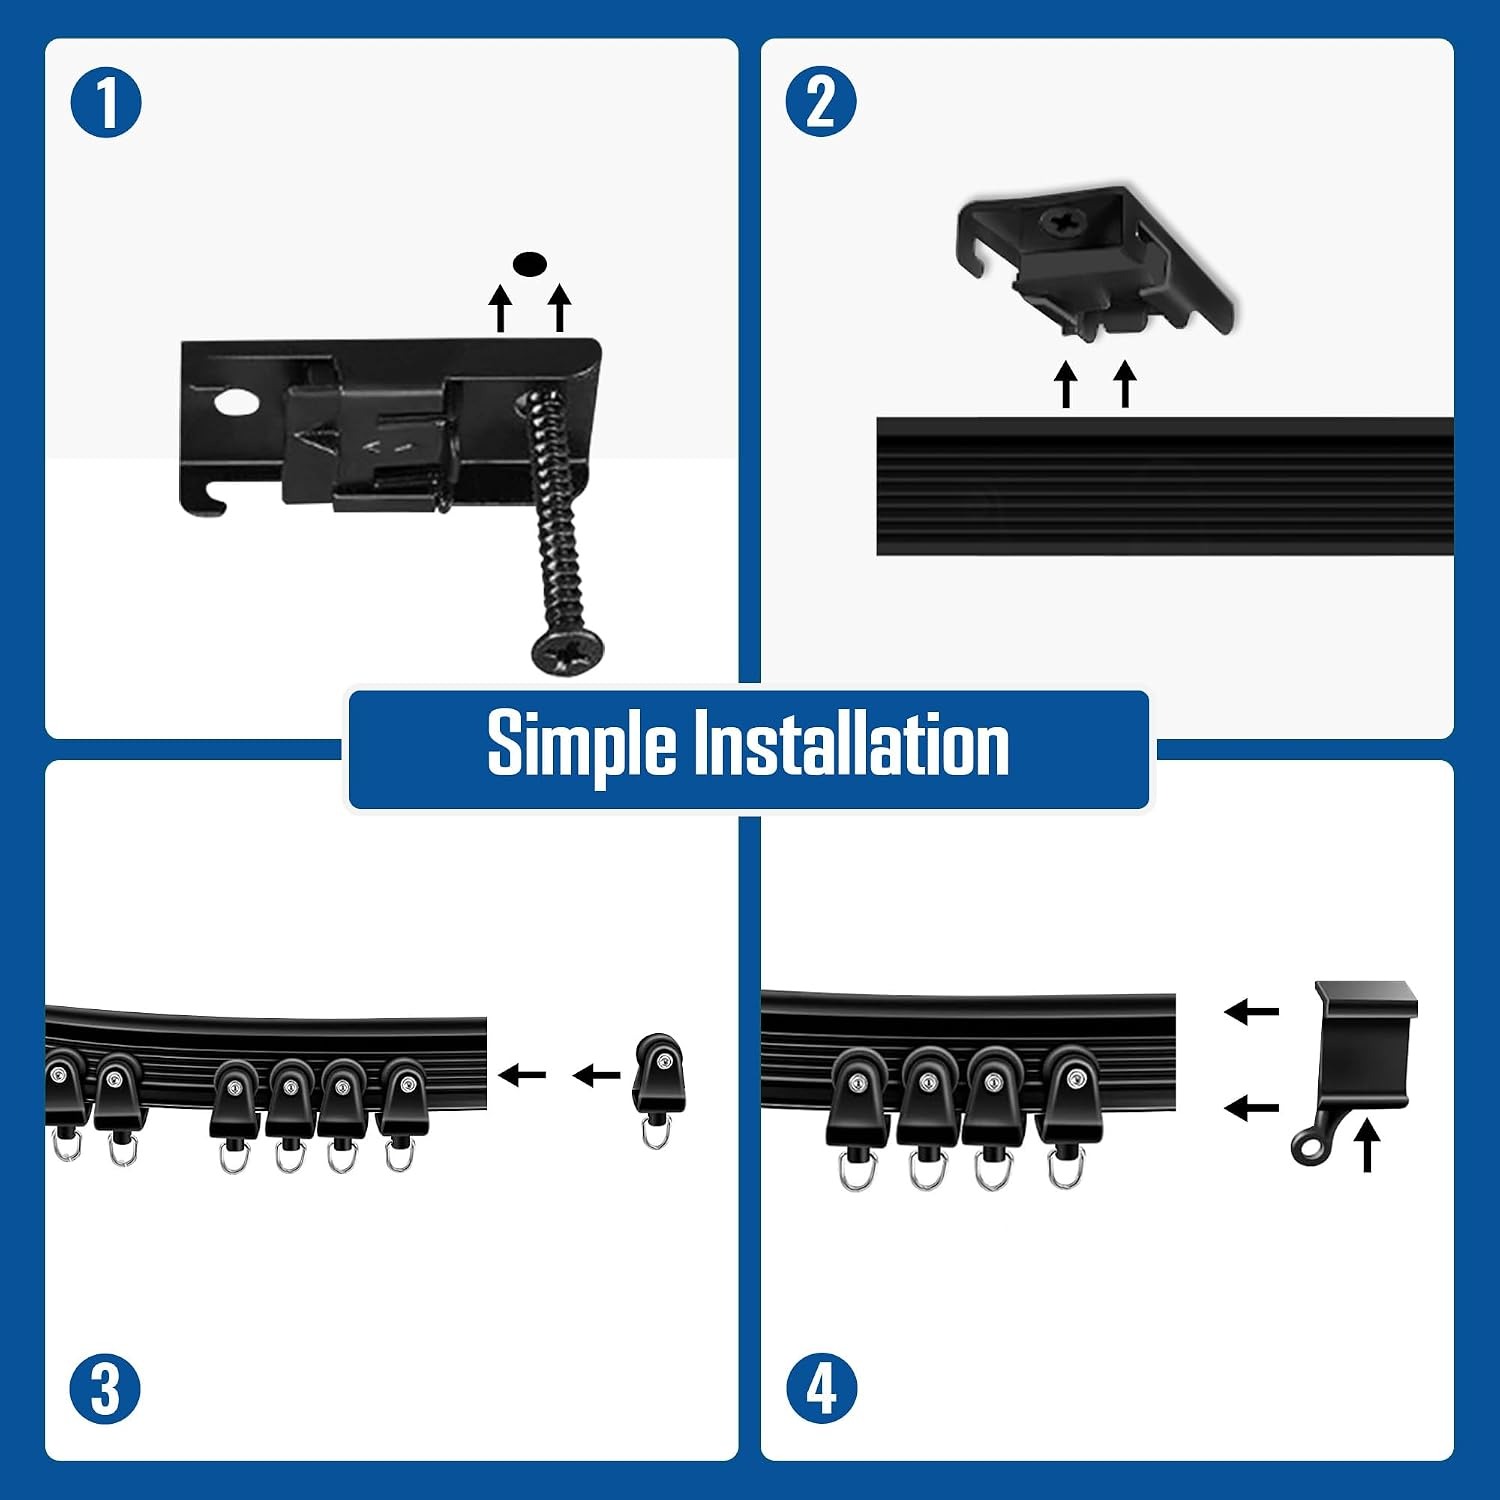
The rail has a channel along its underside. Rollers slide into the channel from an open end, and the hooks hang from the rollers to carry the curtain. The brackets clip onto the top of the rail and screw into the ceiling, holding the rail in whatever path you have set.
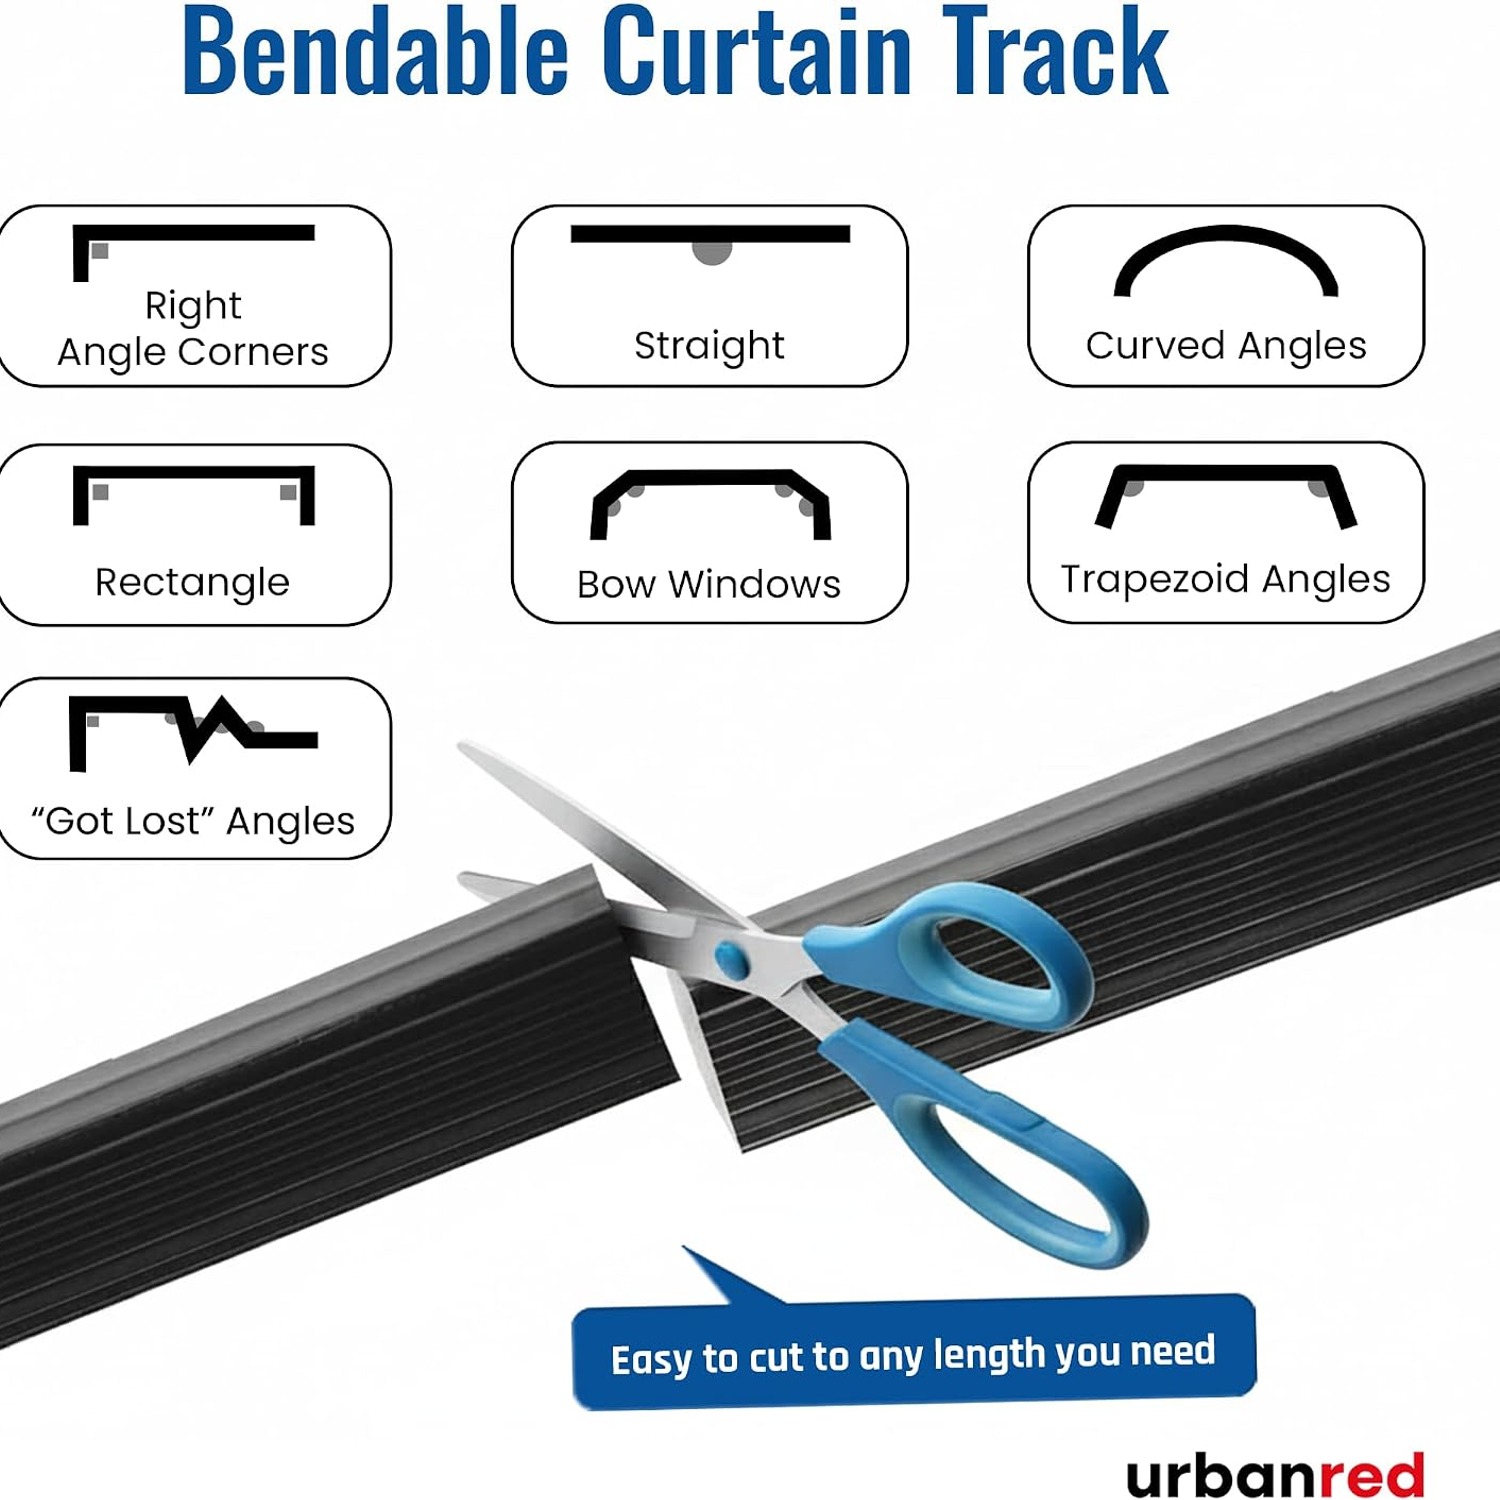
That last part is the key. The vinyl is flexible on its own, so the shape is decided by where you place the brackets. Mark a straight line and you get a straight rail. Mark a curve and the rail follows it. Mark a right angle and the rail takes the corner, as long as you put enough brackets through the turn to hold it.
The rail can bend to 180 degrees or any shape in between. It can also be cut shorter with a fine-tooth hacksaw, or joined end to end with another length for a run longer than 5 m.
Who it suits
People dividing a room. This is the most common use. Running a curtain across a studio flat separates sleeping from living without building a stud wall or asking a landlord's permission. The ceiling fixing means nothing touches the walls. A curved run works even better, because you can wrap the curtain partly around a bed instead of slicing the room in half.
Van, RV and motorhome owners. The listing names these uses directly. Vehicle interiors are full of curves, and the ceiling is usually the only place with space for hardware. Just check your ceiling panel thickness and buy fixings that suit it, because many van ceilings are thin.
Anyone with a bay window. One of the better reasons to buy a curved curtain track for bay window use is that you stop fighting with corner joints. The curtain sweeps through the whole bay in one movement.
Renters and short-term fixes. The kit is cheap compared to a joinery solution and leaves only screw holes behind.
People hanging tapestries. The hooks work with wall hangings as well as curtains, so you can mount a large textile and still slide it aside.
It is less suitable if you want a visible decorative pole, if your curtains have fixed rings sewn into the top, or if the fabric weighs more than 15 kg.
Working out what you need
Start with length. Measure the full path the curtain will travel, following every curve and corner, not the straight-line distance between the end points. A bay window measured corner to corner can be a meter longer than it looks. If the total exceeds 5 m, you need a second kit.
Then weight. Pull up the product details for your curtains or weigh them on bathroom scales. Lined blackout curtains in a wide panel are heavier than people expect. Stay under 15 kg and you have margin for the fabric picking up dust and damp.
Then bracket count. The kit includes 15, which is comfortable for a mostly straight 5 m run. If your path has tight curves, or you want a very straight finish with heavier curtains, plan on roughly four brackets per meter and buy extras. Brackets are the cheapest part of this job and the one most worth over-specifying.
Last, your ceiling. Timber joists are ideal. Drywall needs hollow-wall anchors rated for the load, not the small screws that come in a generic hardware bag. A concrete ceiling needs a masonry bit and plugs. Work this out before you order fixings.
Fitting it
Unpack the rail and let it relax. It ships coiled, and cold vinyl holds that coil. Warm water or a hairdryer on low will soften it enough to lie flat. Do not use a heat gun.
Mark your line on the ceiling in pencil. Use a straight edge or a chalk line for straight runs and a flexible tape for curves. This is the step that decides whether the finished job looks deliberate or improvised, so take your time.
Fix the brackets along the line. Space them evenly, tighter through any bend. Then snap the rail up into the brackets, working from one end.
Before fitting the end covers, slide all your rollers in. This catches people out more than anything else. Once a cover is on, that end is closed. Count out how many rollers you want per curtain and load them in, then cap both ends.
If an end cover feels stiff, widen the gap slightly with your fingers, attach the top part first, then press the bottom in. Forcing it straight on tends to split it.
Hang the hooks on the rollers, hook the curtain, and test the slide along the whole length. Any stiff spot usually means a kink in the rail or a bracket pulled too tight.
Looking after it
There is not much to do. Wipe the rail with a damp cloth when you dust the room and dry it off. Keep solvents, bleach and scouring pads away from the vinyl, since they leave marks that do not come out.
Every few months, slide the rollers from one end to the other. This clears out lint and dust that collects in the channel, which is the usual cause of a rail that was smooth and has gone sticky.
Check the bracket screws once or twice a year. In a house they rarely move. In a vehicle, vibration loosens things, so make it part of your regular checks.
When you wash the curtains, take the hooks off rather than putting them through the machine. Iron hooks and wet fabric are not friends over the long term.
The short version
If your curtain needs to go round a corner, through a bay, across a room, or along a curved van wall, a rigid rail will fight you and this one will not. You get 5 m of bendable black vinyl track, 40 rollers, 40 hooks, brackets and end covers, rated to 15 kg, mounted to the ceiling so your walls stay clear.
Measure the actual path, not the straight line. Weigh your curtains. Buy extra brackets if you have tight curves. Load the rollers before you cap the ends. Do those four things and the installation is a comfortable afternoon's work.