

The complete guide
How to Choose and Fit a Ceiling Curtain Track
The problem with one big room
Open-plan living sounds good on a floor plan. In real life, it means you are always in the same room as whatever else is happening. The person watching TV is in the same room as the person on a work call. The toddler going to bed at seven is in the same room as the dinner being cooked at seven. A studio apartment makes the bed, the sofa and the desk all share one square of floor.
Building a partition fixes it, but it costs money, needs permission if you rent, and it is permanent. You lose the open space for good, along with the light that used to travel across it.
A ceiling curtain track is the middle option. It gives you a wall when you want one and nothing when you do not. Pull the curtain across and you have two rooms. Push it back and the space opens up again. You can take the whole thing down in half an hour and patch four screw holes.
How a ceiling track actually works
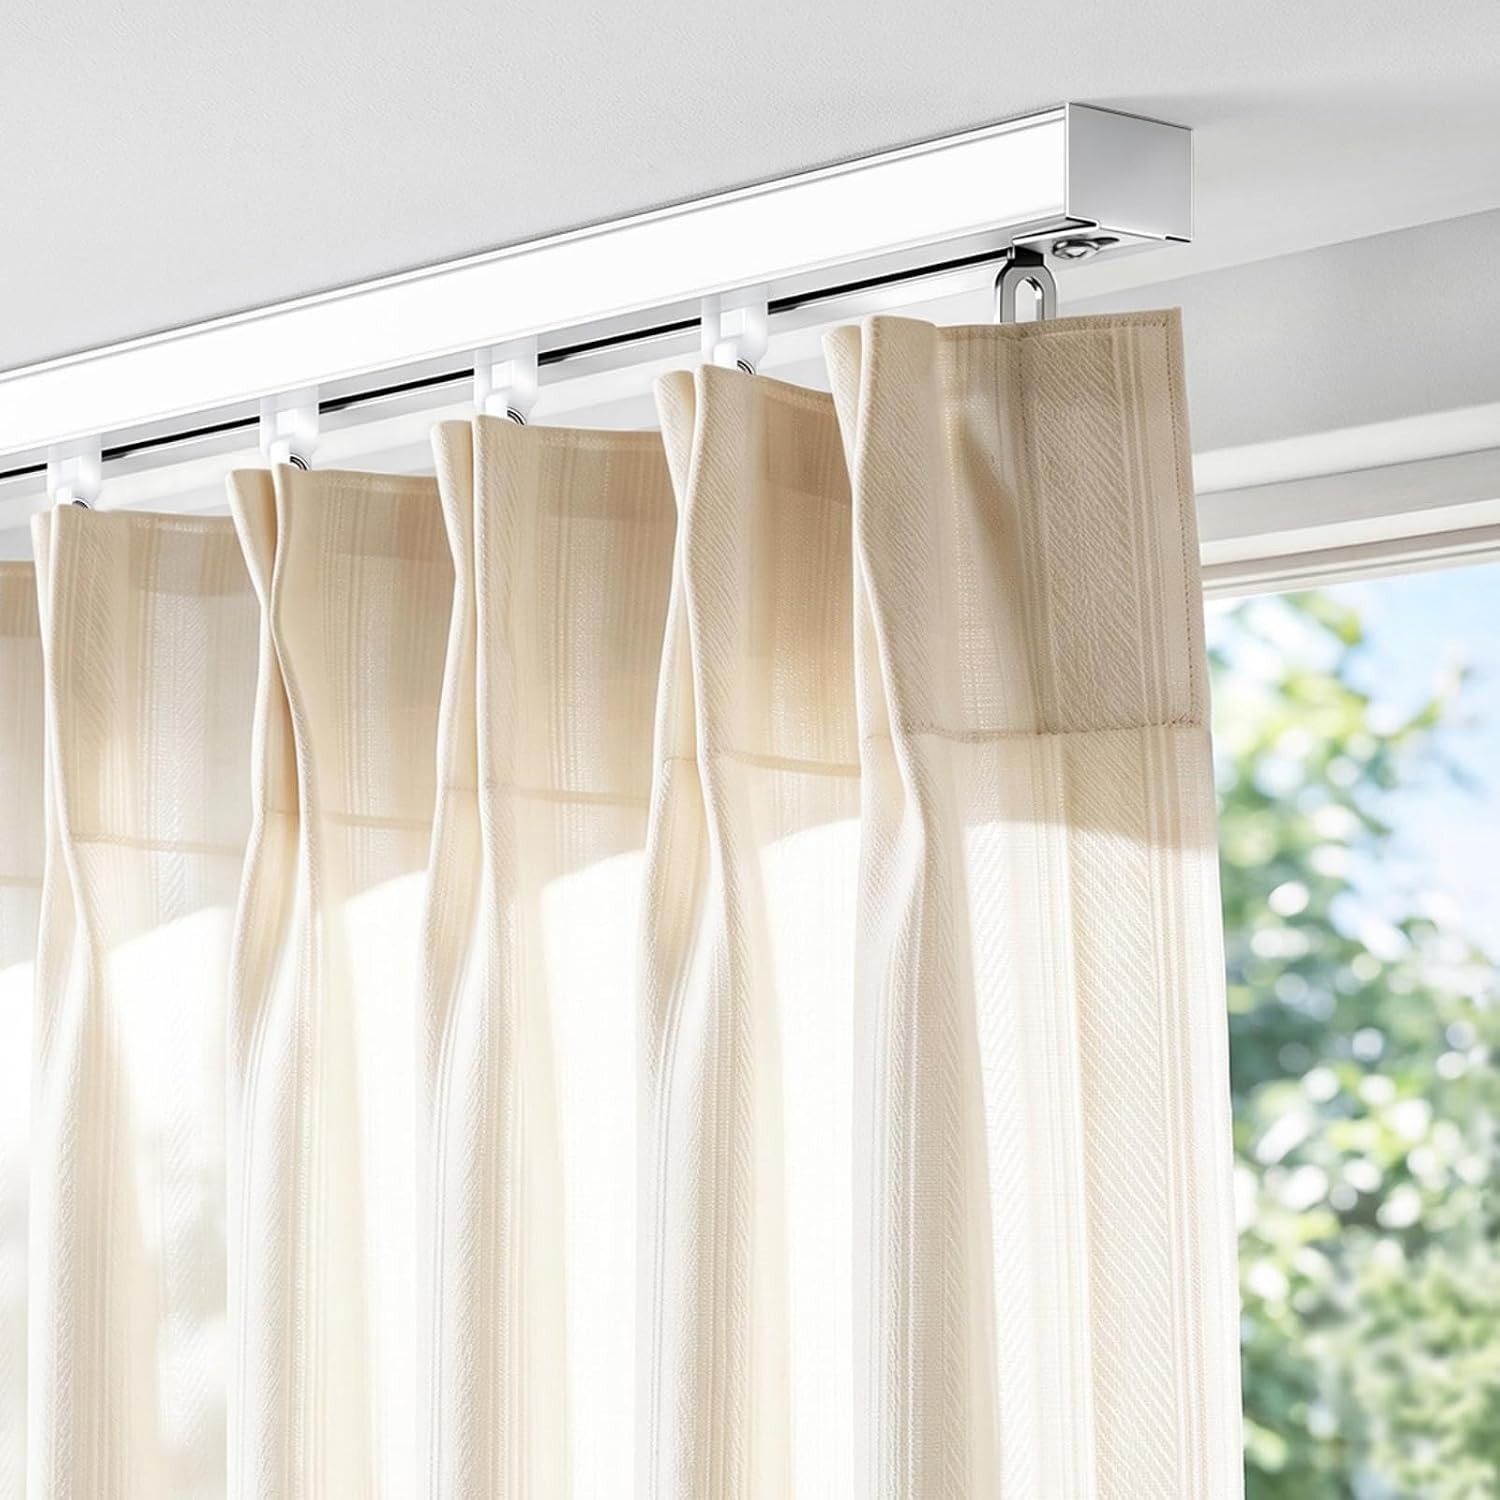
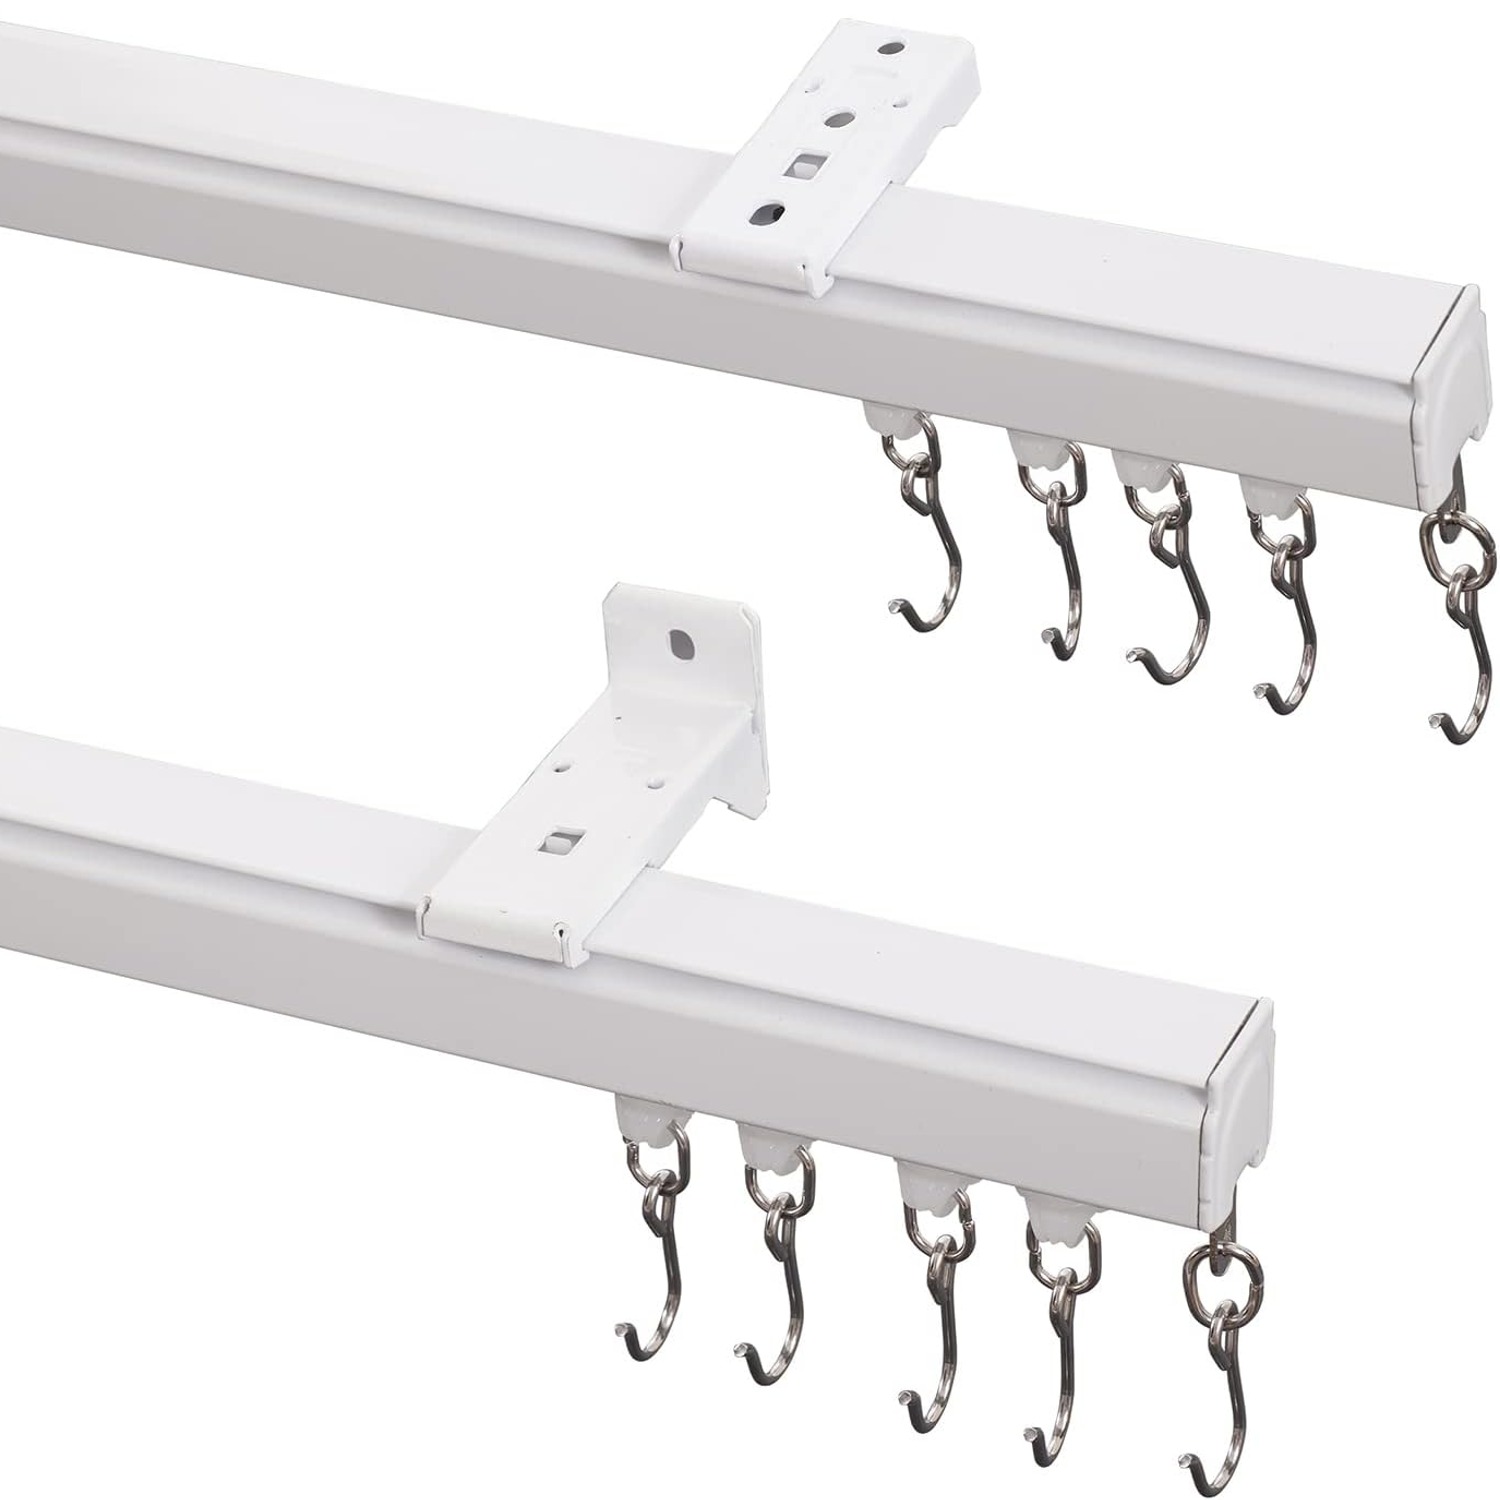
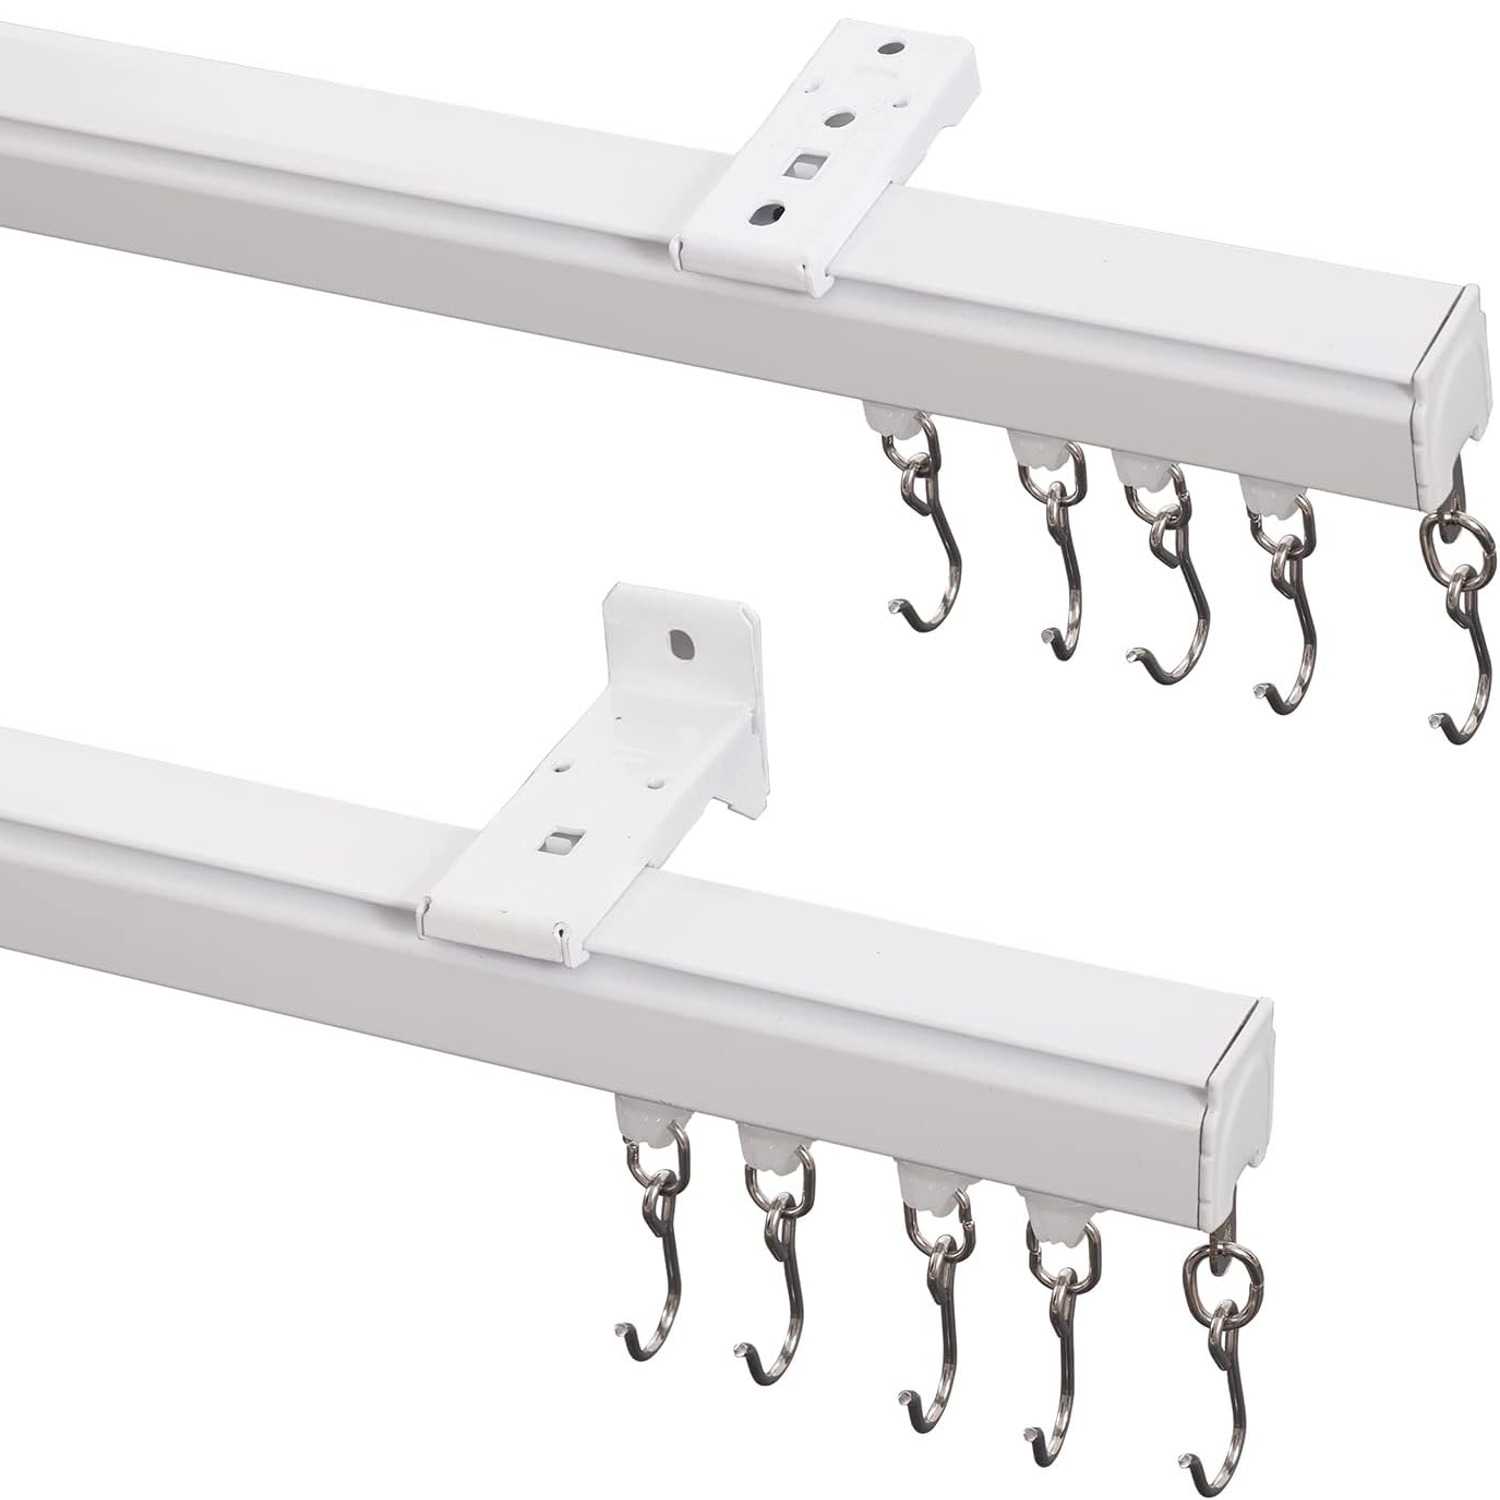
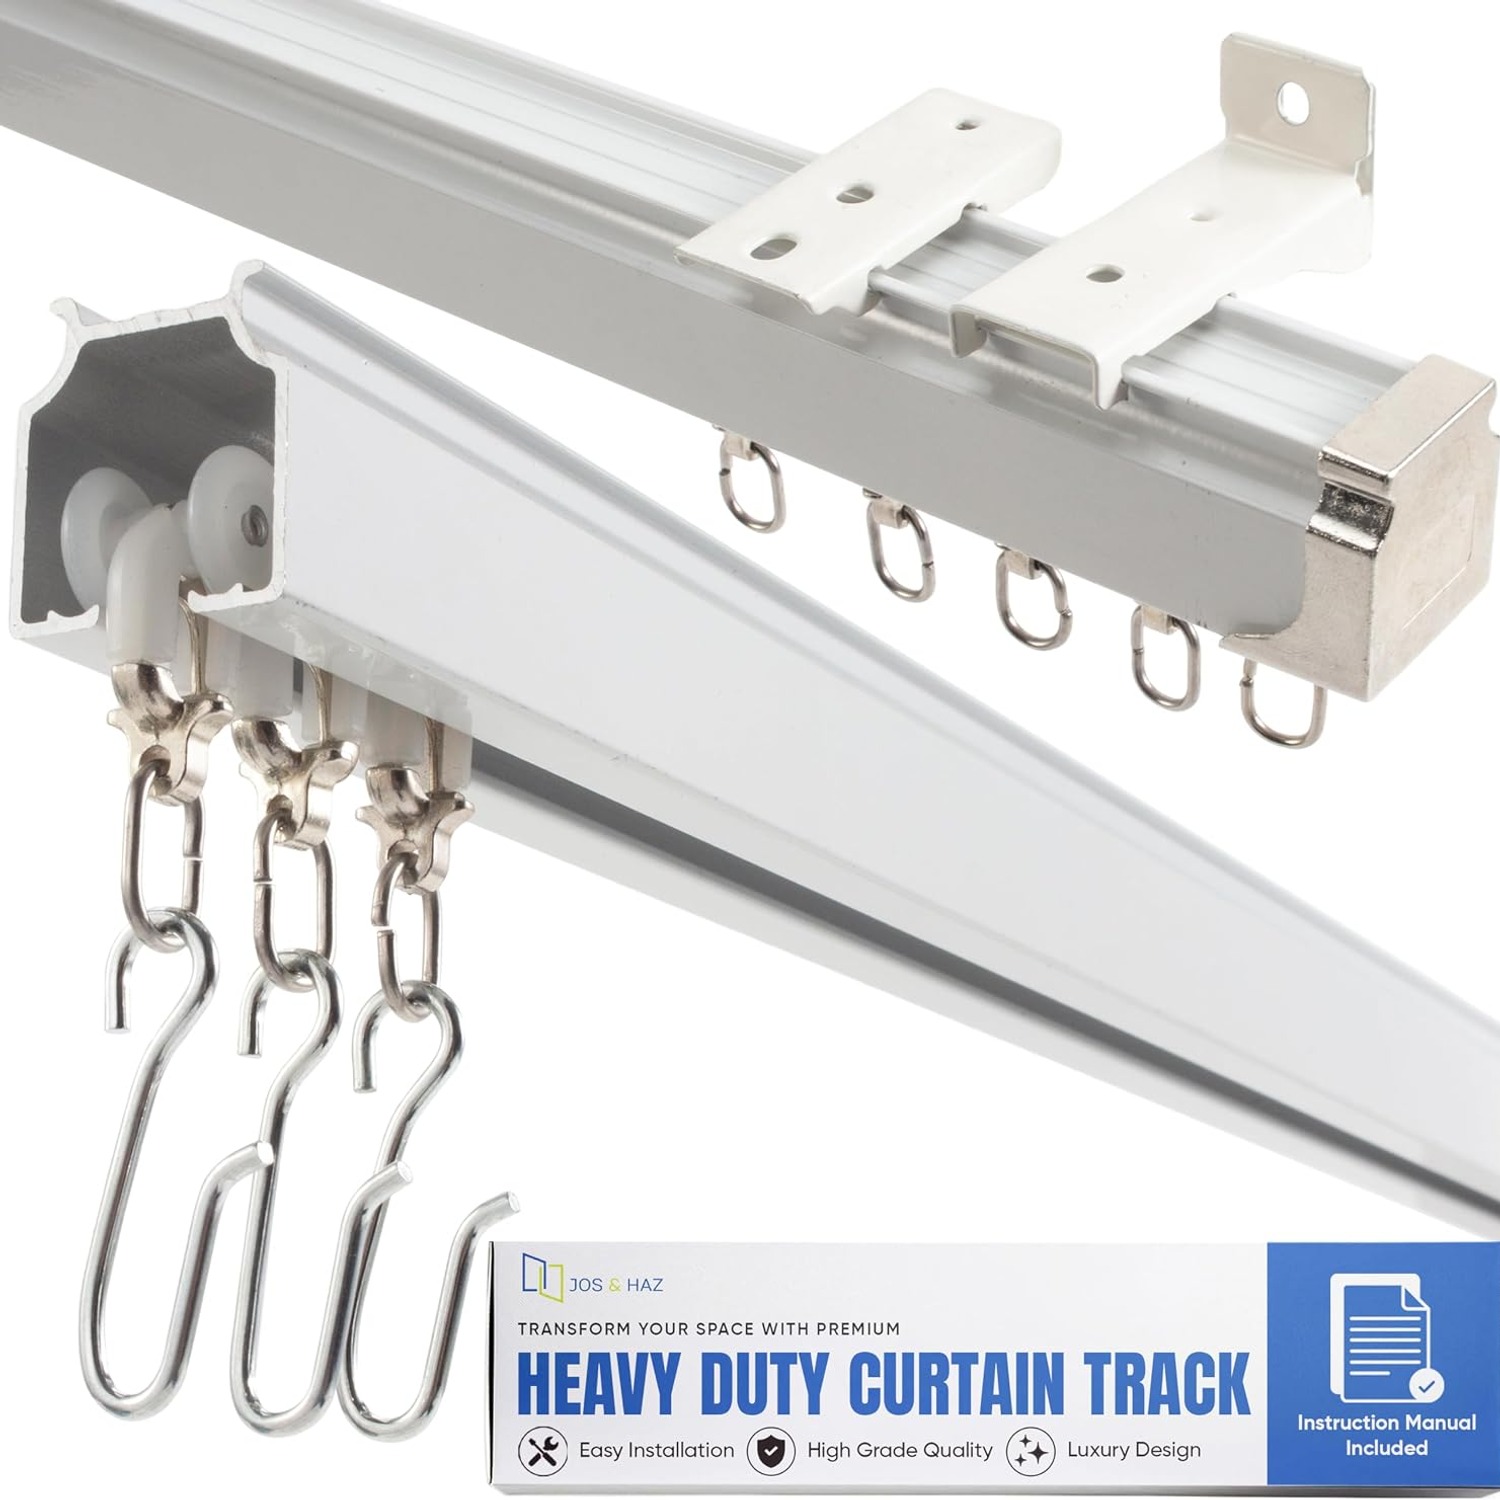
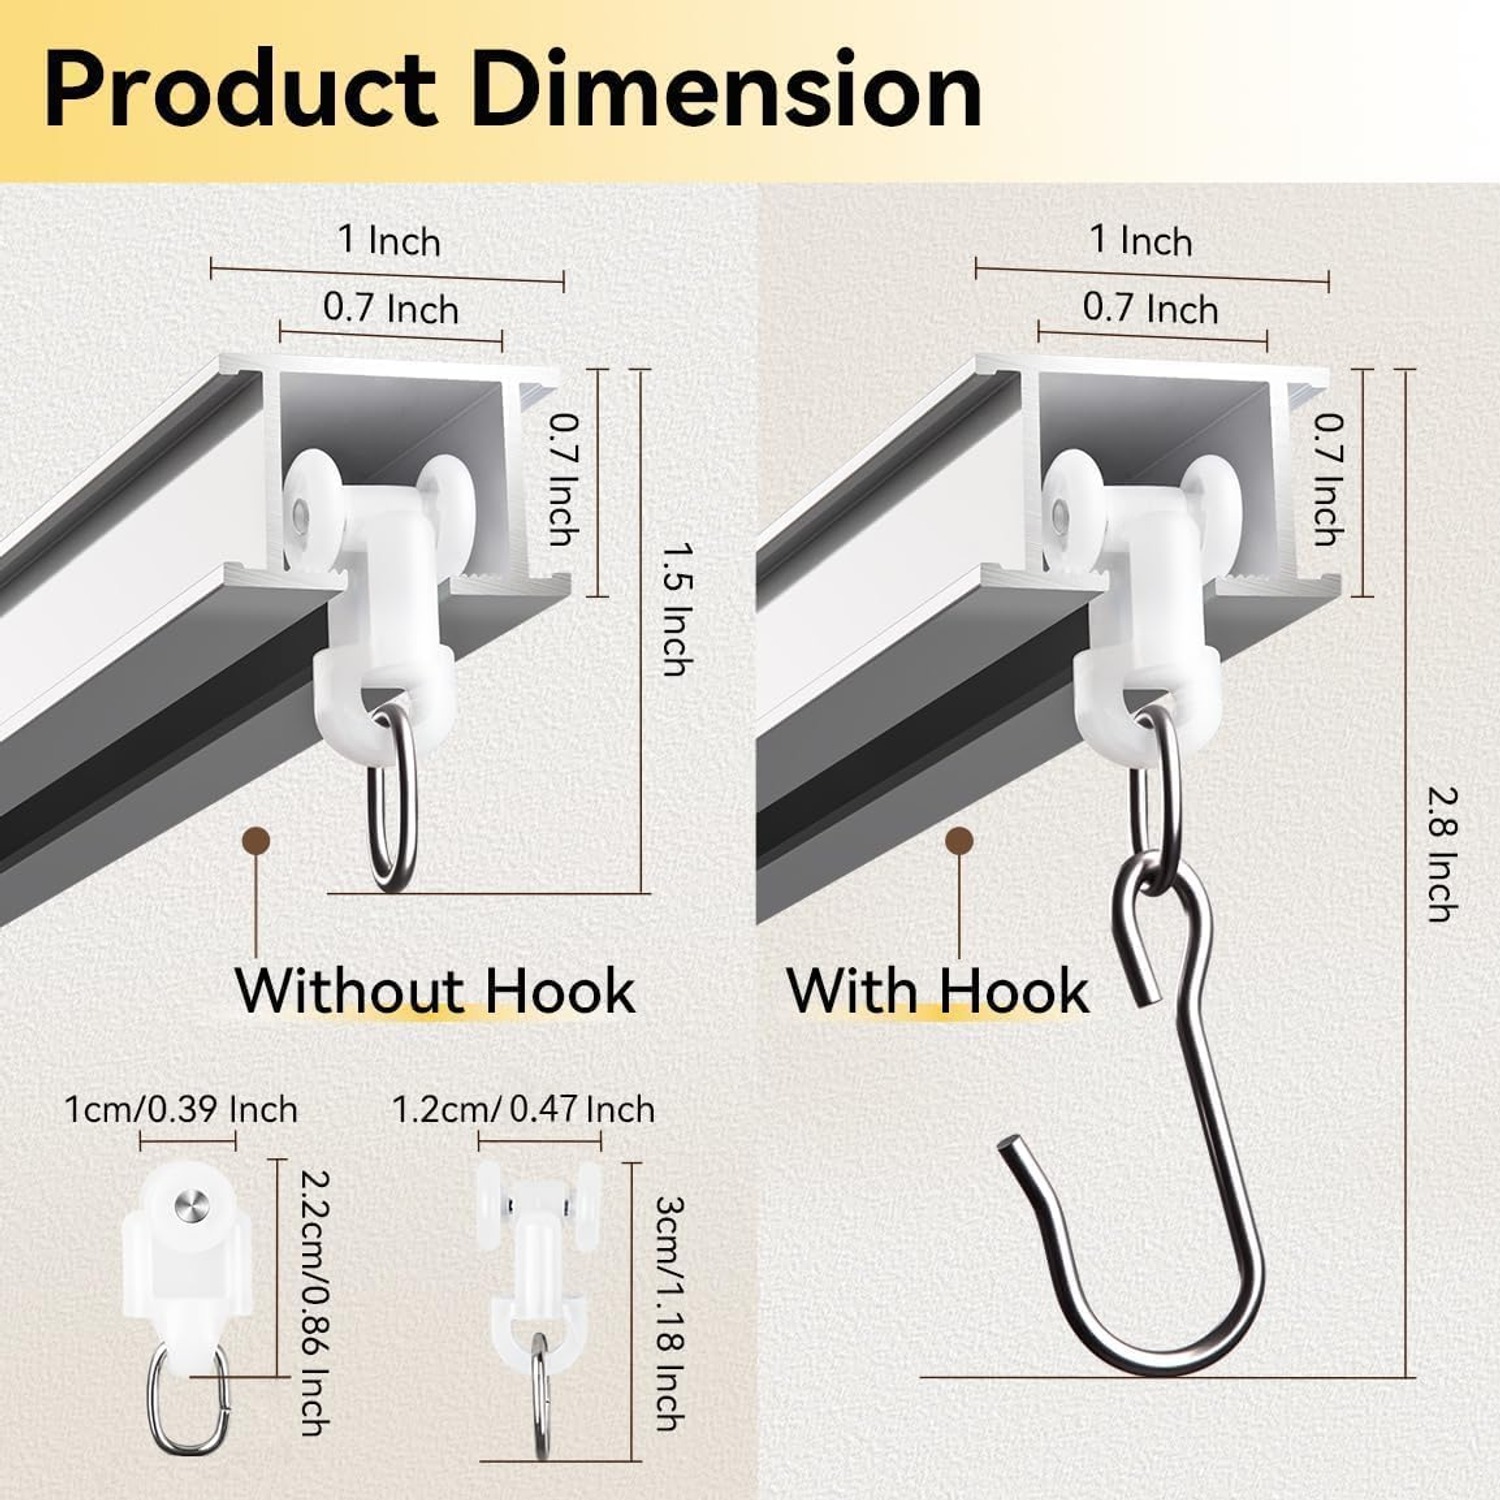
The rail is an aluminum extrusion with a channel running along the inside. Small roller pulleys sit in that channel, each with a hole in the bottom for a curtain hook. The curtain hangs from the pulleys, the pulleys roll along the channel, and the whole panel moves without dragging on anything.
That rolling action is the difference between a track that feels good and one that annoys you every day. Cheap plastic rails use sliding gliders that scrape along the channel. They judder, they squeak, and they need a firm tug. Roller pulleys move with a fingertip and stay quiet even when they are carrying a heavy lined drape.
This kit ships with 27 pulleys. Over a 9 ft run that is a pulley roughly every four inches, which keeps the fabric evenly gathered rather than drooping in long swags between hooks. Two end caps stop a pulley rolling off the end if you push the curtain too far.
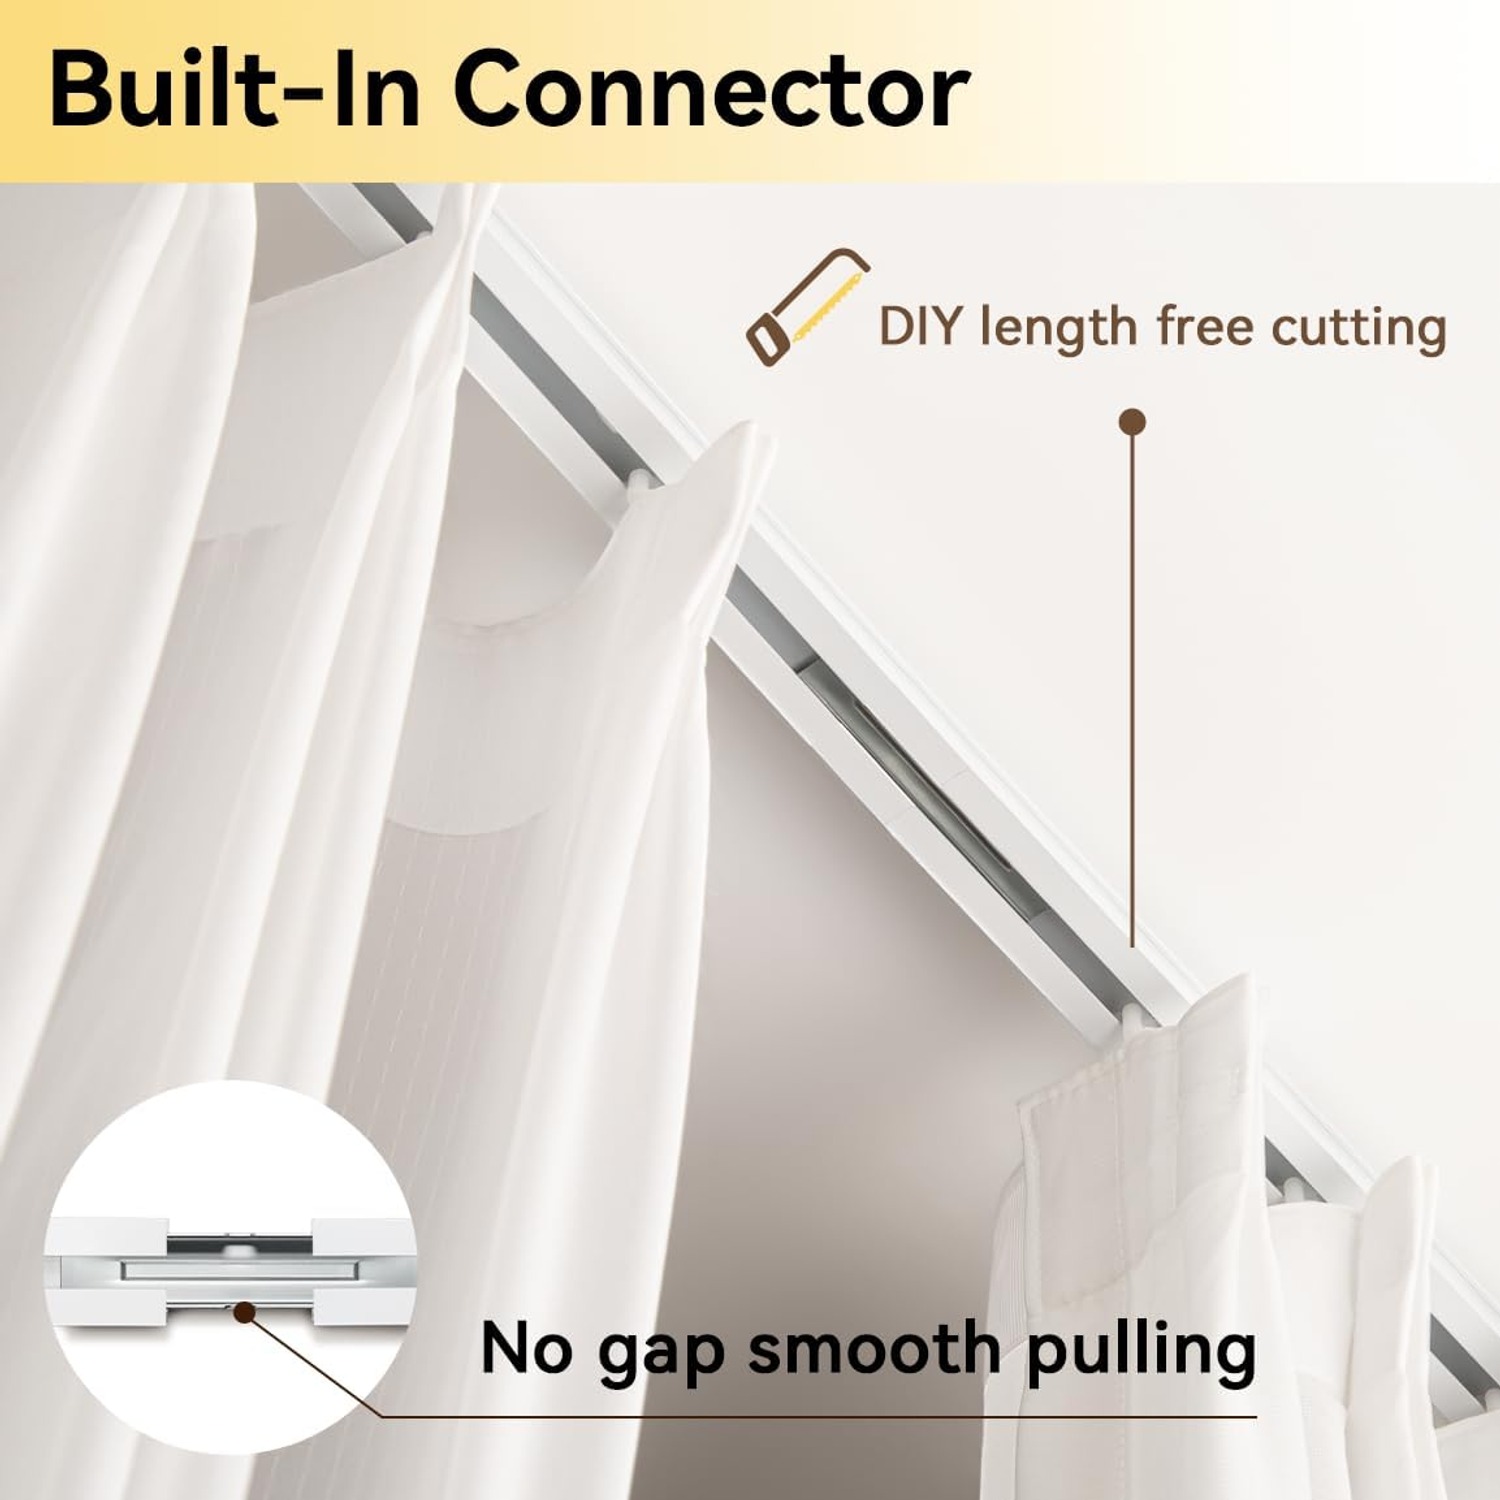
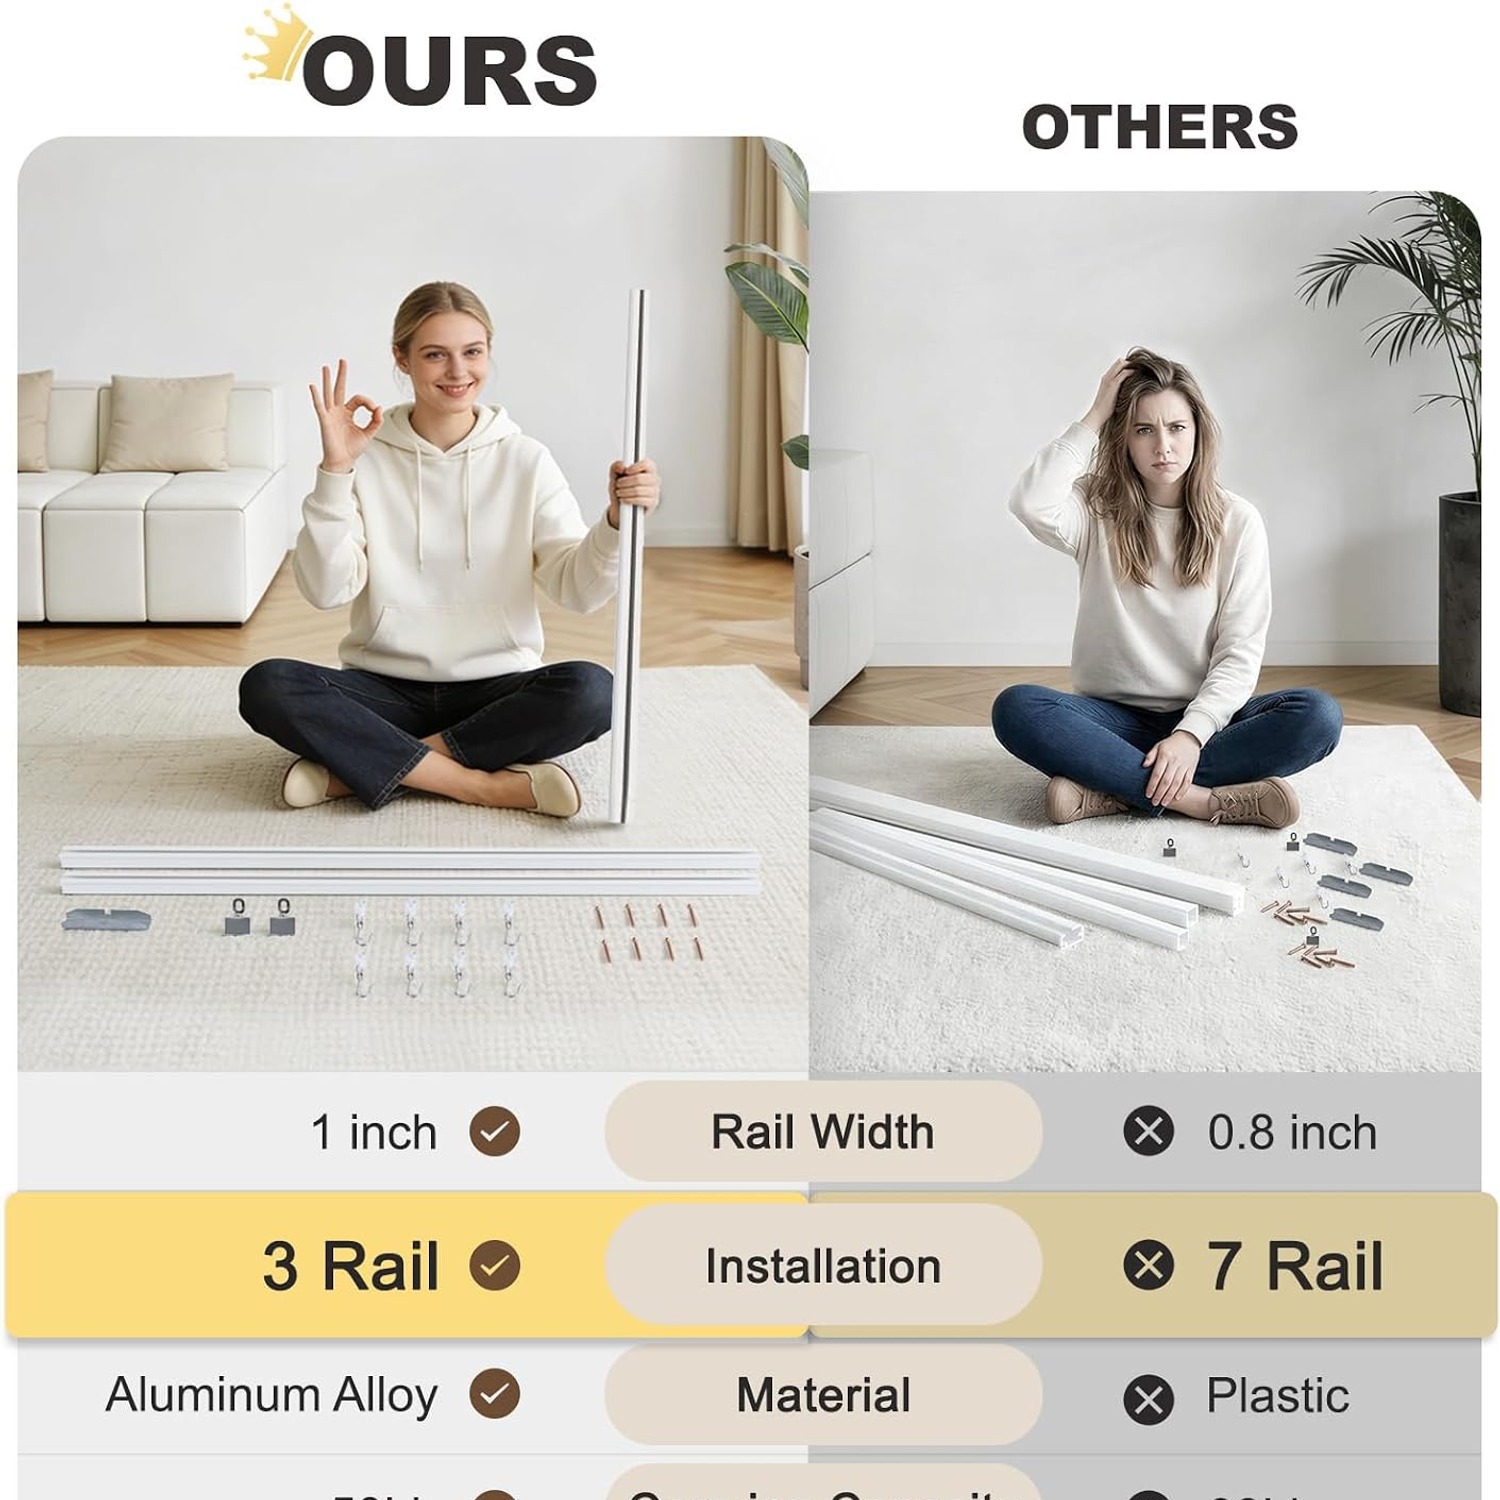
The rails come as three 3 ft sections with built-in connectors. You join as many as you need, which is how a single kit covers anything from 6 ft to 9 ft. If your opening falls between those numbers, the small saw in the box lets you shorten a section. Cut slowly, file the burr off the cut edge, and the pulleys will run past the joint without noticing.
Ceiling or wall, and how to decide
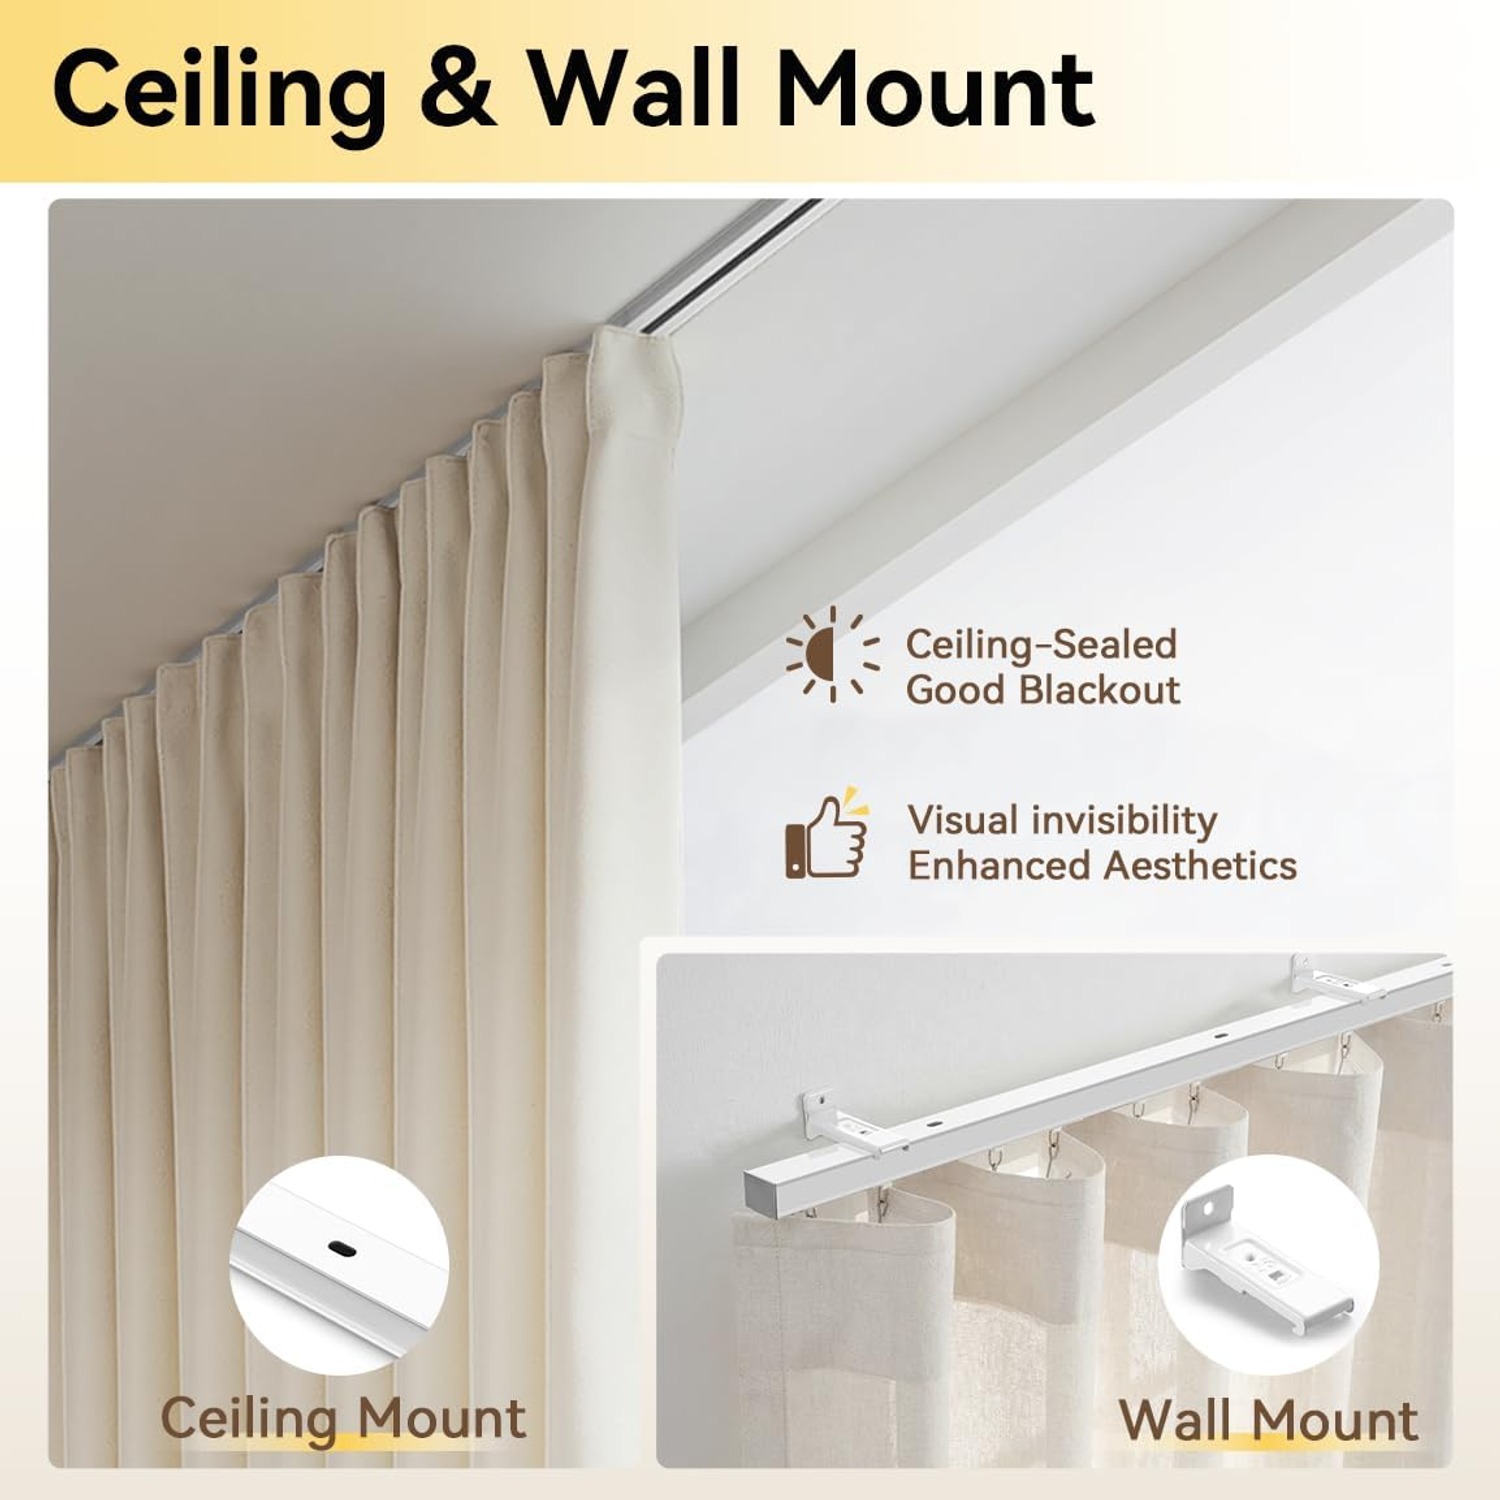
The rail comes with pre-drilled mounting holes along its body, so it screws straight up into the ceiling with no brackets at all. That is the setup most people want for a divider. The rail sits tight against the ceiling, so the curtain starts at the ceiling line and there is almost no light gap above it. For a blackout panel or a bedroom corner in a studio, that gap matters more than people expect.
The six wall brackets in the box hold the rail a short distance off a vertical surface instead. You would pick that route when the ceiling is unsuitable, when there is a beam or pipe in the way, or when you are fitting the track above a window and want the curtain to hang clear of a deep sill.
Whichever route you take, the fixing matters more than the rail. Fifty pounds is a serious load to hang overhead. Find the joists or studs with a detector and put your screws into solid timber. If you genuinely cannot reach a joist, use hollow-ceiling anchors rated well above the weight of your curtain, and add more fixing points than you think you need. Twelve expansion screws are supplied to get you started.
One thing to be clear about. This track is not made to bend, to go around a corner, or to be stuck up with adhesive strips. It is a straight rail that needs mechanical fixings. If your plan involves an L-shape or a curve, this is not the product for the job.
Who this suits
Renters in studios use a track like this more than anyone. A curtain across the room turns a bedsit into something closer to a one-bedroom, and when you move out there are four small holes to fill.
Parents sharing a room between two children use them to give each child a bit of their own space, especially when bedtimes are different. The same idea works for a nursery corner in a main bedroom.
Anyone working from a living room will recognize the value of being able to hide the desk at six o'clock. Out of sight really does help you stop thinking about it.
Beyond dividing rooms, the listed uses include window curtains, shower curtains and closet storage. Aluminum copes with humid air, so a bathroom use is reasonable, though keeping the rail out of direct spray is still sensible. Inside a wardrobe, a closet curtain rail screens open shelves for a lot less than fitting doors.
Measuring and choosing your length
Measure the full span you want to cover, then add a little at each end. A curtain needs somewhere to stack when it is open, and if the track stops exactly at the edge of the opening the bunched fabric will always sit in the way. An extra six to ten inches each side is usually enough.
Next, think about height. For a divider, you want the curtain to clear the floor by about half an inch so it moves freely and does not collect dust. Measure from the ceiling down to the floor, then subtract that clearance, then subtract the drop of the pulley and hook. That gives you the finished curtain length to order.
Then think about fabric weight. The 50 pound rating is high, so most curtains are comfortably within it, but a full-height lined blackout panel across 9 ft is heavier than people guess. Weigh the curtain if you are unsure, and add fixings rather than hoping.
Fitting it without drama
Lay the rails out on the floor and push the connectors fully home before you lift anything. It is far easier to get a joint square at waist height than above your head.
Thread the pulleys on before you fit the end caps. This is the step people forget, and taking a mounted rail back down to add pulleys is a miserable job.
Mark your fixing points with a pencil and check them against your joist positions before you drill. Hold the assembled rail up and have someone eyeball it from across the room. Ceilings are rarely perfectly level, and a rail that follows the ceiling usually looks better than one that is level but visibly out of parallel with it.
Start the screws at the ends, check the glide with a couple of pulleys, then fix the middle points. Fit the end caps last.
Keeping it running well
Aluminum tracks need almost nothing. The one thing that spoils them is dust and grit building up in the channel, which makes the pulleys drag. Once or twice a year, slide the pulleys off one end and run a vacuum crevice tool along the inside. Wipe the outside with a dry cloth.
Resist the urge to spray oil in there. Oil picks up dust and turns into a paste that is worse than the original problem. If a pulley is sticky after cleaning, replace it rather than lubricating it.
While you are up the ladder, put a screwdriver on each mounting screw. Houses move, and a screw that has backed out a turn is easy to fix and expensive to ignore.
The short version
This is a white aluminum rail that covers 6ft to 9ft, mounts flush to a ceiling or out on wall brackets, rolls on 27 pulleys, and takes 50 pounds of curtain. It arrives with the connectors, brackets, screws, caps, hooks and even a saw to cut it down.
It is a straight rail, so plan a straight run and fix it into something solid. Do that and you have a wall you can open and close whenever you like.