
The complete guide
How To Choose And Fit A Flexible Ceiling Curtain Track
The problem with straight rods
Most curtain hardware assumes a flat wall, a square window and plenty of space above the frame. Plenty of homes do not work like that. Bay windows turn corners. Attic rooms have sloping walls. Studio flats need a curtain that splits the space rather than covers a window. Camper vans and caravans curve. In all of those situations a rigid pole either does not fit or leaves a gap where light and draughts get through.
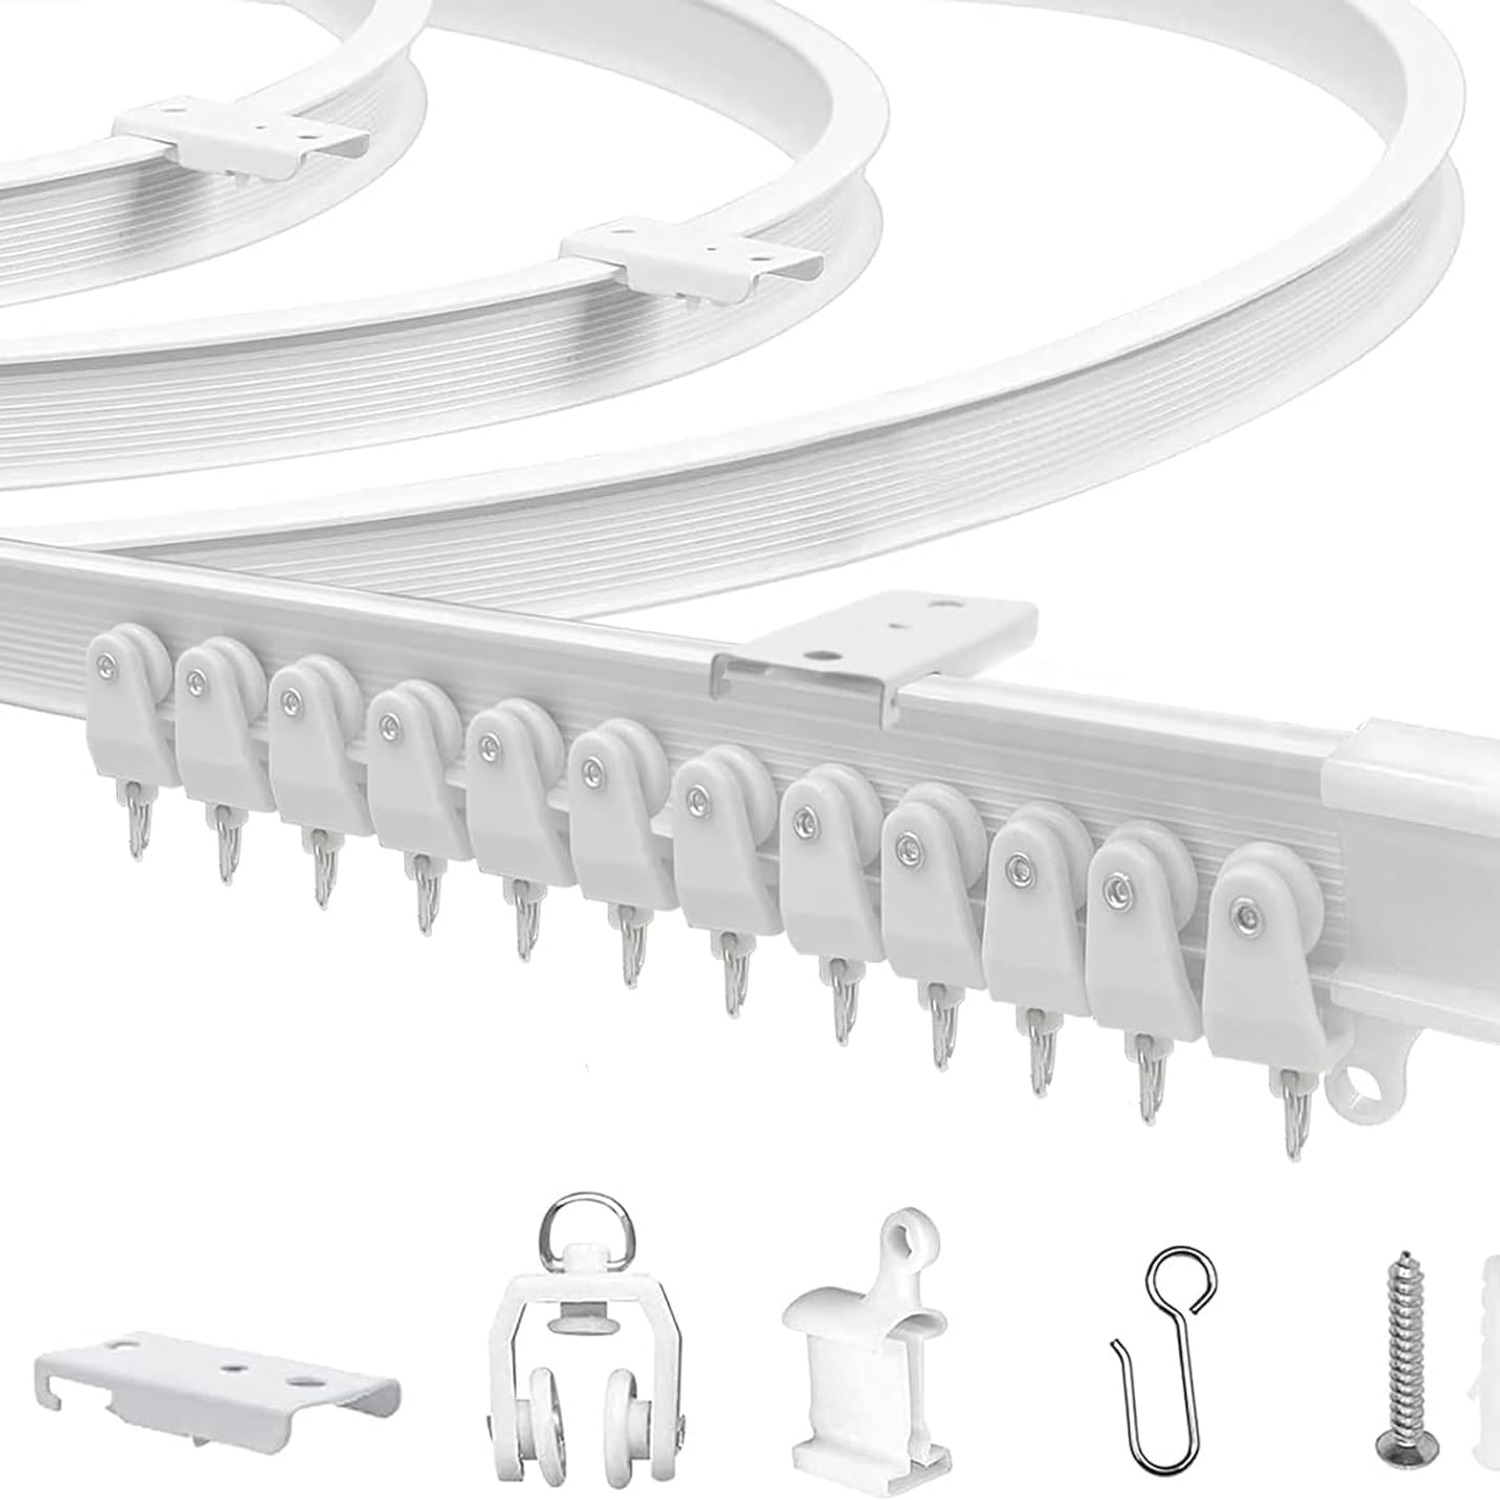
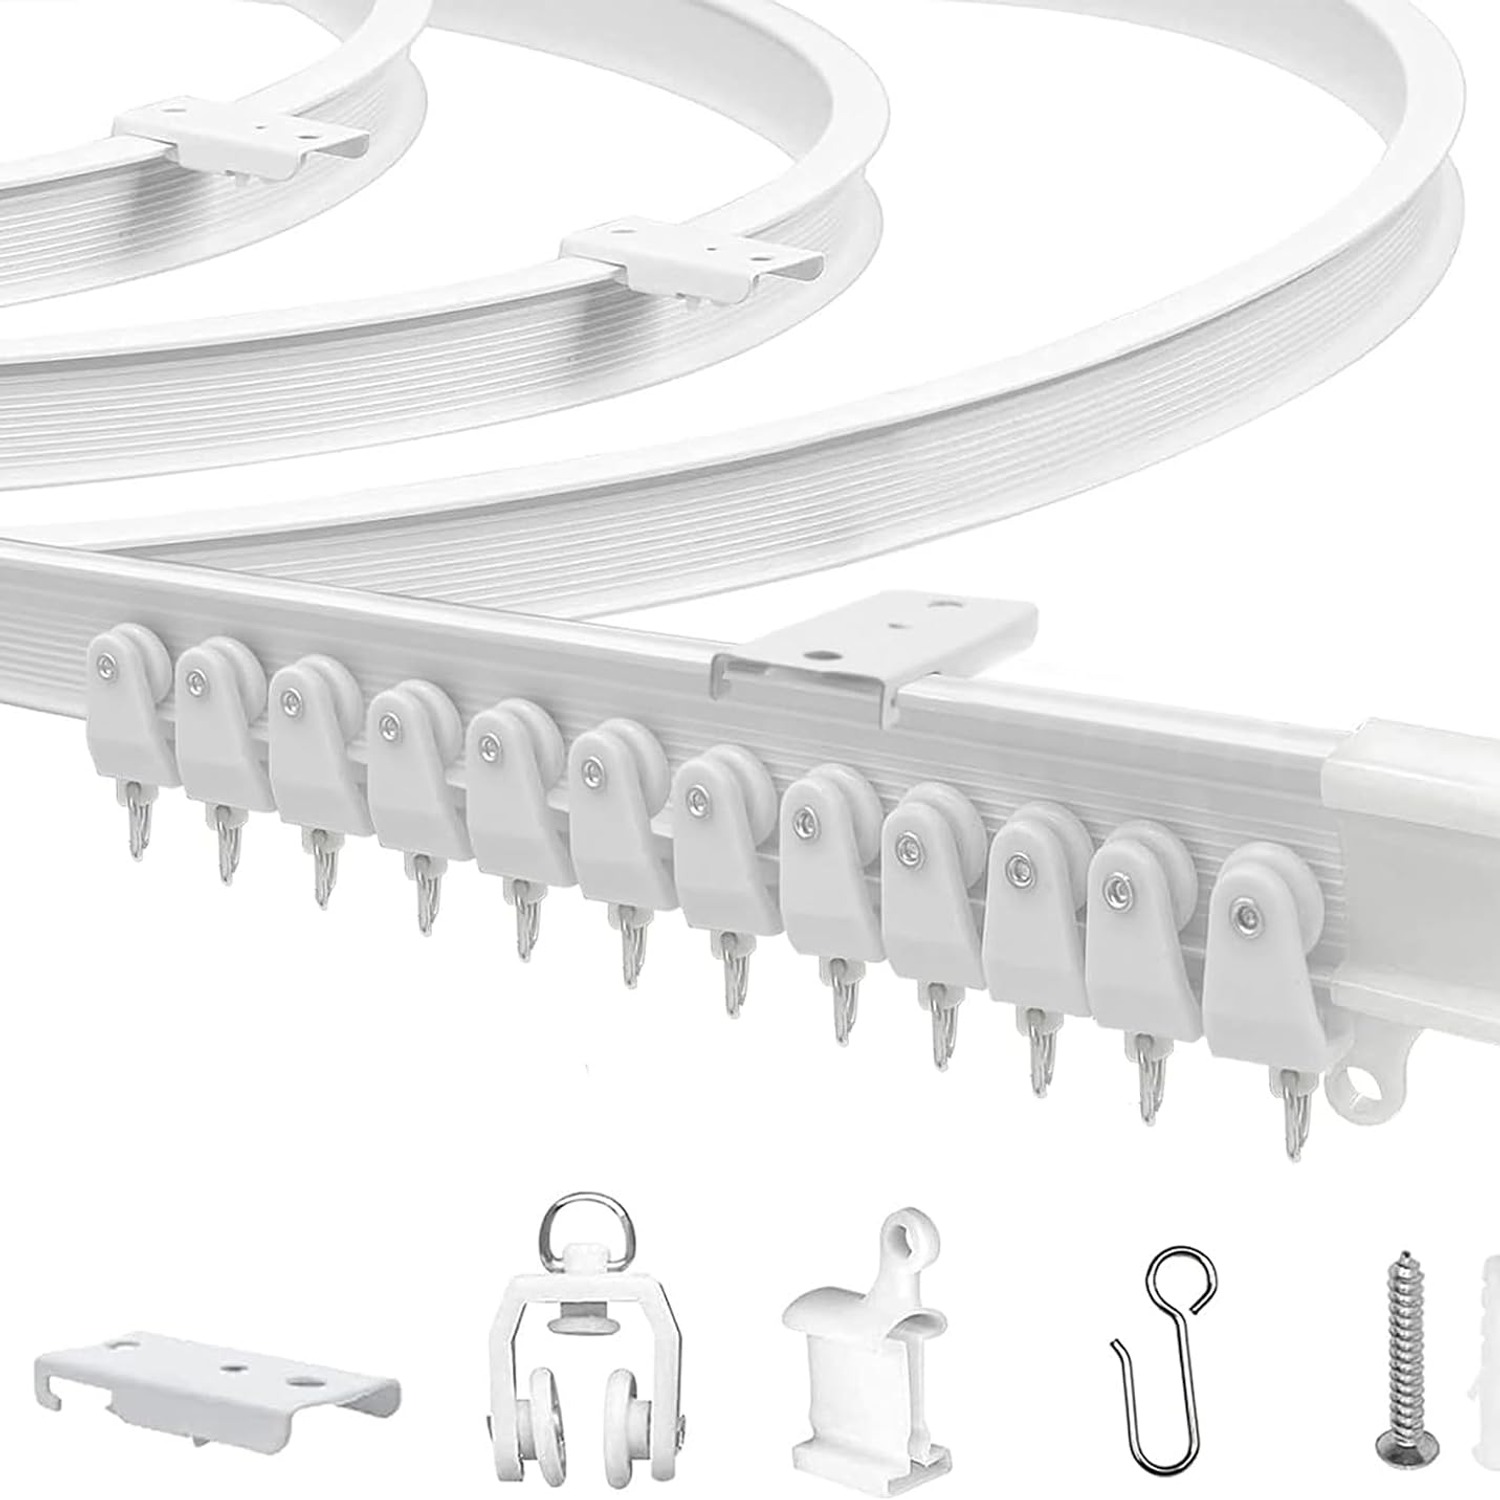
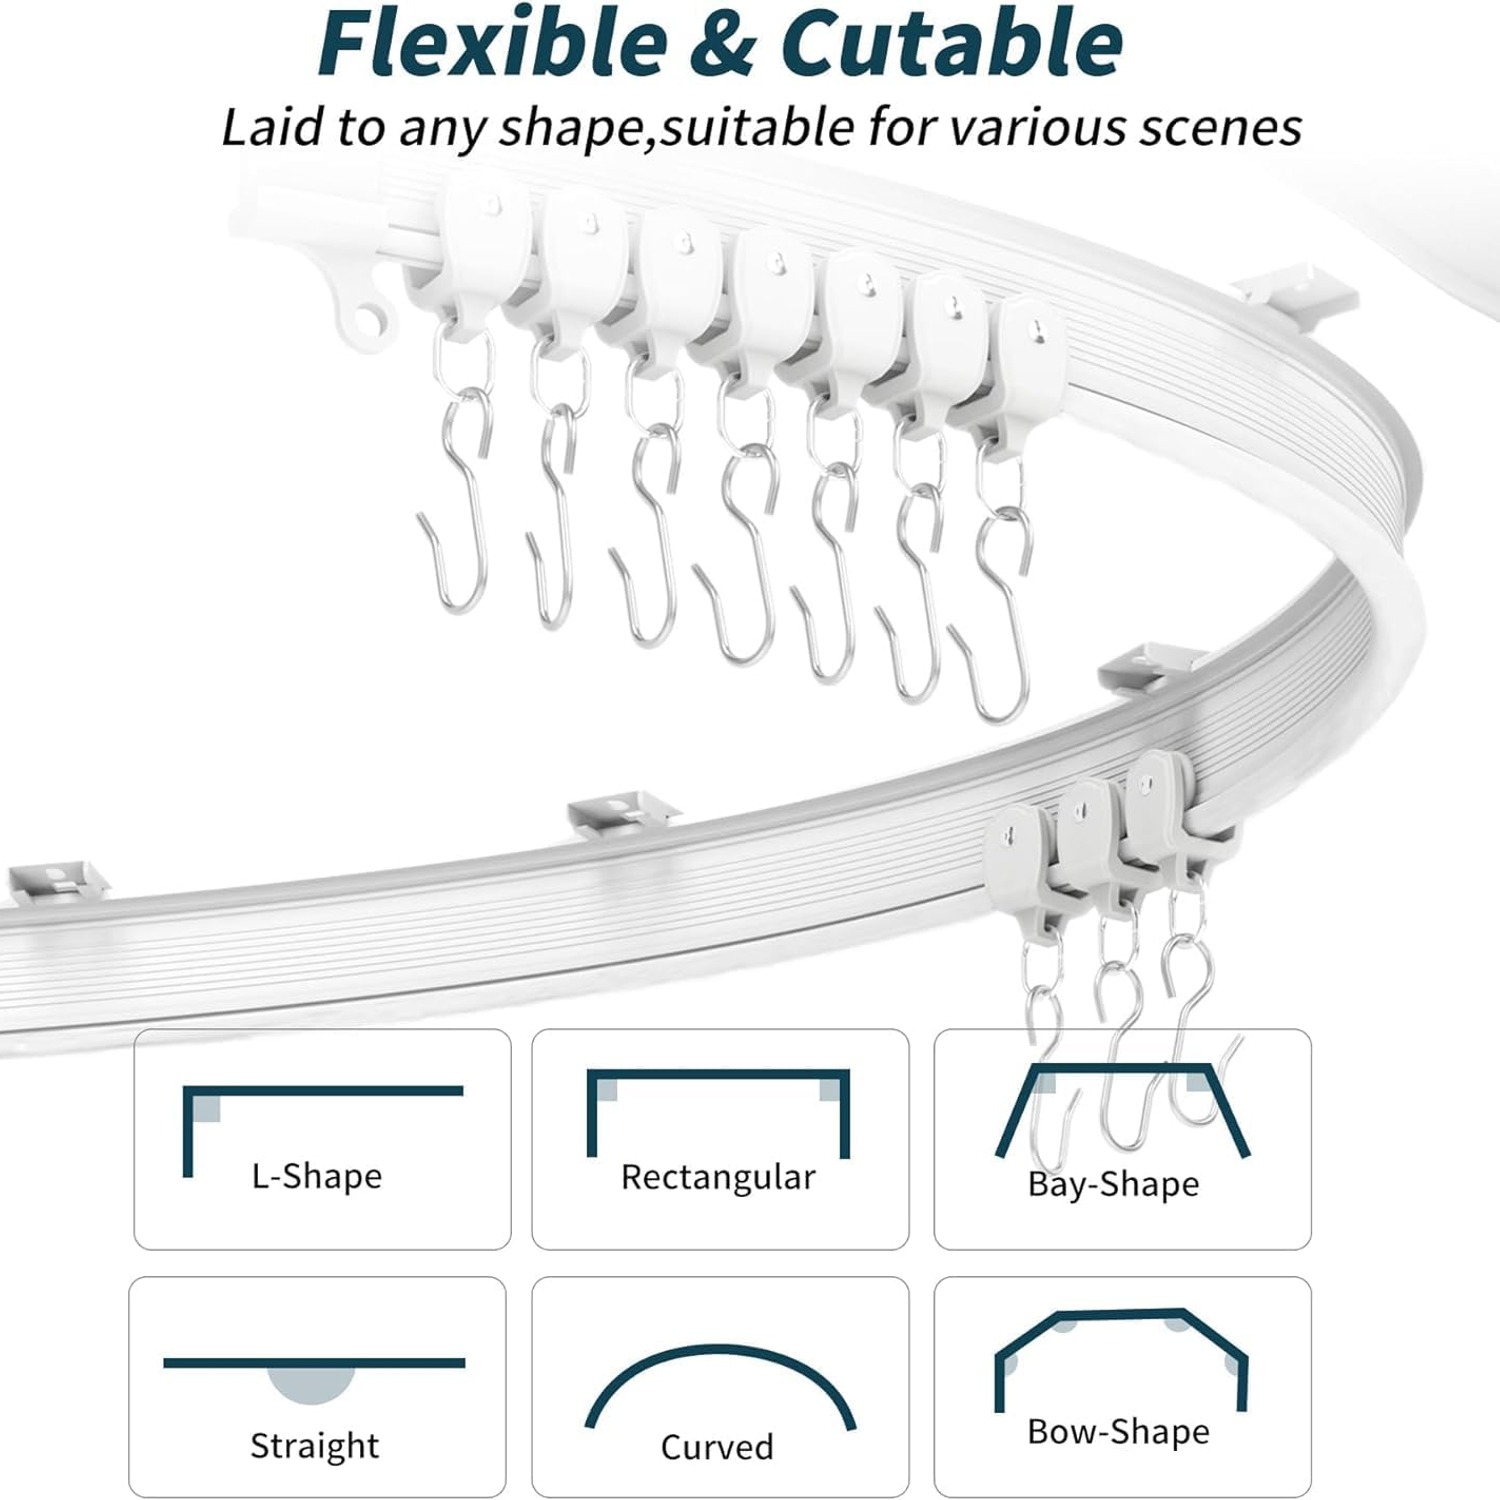
A flexible ceiling curtain track takes a different approach. Instead of asking the room to be straight, the rail bends to match whatever shape you have. This one is 22.9 ft (7 m) long, white, and designed to be formed by hand into an L, a U, a gentle curve or a rounded run, then screwed to the ceiling with the brackets supplied.
How a bendable track actually works
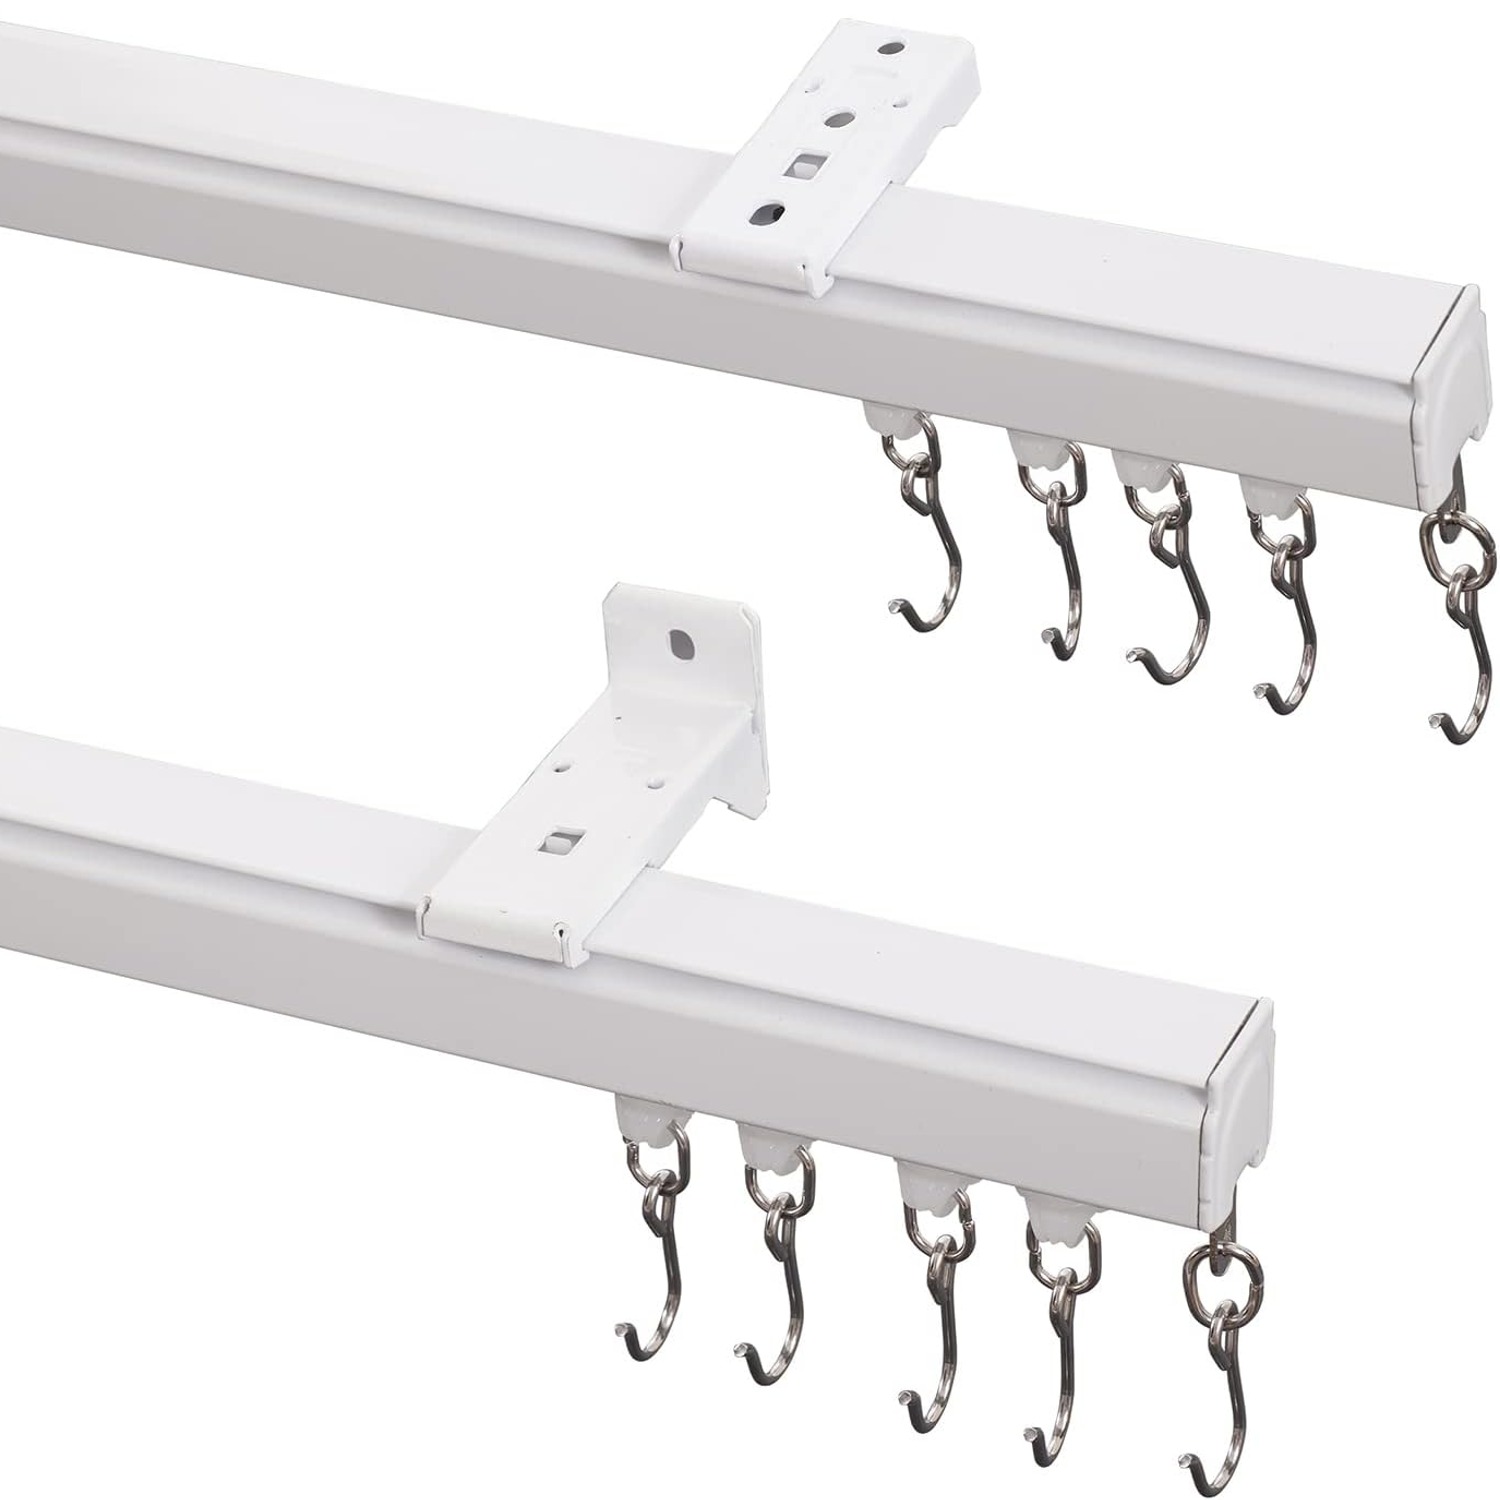
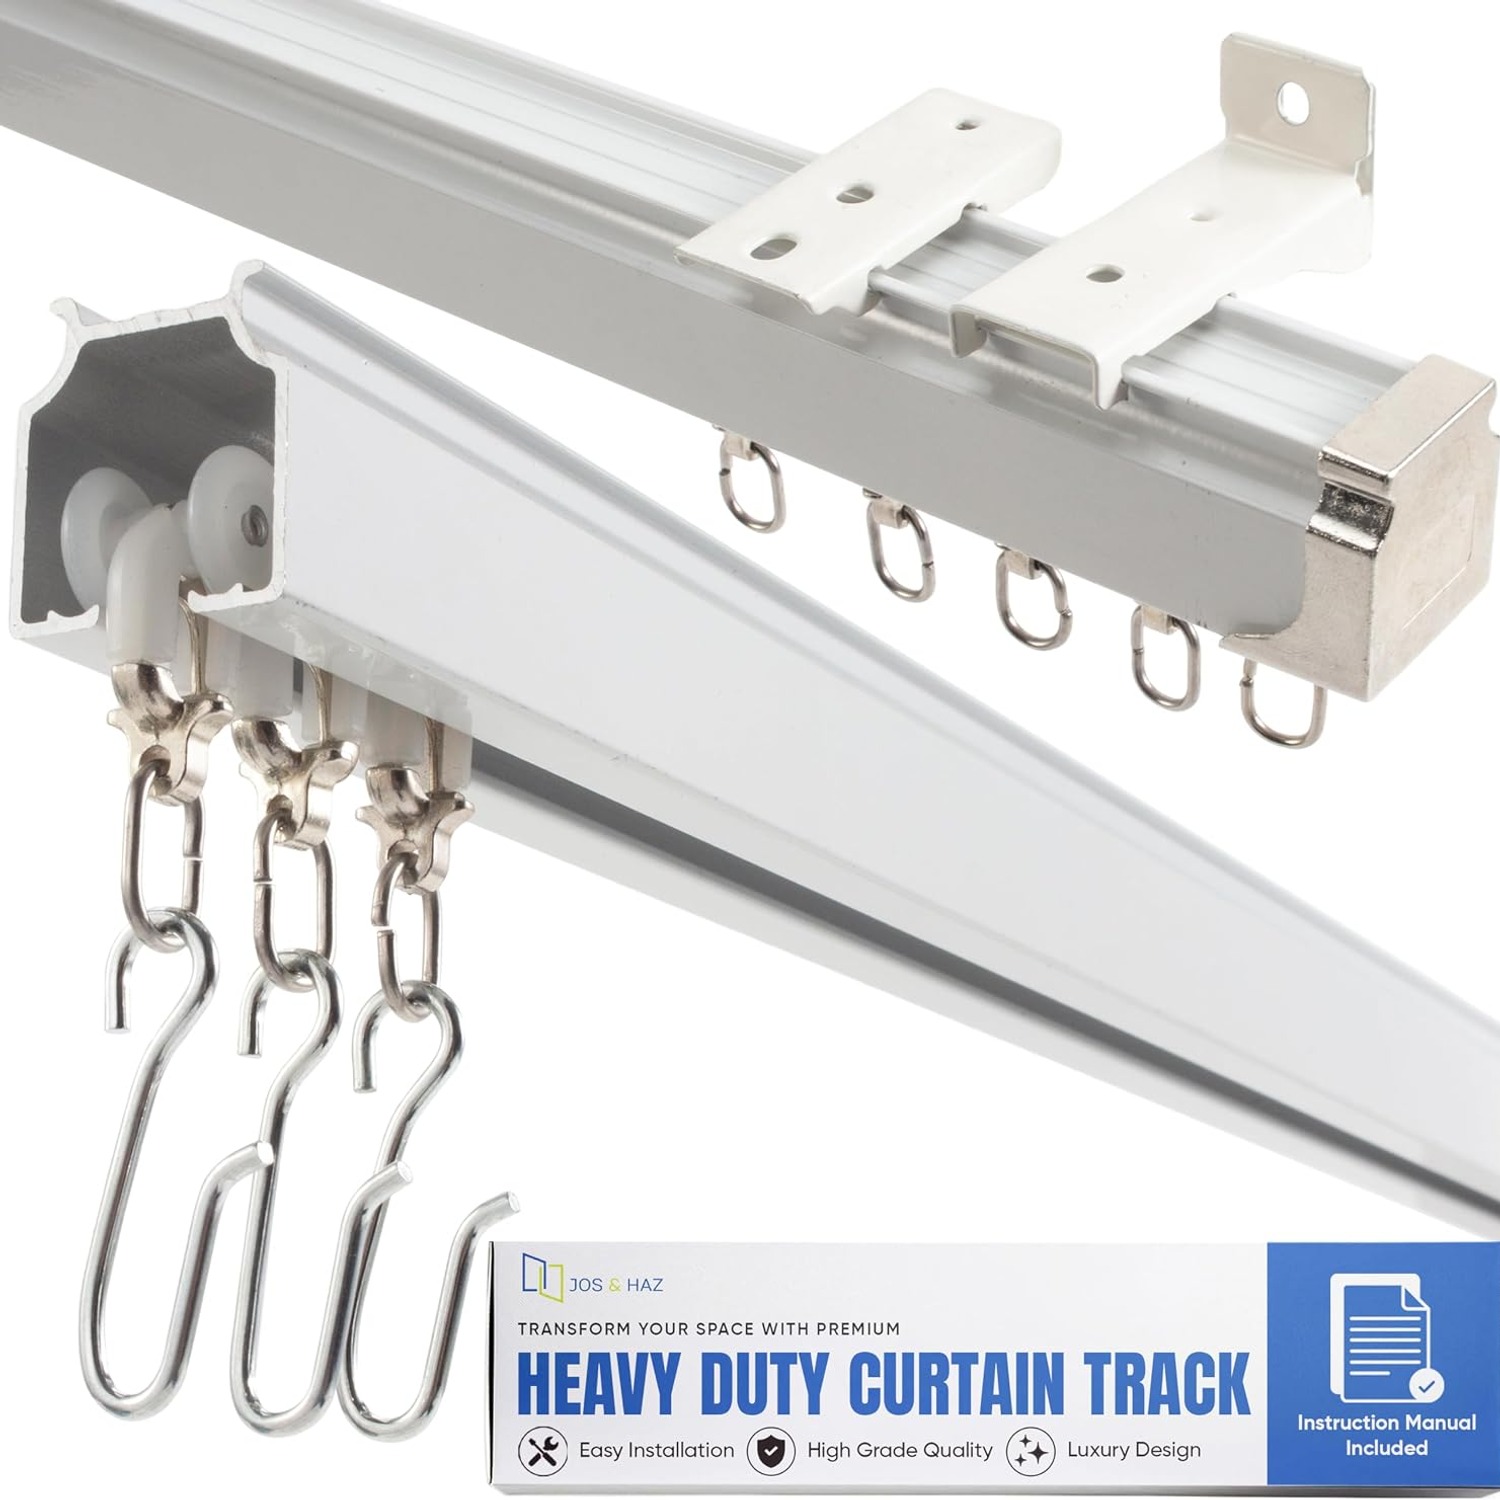
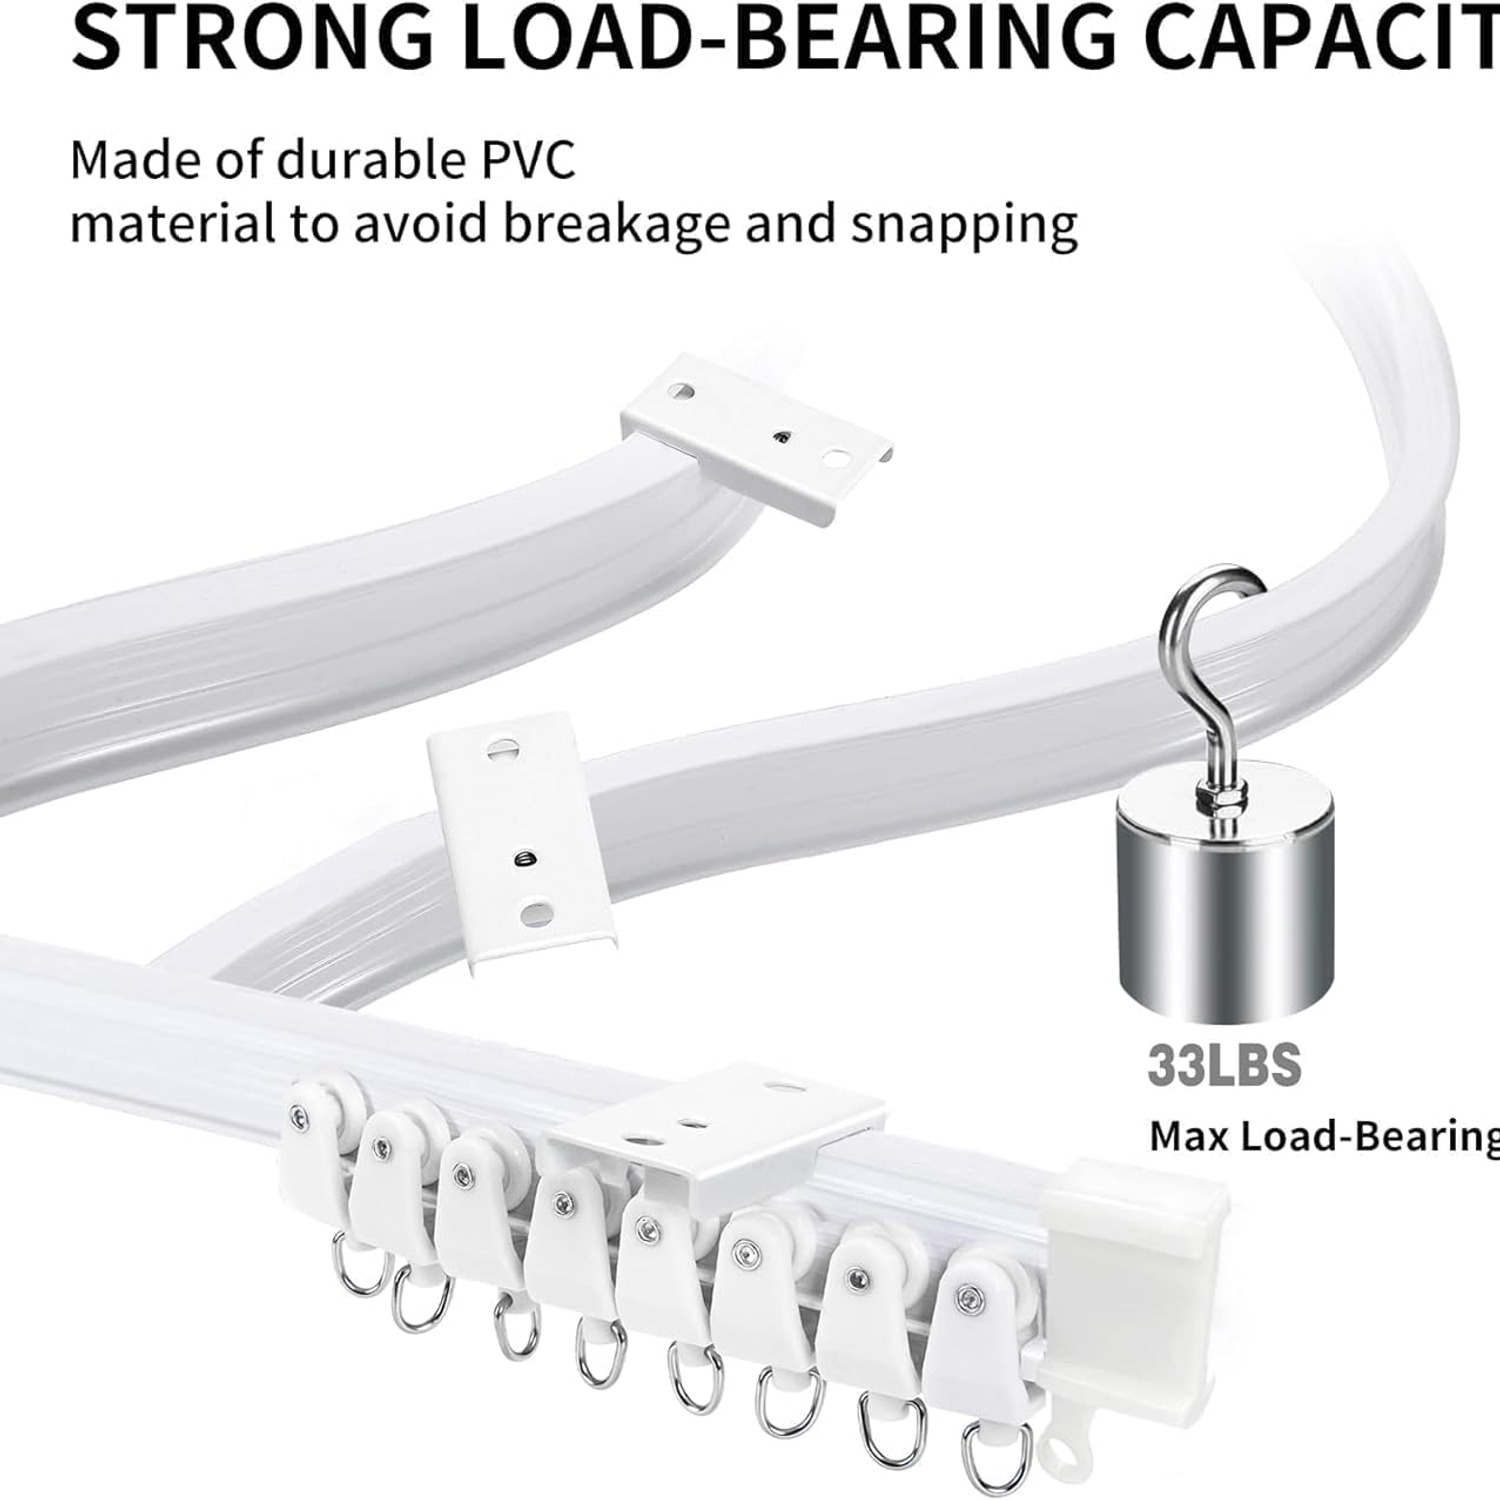
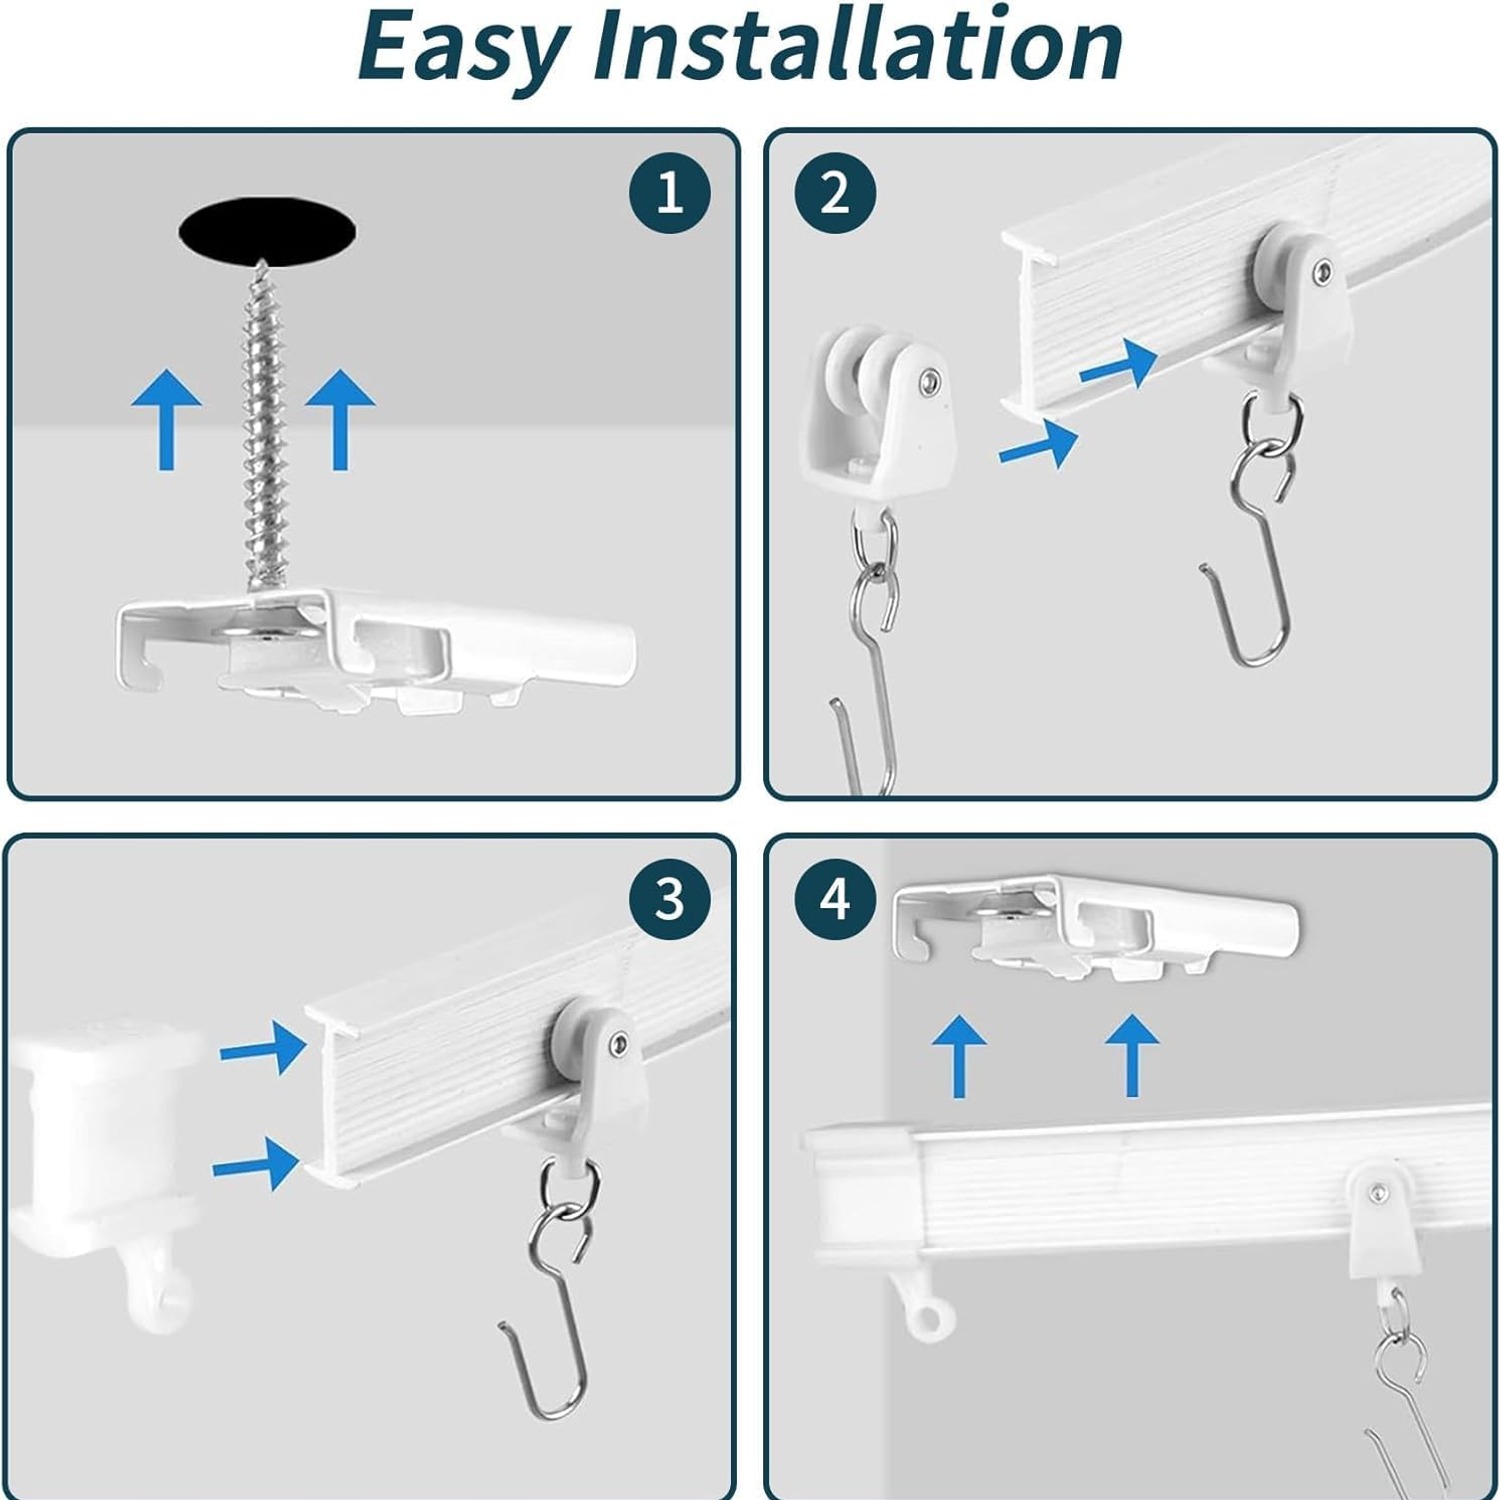
The rail is a slim channel made from PVC with metal and stainless steel parts. The PVC is what lets it flex. The harder components are where strength and wear matter. Inside the channel sit the rollers, small wheeled carriers that slide freely along the track. Each roller takes a hook, and the hooks go into the tape on the back of your curtain.
When you draw the curtain, the fabric does not scrape along a pole. The rollers carry it, which is why track systems are quieter than rings and why they are so common in hospitals, hotels and cinemas where curtains get pulled dozens of times a day.
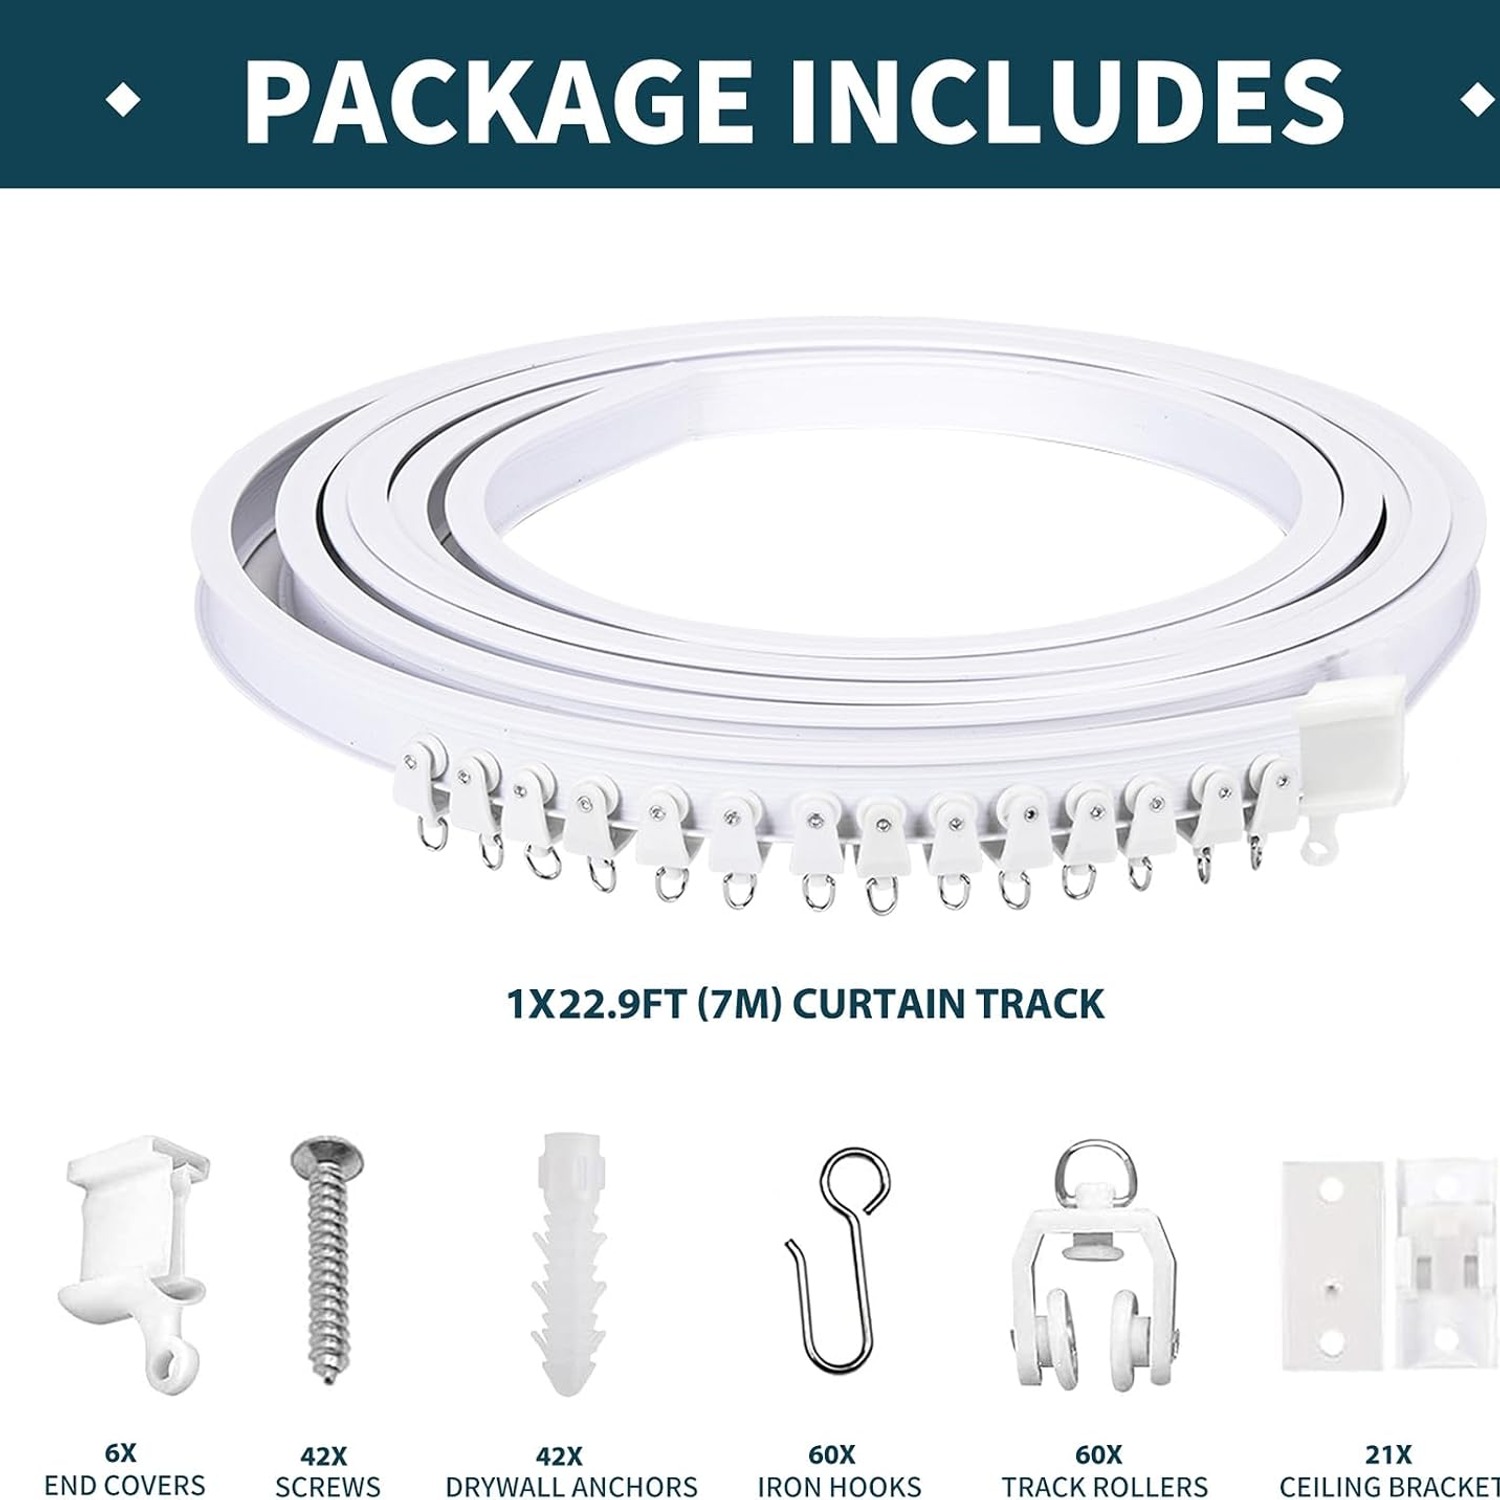
Mounting is overhead. Twenty one ceiling brackets clip the rail in place, with 42 drywall anchors and 42 screws to fix them. That bracket count looks high for a single rail until you try to bend one. A curve only stays crisp if it is supported closely. Through a tight corner you might put brackets a few inches apart, where on a straight stretch you can space them much wider.
The kit also includes 60 rollers, 60 iron hooks and 6 end covers. The end covers stop rollers sliding off the ends once everything is in place. Curtain clips are not in the box, so if you plan to hang a flat panel with clip rings, order those separately.
Who it suits
Bay window owners. This is the classic case. A bay has two or three angle changes, and buying separate poles for each section leaves visible joins and gaps. One bendable rail turns every corner in a single unbroken line, and the curtain glides from one end to the other without catching.
Van and RV builders. Curved walls and low ceilings make standard hardware useless. A ceiling mounted curtain rail sits tight against the roof and follows the curve. Just be careful about fixings, because RV ceilings are often thin board rather than drywall, and the supplied anchors are intended for drywall.
People splitting a room. A room divider curtain track across the ceiling turns one space into two without building anything. It works for a bed nook in a studio, a home office corner or a shared kids' room. No frame, no plasterwork, and it comes down in minutes.
Bathrooms. Used as a shower curtain track, the rail can wrap a corner shower or run along a bath where no fitted screen exists. Keep it wiped dry and check the fixings from time to time.
Anyone short on wall space. If there is barely an inch between the top of your window frame and the ceiling, there is nowhere to put wall brackets. Ceiling mounting sidesteps the problem entirely and tends to make windows look taller.
Measuring and planning before you drill
Start with the run, not the window. Measure the full path the curtain needs to travel, including any corners, and add a little extra at each end so the curtain can stack back off the glass. That stack allowance is what stops a drawn-back curtain from blocking a third of your window.
For a bay, measure each straight section separately and add them together. Then sketch the shape on paper with the angles marked. It sounds fussy, but it saves you discovering mid-install that one leg is 20 cm short.
Decide where the brackets go before you pick up the drill. Mark them in pencil on the ceiling, check they are not landing on a joist you cannot drill or a cable run you cannot see, and adjust as needed. On straight sections, space them evenly. On bends, cluster them.
Finally, work out your curtain heading. Pencil pleat and pinch pleat tape both take the supplied hooks directly. Eyelet curtains do not work with a track at all, so if that is what you own, this is not the right system for you.
Fitting it without drama
Unroll the track on a flat floor and leave it for a while. It ships coiled, and giving it time to relax makes shaping far easier.
Shape before you fix. Bend the rail to your layout on the ground, hold it up against the ceiling and check the angles match. Adjust while it is still easy to handle.
Cut to length with a fine tooth hacksaw if your run is shorter than 7 m. Run a file over the cut edge afterwards. A rough edge is the main cause of rollers sticking.
Drill, anchor and fit the brackets, then clip the rail into them working from one end. Slide the rollers in through an open end, count them as they go, then cap both ends with the covers. Hook your curtain on last and test the draw along the full run before you call it done.
A second person helps a lot here. Seven meters of rail is light but floppy, and holding it level while you drive screws overhead is genuinely easier with four hands.
Keeping it running well
Maintenance is minimal. Wipe the rail with a damp cloth when you dust and dry it off. Avoid bleach, solvents and anything abrasive, since those mark plastic and painted metal.
If the curtain starts to feel stiff, the cause is almost always dust and fabric lint in the channel. Pop an end cover off, slide the rollers out, wipe the channel clean and refit. Five minutes and it runs like new.
Check the bracket screws a couple of times a year, especially in a van where vibration works things loose, and in bathrooms where humidity cycles. Tighten anything that has moved.
Two things worth knowing before you buy
First, clips are not included. If your plan is a flat panel hung from clip rings, budget for those separately.
Second, the supplied anchors are drywall anchors. Concrete, timber and vehicle ceilings all need different fixings. That is normal for any ceiling mounted hardware, but it is better to know before the parcel arrives than halfway through the job.
The short version
If your window is square and your wall is flat, a pole will do. If you have a bay, a curve, a sloping ceiling, a van, a corner shower or a room that needs dividing, a bendable rail is the easier answer. This kit gives you 7 m of flexible track, 60 rollers, 60 hooks, 21 brackets and all the screws and anchors for a drywall ceiling, in plain white that disappears against most ceilings.
Measure the full path, shape it on the floor first, cluster your brackets through the bends, and the rest is a straightforward afternoon's work.