


The complete guide
Ceiling Curtain Track Buyer's Guide: Sizing, Mounting And Hanging Long Curtains
The problem with long curtains
Anything over about eight feet is where curtain poles start to disappoint people. The rod bows in the middle under the weight of lined fabric. Rings catch on the centre bracket, so you end up walking the curtain across in stages. On a cold morning, that metallic scrape is the last sound you want. And if the pole is holding a blackout panel, the sag gets worse as the months pass.
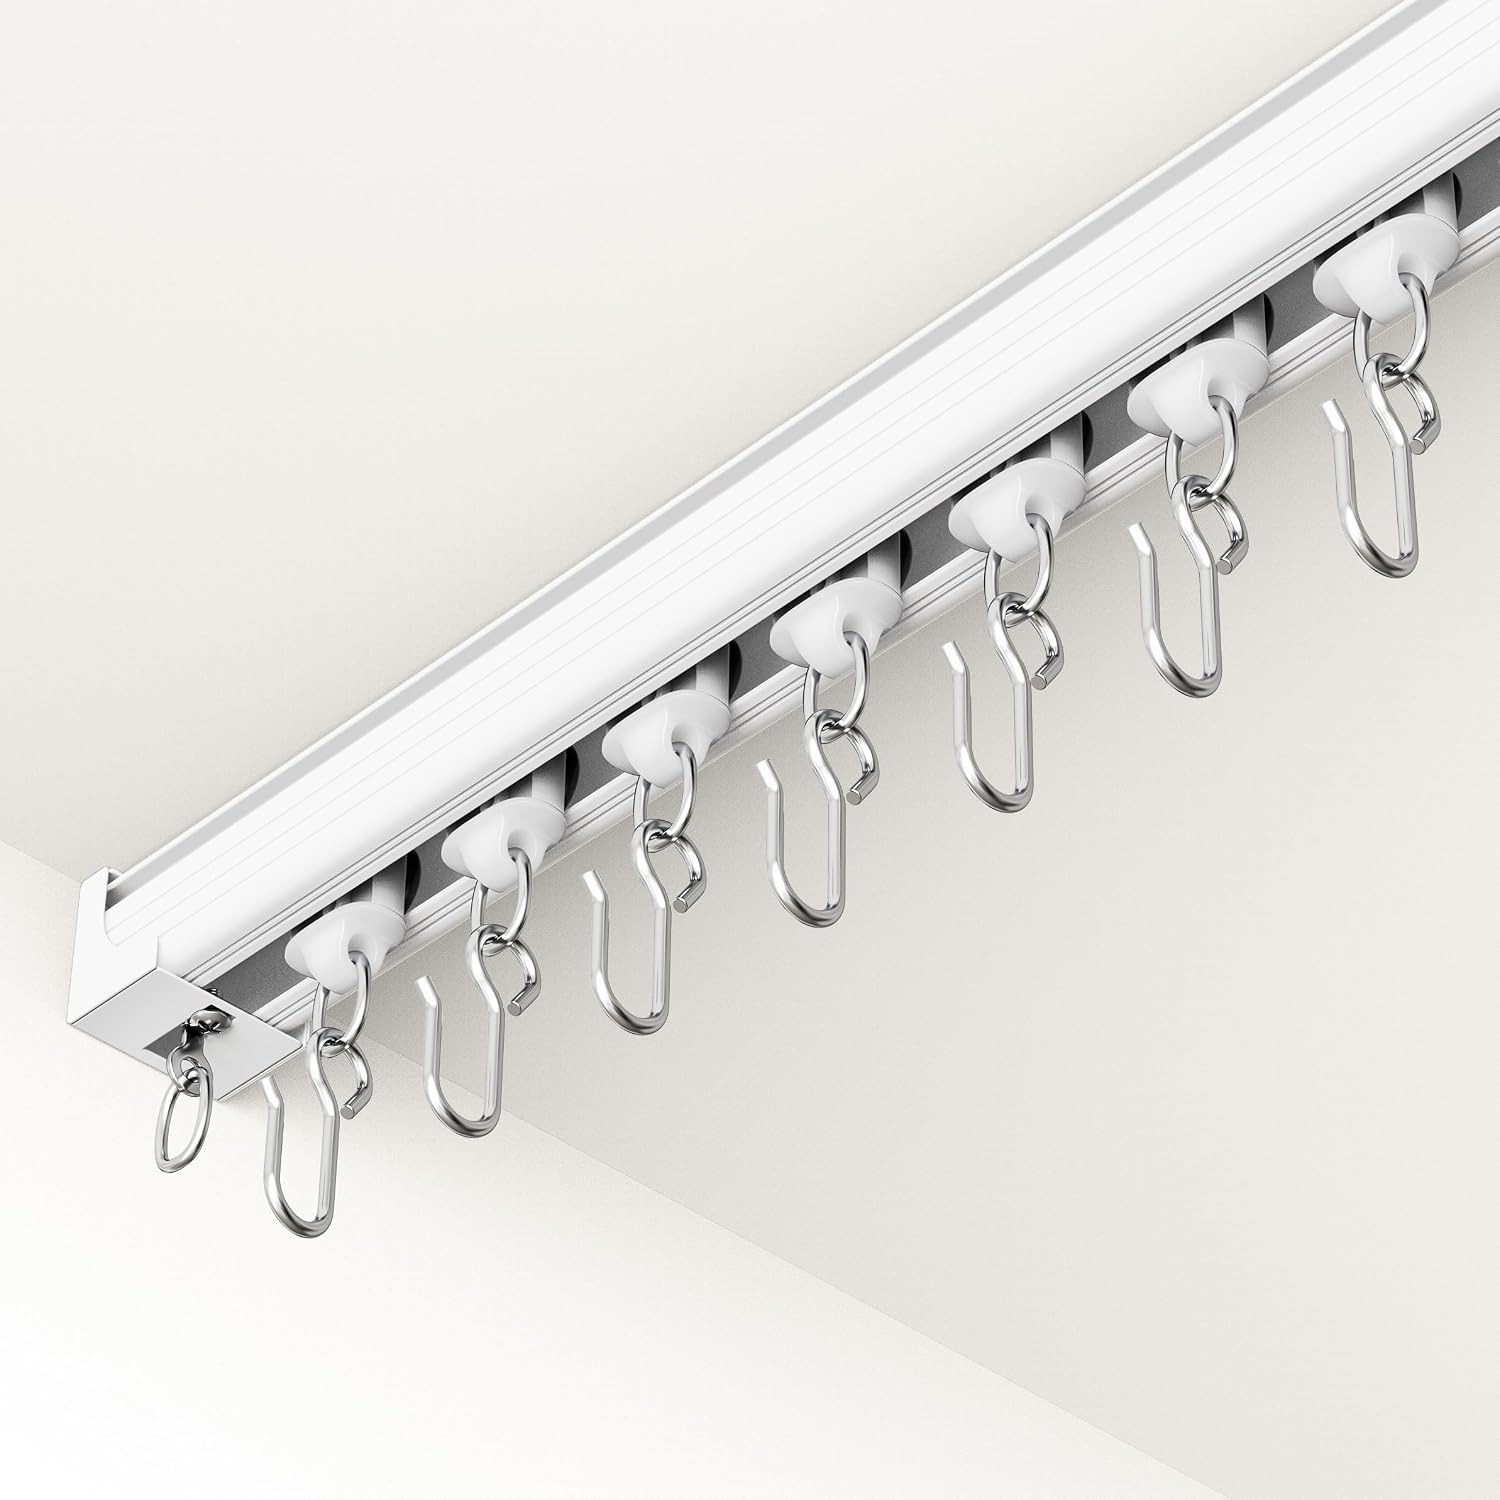
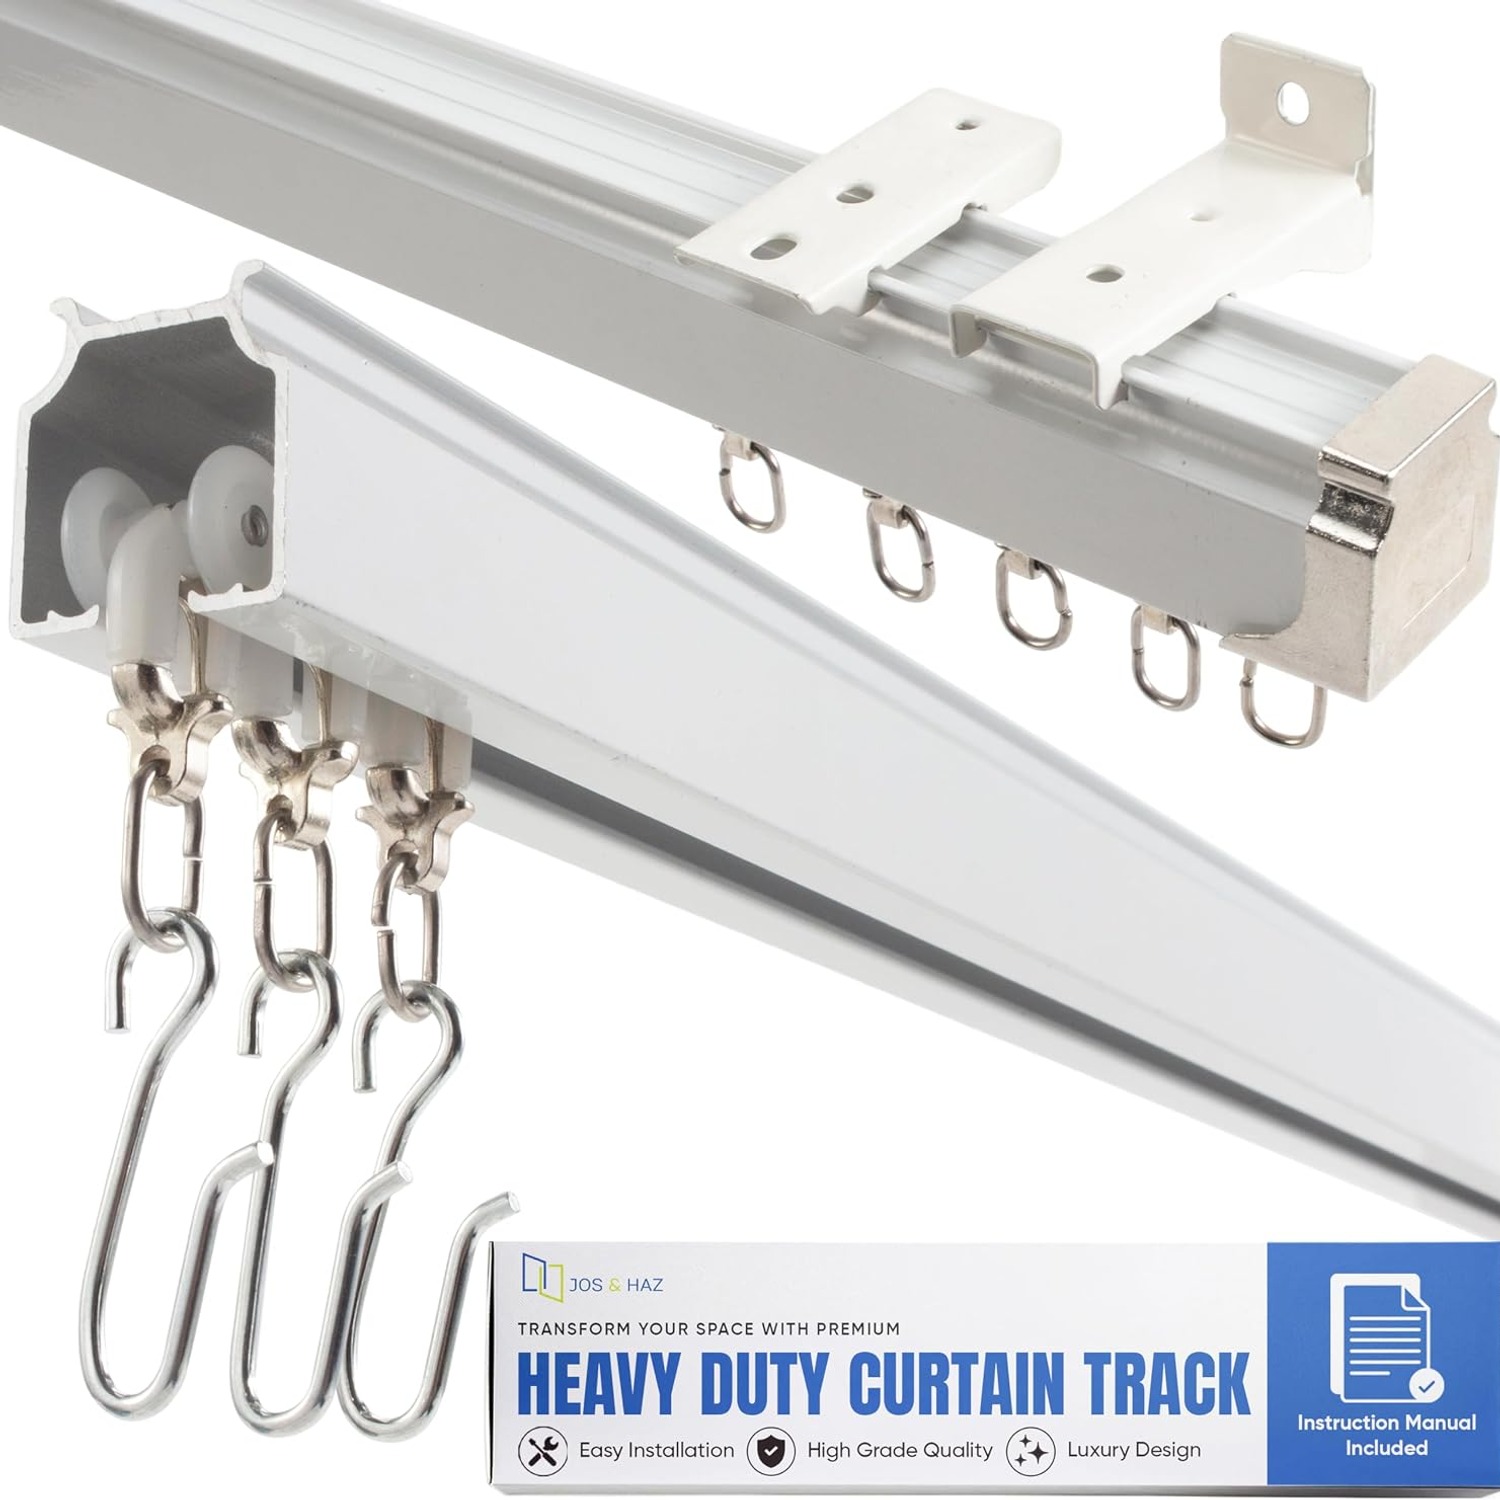
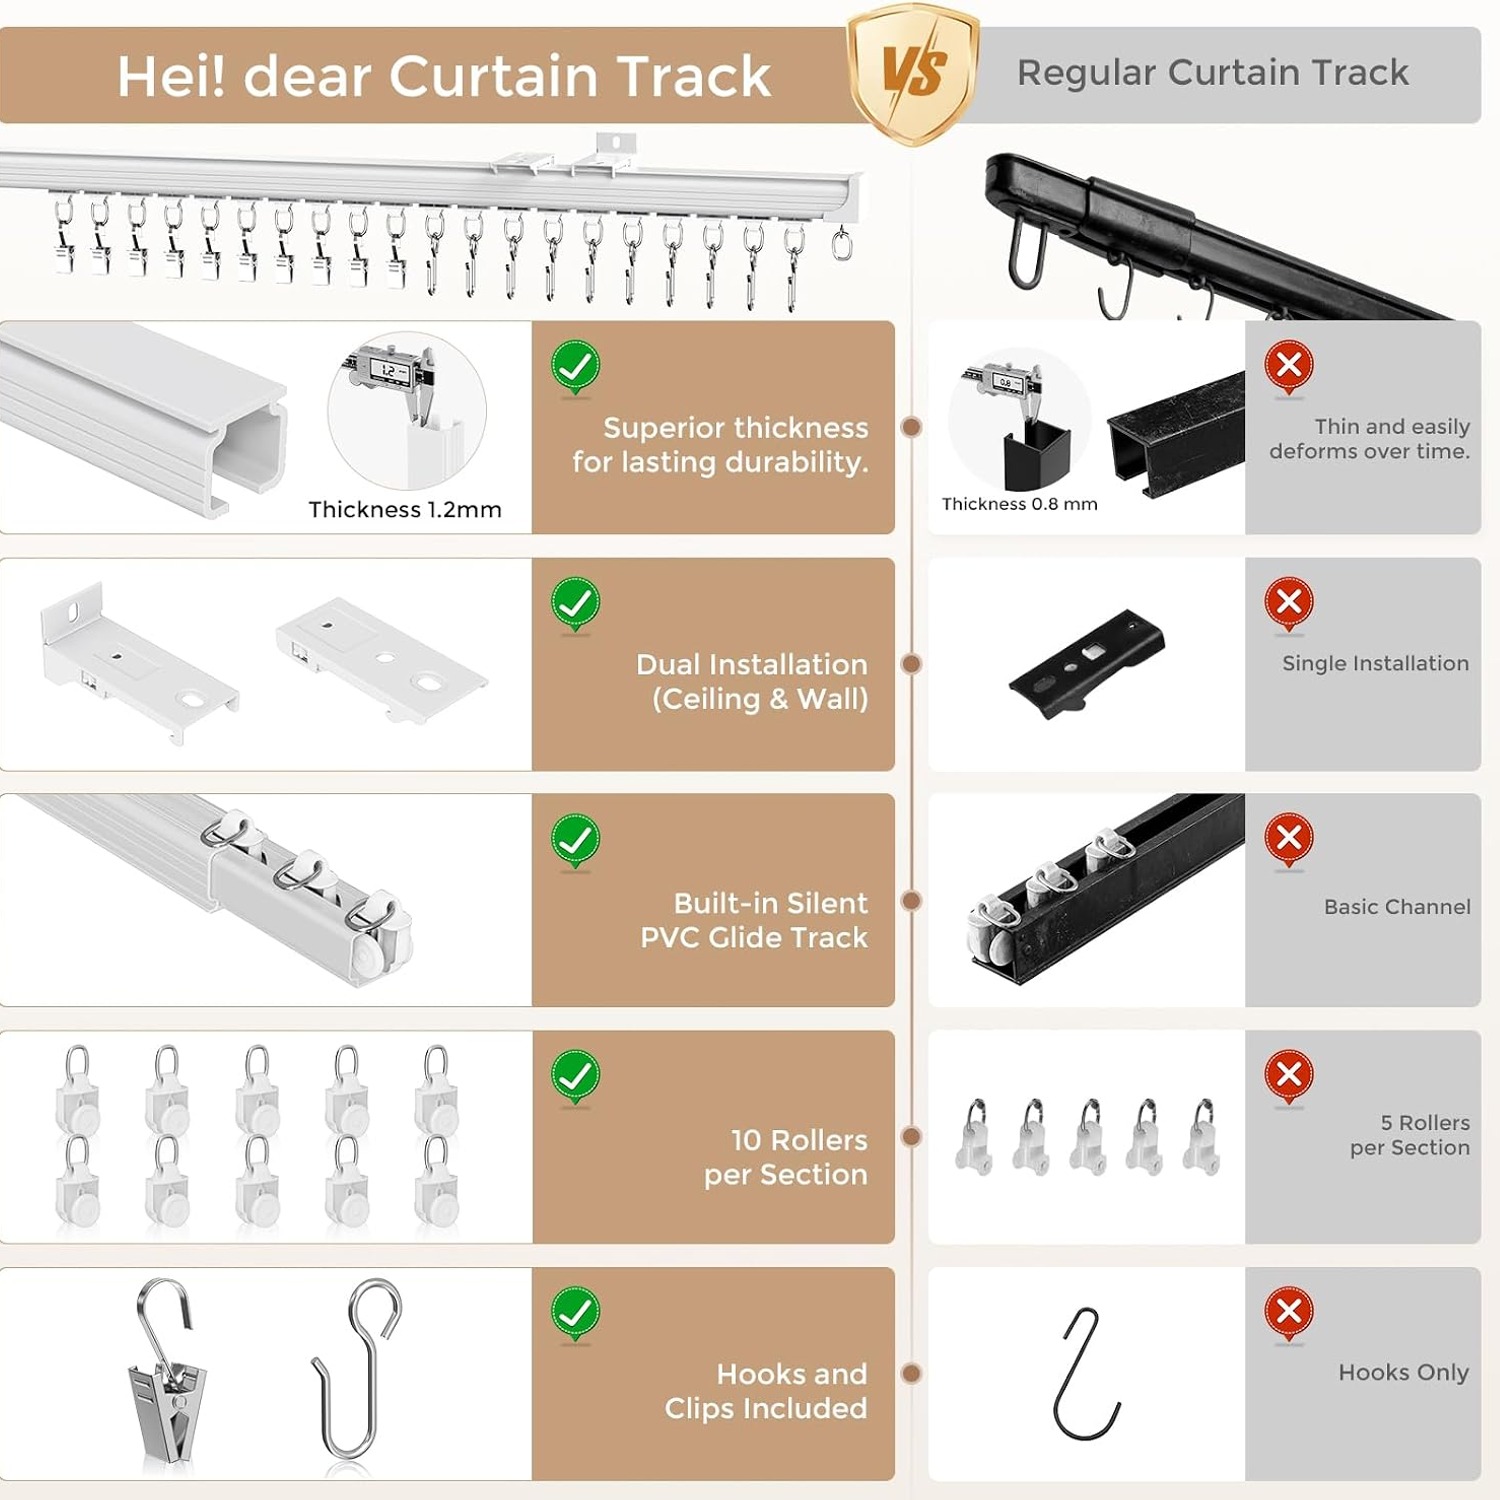
A ceiling curtain track takes a different approach. Instead of hanging rings on the outside of a tube, it puts small rollers inside an aluminum channel. The channel is rigid along its length, so it does not droop. The rollers sit on a smooth plastic-on-metal contact, so they glide quietly. And because the whole thing fixes overhead, you get a clean line where the ceiling meets the curtain rather than a row of visible brackets.
This kit covers 9 to 12 feet, which is the range where track makes the most obvious difference. It is also the range that covers the jobs people most often need solved, including wide windows, open doorways, studio dividers and privacy screens.
How the system works
Four track sections ship in the box along with three connectors and two end caps. The connectors slide into the channel ends and hold two sections in line, with the inside of the channel staying continuous so rollers pass over the join without a bump. The end caps close off both ends so rollers cannot run off the rail.
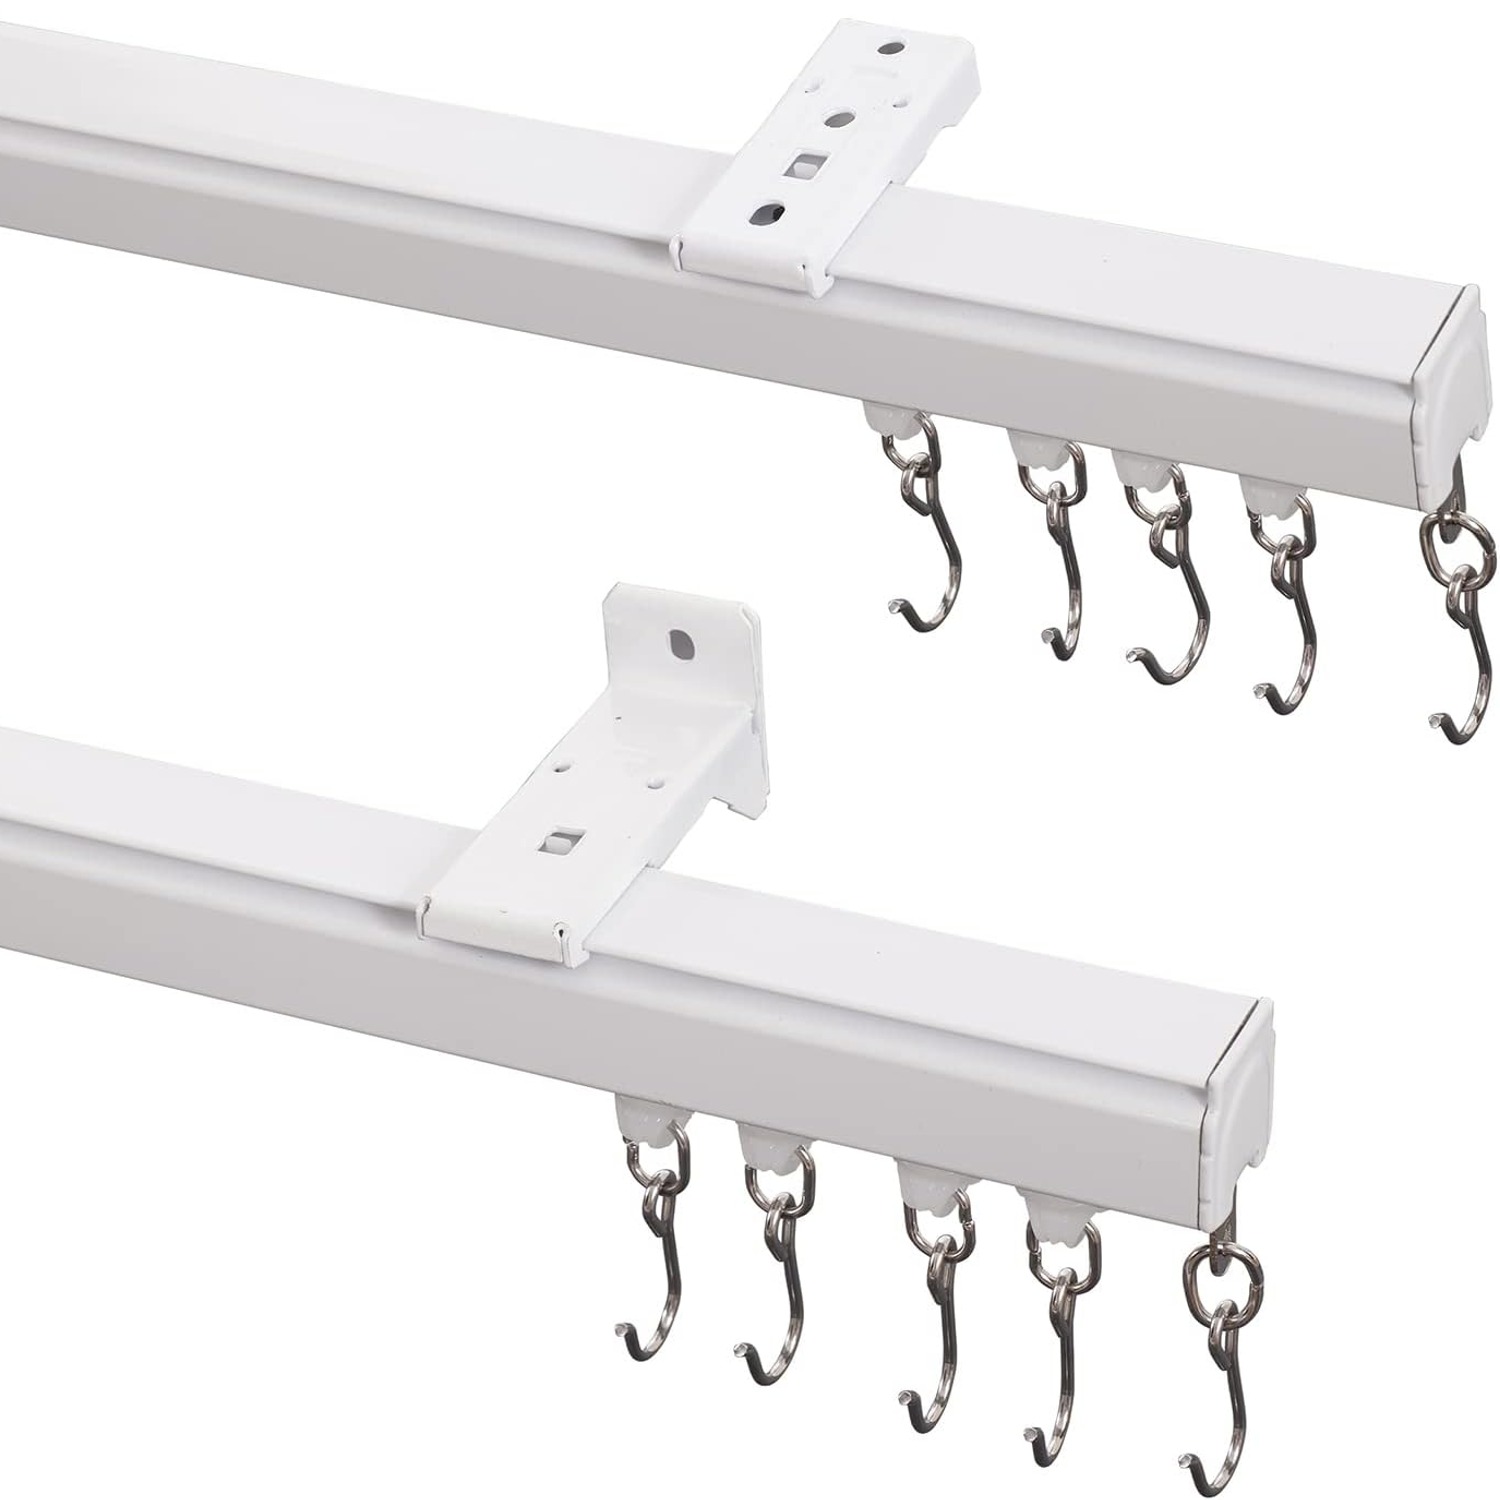
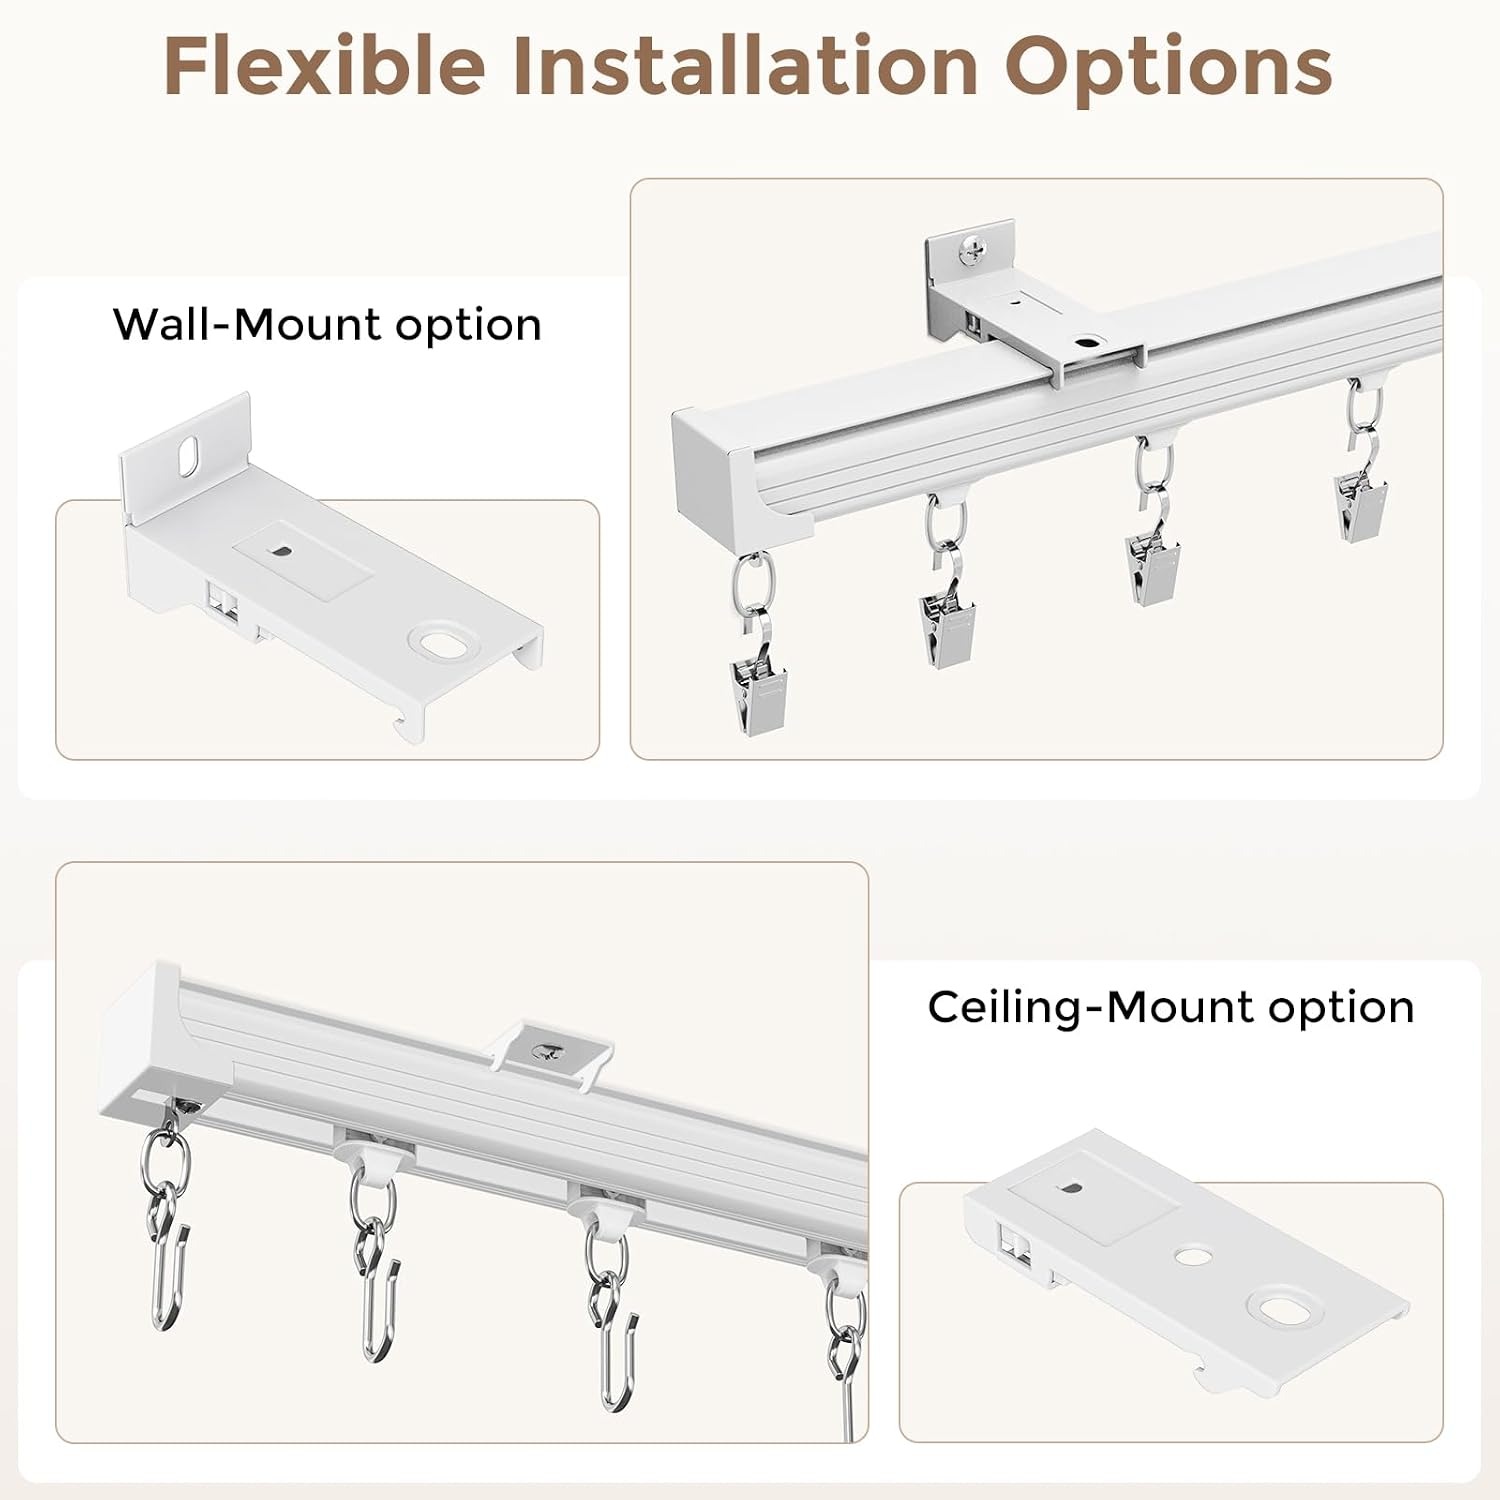
Mounting comes down to two choices. Eight ceiling brackets fix the track directly against a ceiling, a bulkhead or the underside of a beam. Eight wall brackets hold the rail out from a vertical surface, which is the answer when the ceiling is not drillable or when you want the curtain to clear a deep sill. You get both sets, so you can decide on the day, and you can even mix them along one run if the structure changes partway.
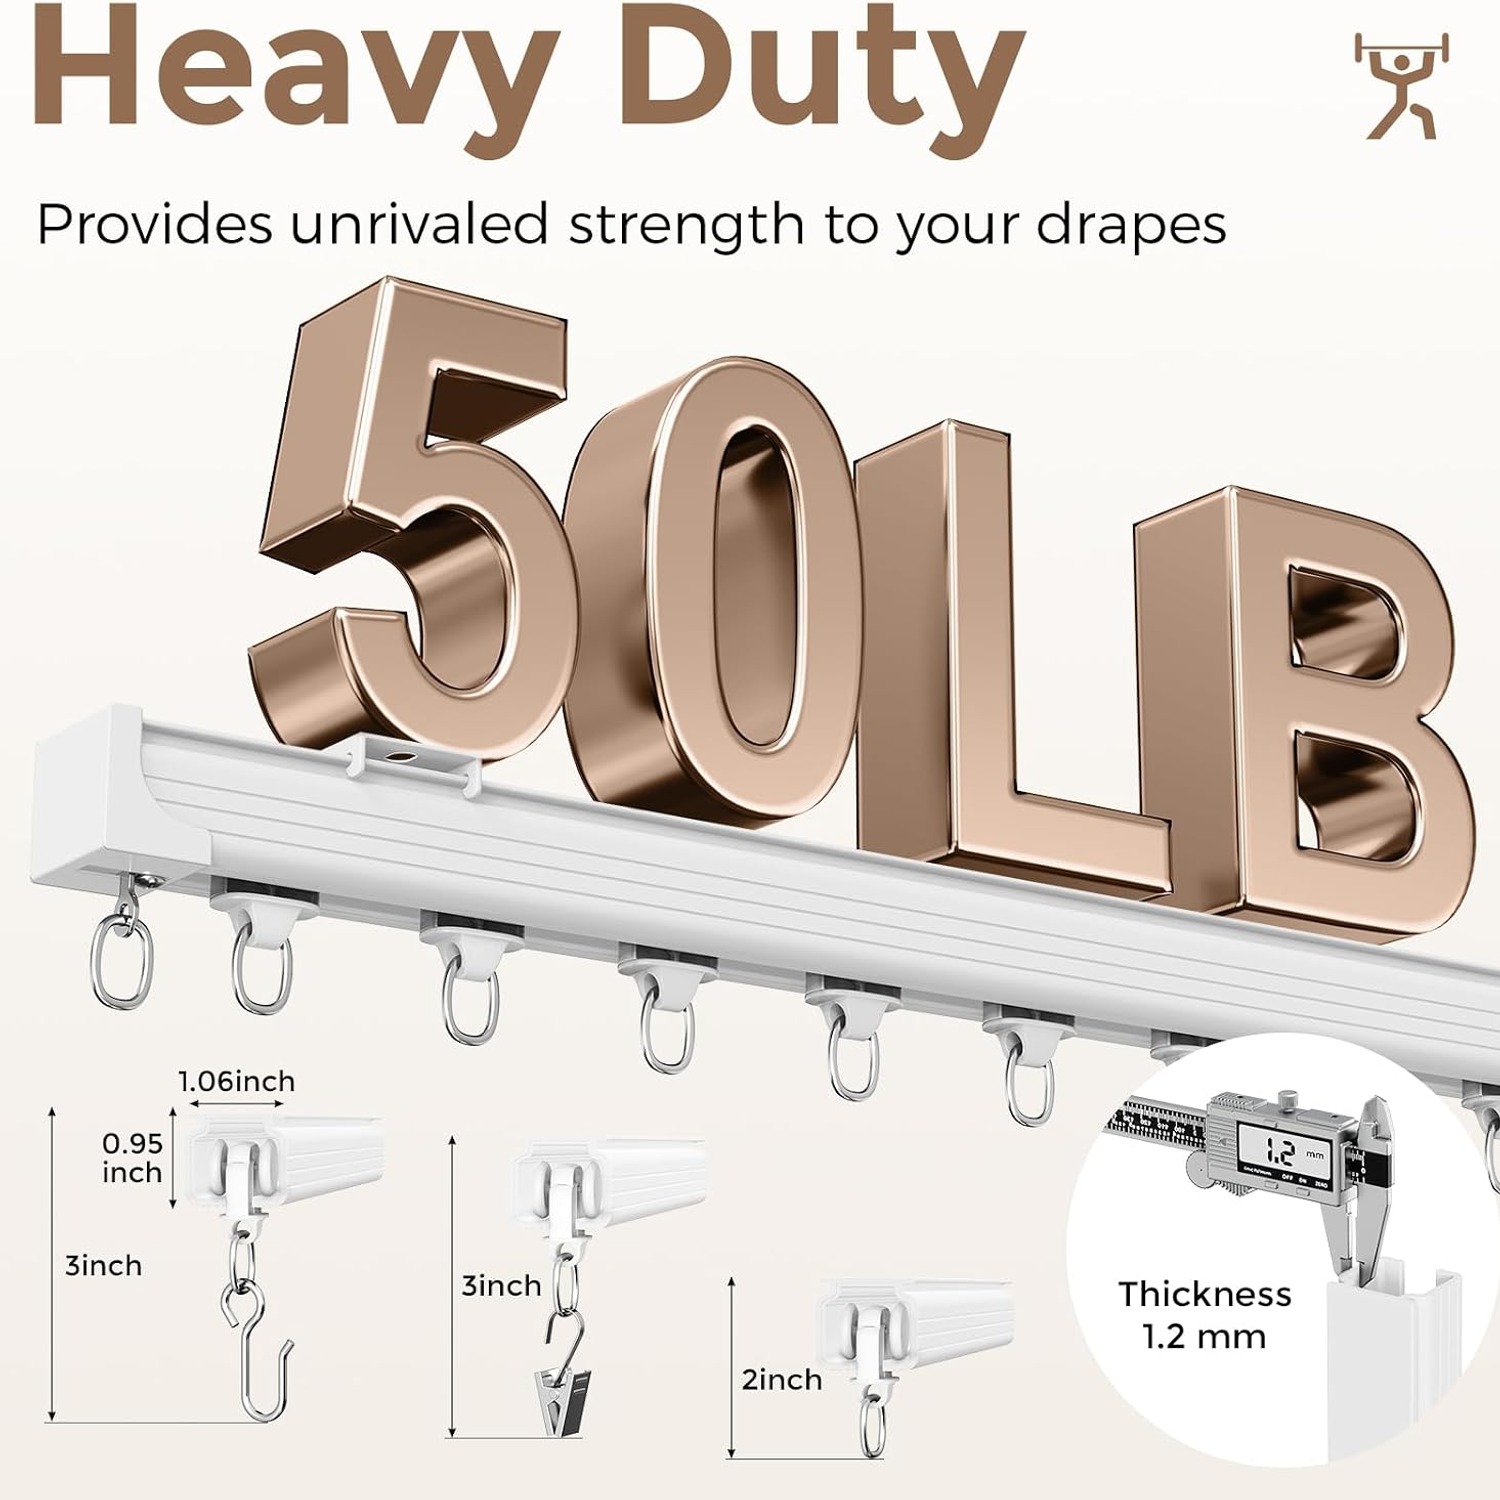
The hanging hardware is generous. Forty rollers go into the channel, and each one takes either an S-hook or a clip. Forty of each are included. S-hooks pass through pleat tape pockets, curtain rings or grommets. Clips bite onto plain fabric, which is useful for sheers, drop cloths and anything without a sewn header.
Load capacity is a maximum recommendation of 50 pounds. That number is for the whole run, spread across the brackets, not for a single point.
Who it suits
People with wide windows. A twelve-foot picture window, a set of bifolds, a patio slider. Track keeps the curtain flat across the width and avoids the midpoint sag a pole shows after a year.
Renters and studio dwellers who need a divider. A room divider curtain track is the cheapest way to turn one space into two without building anything. Hang a heavy panel and you get a sleeping nook, a home office corner or a guest area that folds away in seconds.
Anyone handling a wet area. Shower curtain use is one of the listed applications. Aluminum takes humidity better than bare steel, and a ceiling mount lets you shape a curtain around a bath or open shower where a straight rail will not reach the wall.
Clinics, treatment rooms and care settings. Privacy curtains need to pull smoothly, take daily use and keep the floor clear. A ceiling mounted track does all three. Always check your own building rules for fixings and fabric before you install.
Measuring before you order
Start with the clear span you want the curtain to cover. For a window, that usually means the window width plus four to eight inches on each side so the curtain can stack clear of the glass when open. For a divider, measure wall to wall and decide whether you want the curtain to meet both walls or stop short.
Write that number down and check it sits inside the 9 to 12 foot range. If it does, you are in the right kit. If it lands at, say, ten and a half feet, you will trim the last section with the saw that comes in the box.
Then look up. Note what the ceiling is made of. Timber joists are the easiest case. Drywall with a cavity behind it needs proper hollow-wall anchors rated well above the curtain weight. Concrete needs masonry plugs and a suitable drill bit. The nine screws supplied are a starting point, and most installs end up using fixings chosen for the specific surface.
Finally, weigh the curtain if you can, or at least be honest about it. Lined velvet across twelve feet is heavy. Keep it under the 50 pound figure and space the brackets evenly, with one close to each connector joint.
Fitting it without drama
Mark a level line first. A long run shows up a slope badly, so use a spirit level or a laser and take your time here. Transfer the bracket positions onto that line, keeping one near each end and the rest spread evenly with extra support at the joins.
Drill and fit the brackets before you touch the track. Then assemble the rail on the floor, pushing connectors fully home so the joints are tight. Load the rollers into the channel at this stage, because once the end caps are on, you cannot add more without taking one off again. Count them out so the spacing works for your curtain width.
Lift the rail into the brackets and secure it. Two people make this much easier. One holds the far end level while the other fixes the near end, then you swap. Clip the end caps on, hang the curtain and run it back and forth a few times to check for catching.
If something snags, it is almost always a connector that is not fully seated or a cut end that needs its burr filed off. Both take two minutes to fix.
Hanging different curtain styles
Pleated curtains with tape headers are the natural match. Push an S-hook through the tape pocket and onto the roller eye, repeating at regular intervals.
Grommet or eyelet curtains work too. Run the S-hook through the eyelet rather than the fabric itself. The hook does the job the pole normally would.
Ring-top curtains hang from the hook through the ring. It costs you a little height, so measure the finished drop before you cut or hem anything.
Plain panels, sheers and fabric with no header go on the clips. This is also the route for a quick temporary divider made from a drop cloth or a spare blanket.
Keeping it running well
Maintenance on a track like this is light. Wipe the rail with a damp cloth and dry it off. Every few months, pass a dry cloth through the channel to lift dust and lint, because that is what causes stiff movement far more often than worn rollers.
Avoid abrasive pads and solvent cleaners on the white finish. In a bathroom, dry the rail occasionally and keep soap residue out of the channel.
Check the bracket screws once or twice a year. Anything that gets opened and closed every day will loosen a fixing eventually, and a quarter turn with a screwdriver prevents the slow sag that follows.
The short version
If your curtain needs to cross nine to twelve feet, a track beats a pole on almost every count. It stays straight, it stays quiet, and it hides itself against the ceiling. This kit gives you four aluminum sections, both ceiling and wall brackets, 40 rollers, 40 hooks, 40 clips and a saw for trimming, with a maximum recommended load of 50 pounds.
Measure the span, check what your ceiling is made of, and buy fixings to suit. Do that and the install is an afternoon job that quietly improves the room every single day.