

The complete guide
How To Choose And Fit A Flexible Ceiling Curtain Track
The problem with straight rails
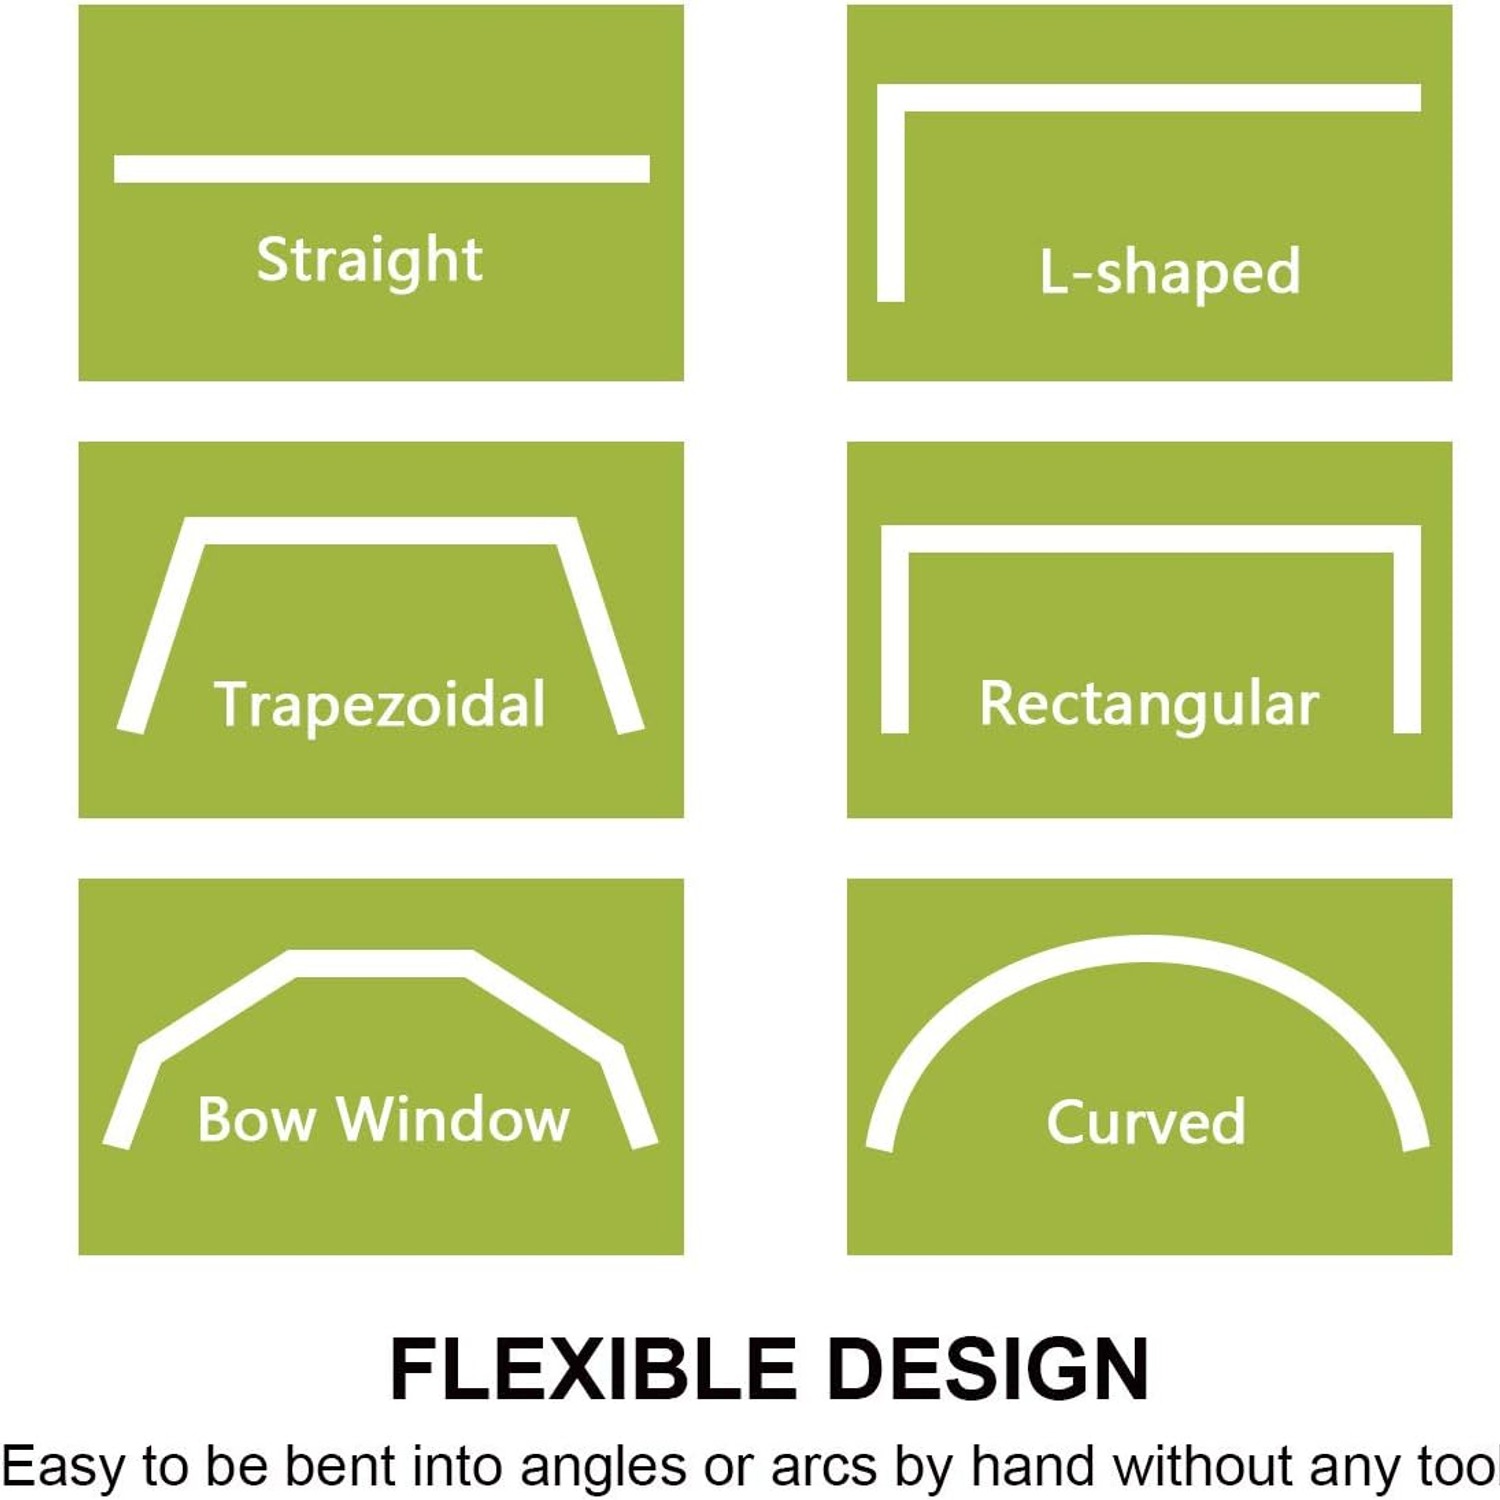
Curtain hardware is designed for a room that does not really exist. The standard pole assumes a flat wall, a rectangular window, and solid masonry above the frame to take the brackets. Walk around most homes and you will find bay windows that step out and back, corner glazing that turns ninety degrees, curved alcoves in older buildings, and open-plan spaces with no wall where you actually want the curtain to hang.
The usual fix is messy. You buy two or three poles, add corner connectors, and accept that the curtain will snag every time it crosses a joint. Or you give up on covering the whole window and hang something that only works for part of it.
A flexible track removes the joints entirely. You get one continuous rail that bends to whatever shape the room is, and one continuous curtain that runs along it without catching.
How a bendable track actually works
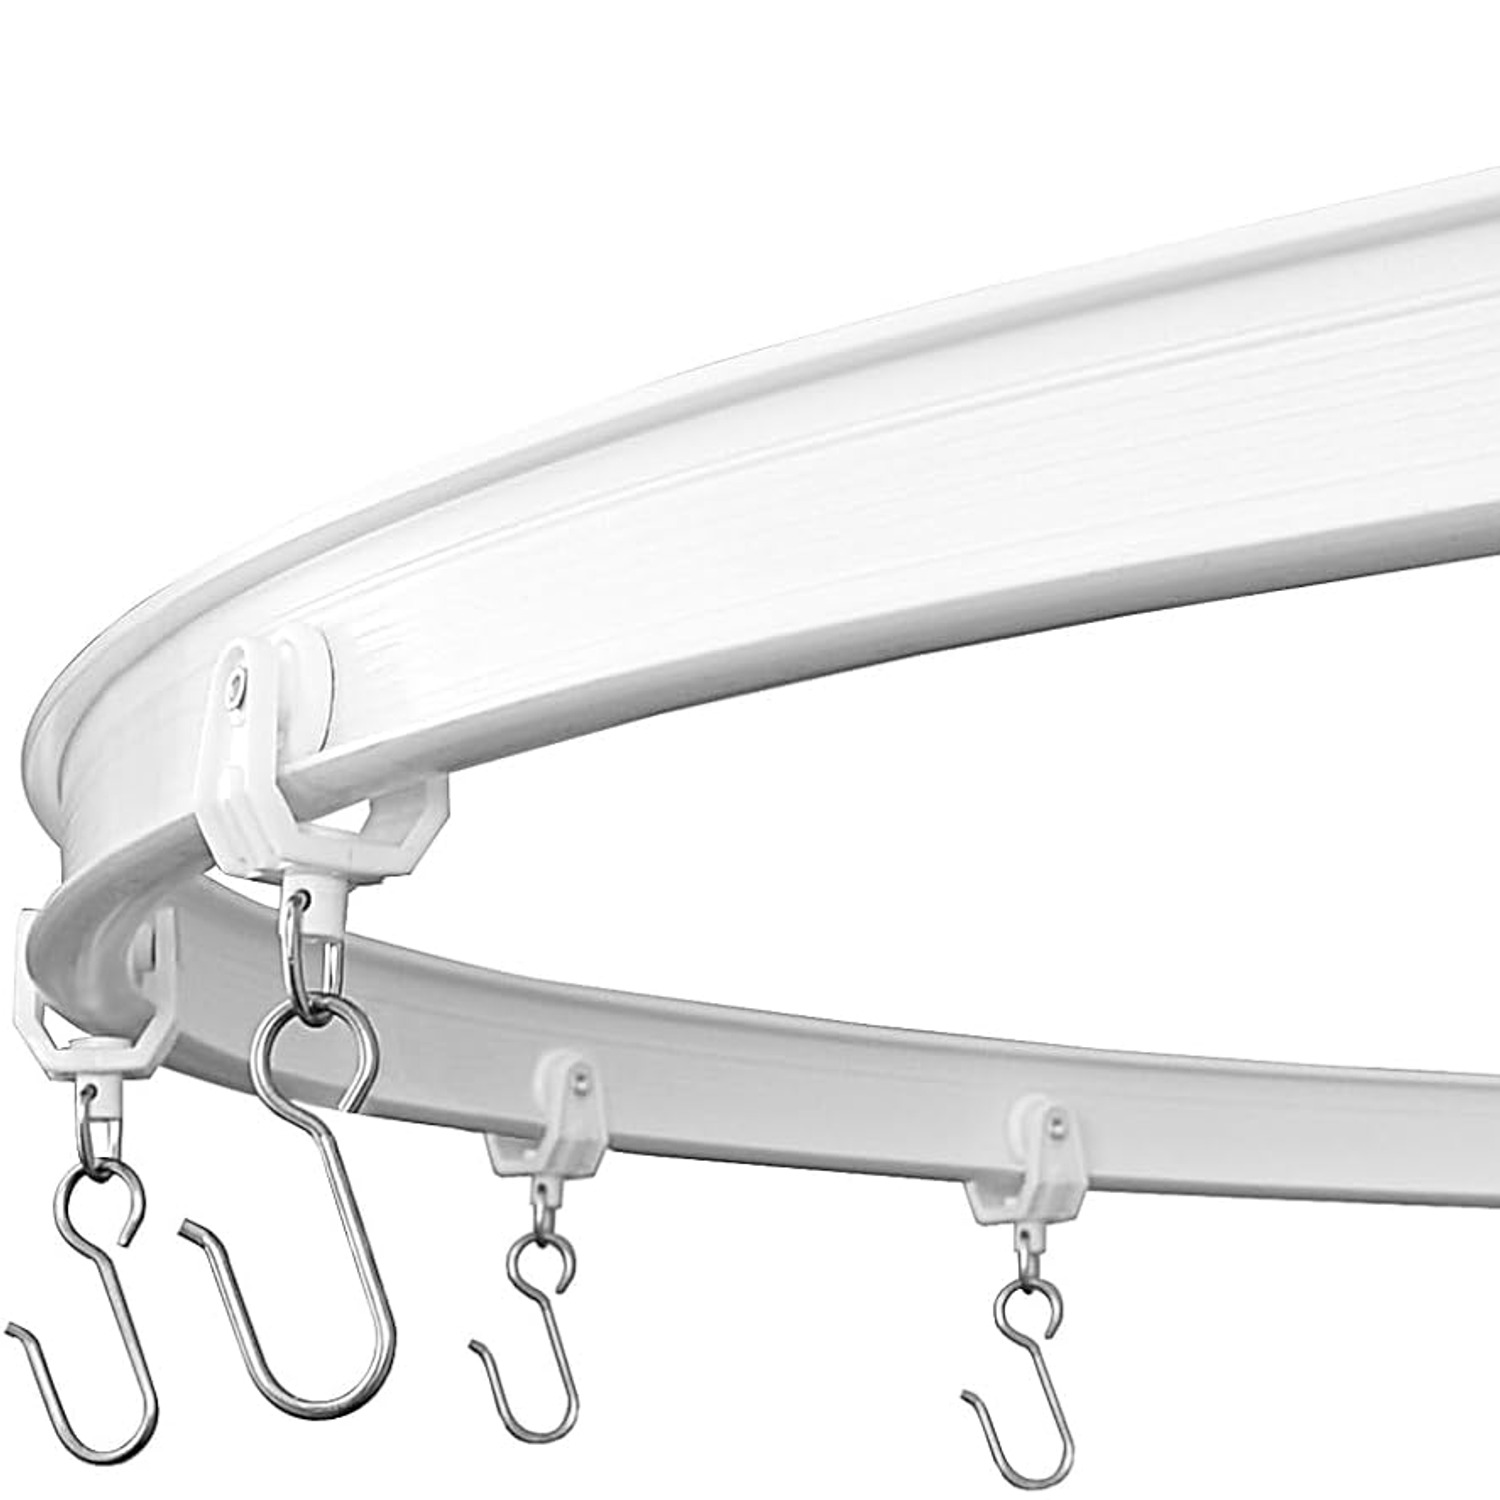
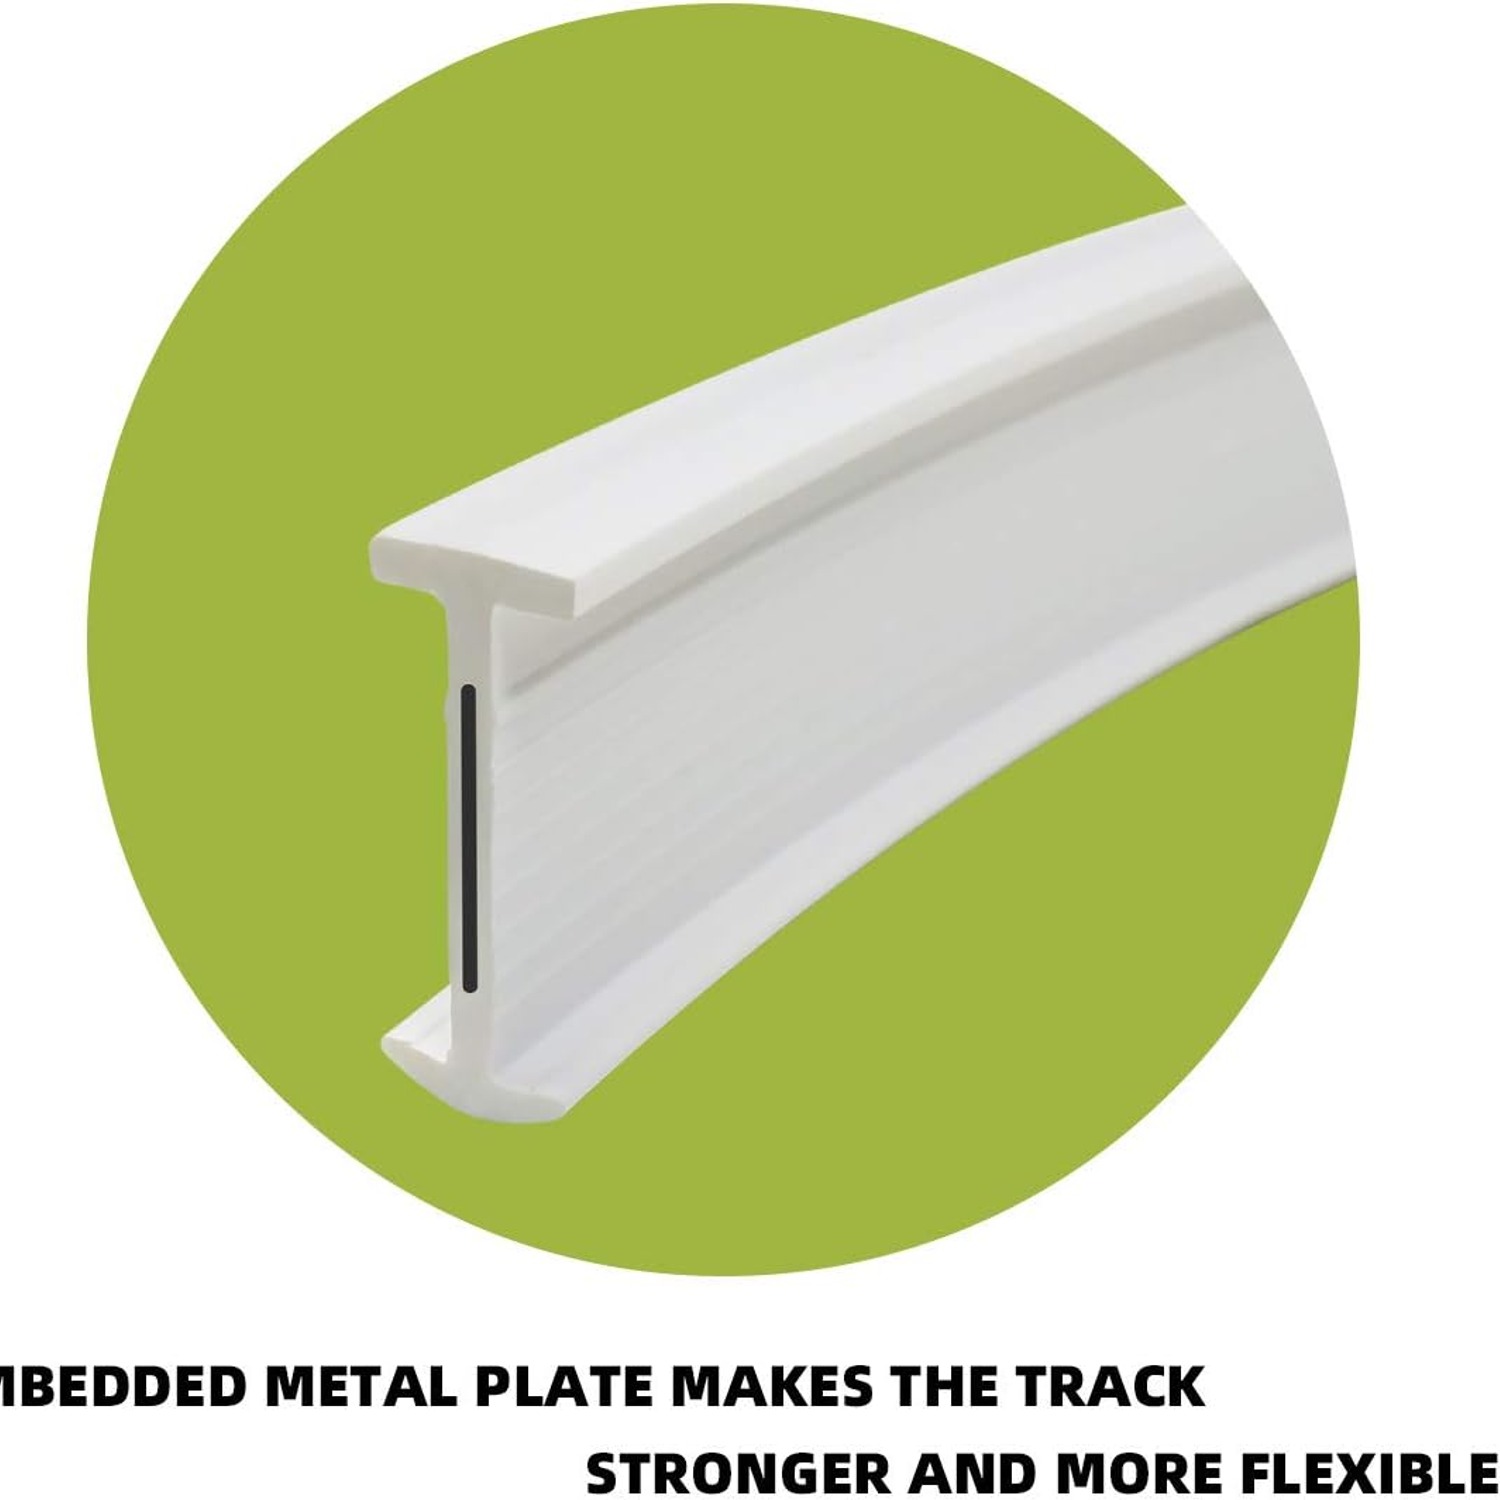
The rail here is a length of PVC with a metal plate embedded inside it. That is the whole trick. PVC on its own would bend beautifully and then sag under a lined curtain within a month. Steel on its own would need to be pre-bent in a workshop. Put the plate inside the plastic and you get a rail that flexes by hand, holds whatever curve you set, and carries real weight.
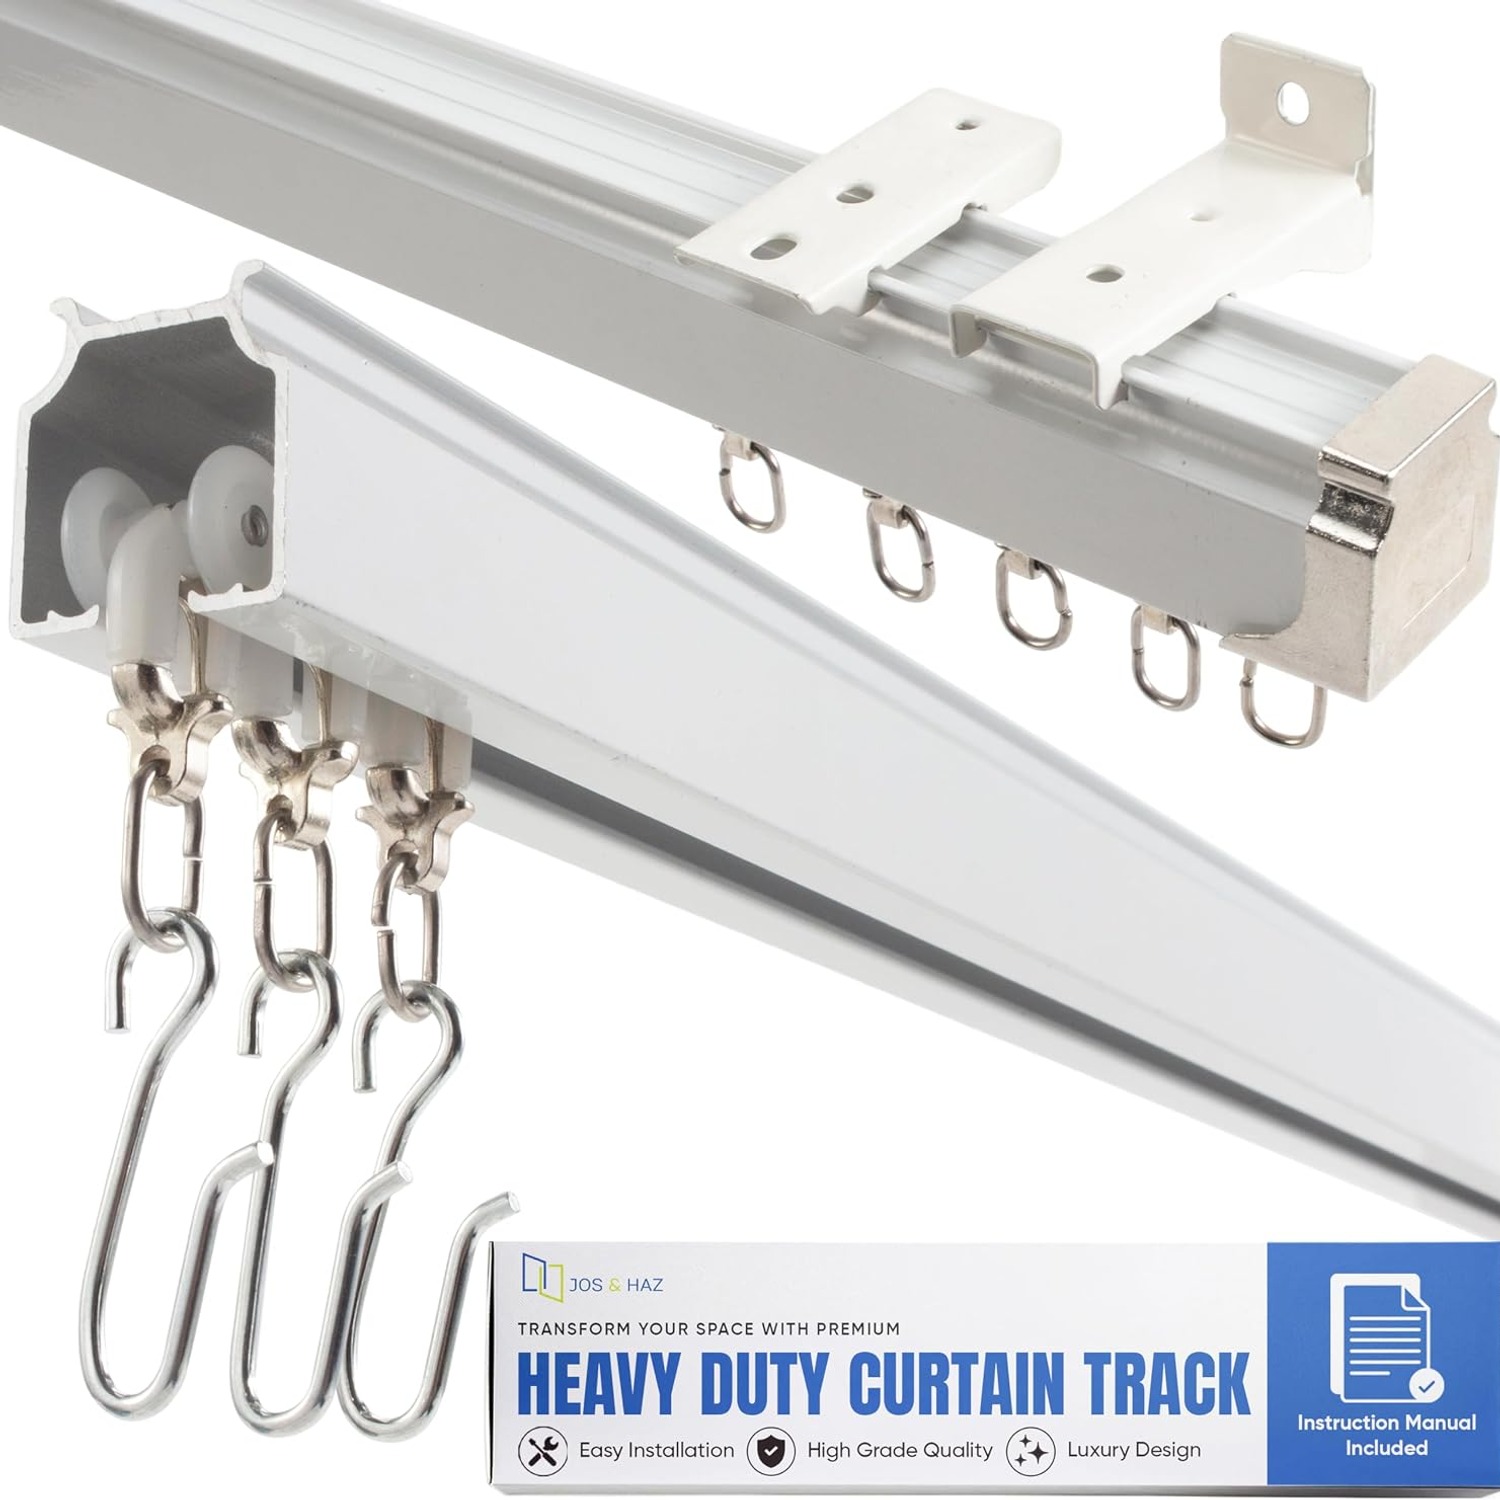
The underside of the rail has a channel running its full length. Carriers sit in that channel with small rollers, and your curtain hooks clip into the carriers. Because the carriers roll rather than slide, the curtain moves quietly and with less effort, which is noticeable on a long run or with heavy fabric.
The listed maximum weight recommendation is 33 pounds. In practice that is plenty for a lined blackout curtain across a standard window. If you are hanging something genuinely heavy, like a thick velvet divider across a wide opening, the answer is not a different rail, it is more ceiling mounts. Load spread across fifteen fixings behaves very differently from the same load on six.
Who this suits
Bay window owners are the obvious group. A bay normally needs a bespoke bent rail or a compromise. This gives you the shape without the custom order.
Van and RV builders are the second group. Vehicle walls curve, and there is usually nowhere solid to fix a bracket above the window. The ceiling structure is the one reliable fixing point, and a rail that bends to match the roof line is exactly what the space needs.
Then there are people dividing rooms. Studio flats, shared bedrooms, a home office carved out of a living room corner. A ceiling track lets you draw a soft wall wherever you want one, including around a corner, and pull it back out of the way when you do not need it.
Shower areas and photography backdrops round out the list. Both benefit from a rail that can wrap a corner, and both benefit from having the hardware overhead rather than floor-standing.
Measuring before you cut
Take your time here, because a cut rail cannot be uncut.
Run a tape along the exact line you want the curtain to follow. In a bay, that means measuring each face of the bay separately and adding them together, not measuring the straight line across the opening. Around a corner, measure both legs.
Then add overlap. You want the curtain to extend past the window on each side so light does not leak down the edges, and you want the stacked curtain to sit off the glass when it is open. Fifteen to twenty centimeters each end is a reasonable allowance. For a centre-opening pair, add a little extra so the two curtains overlap in the middle.
Finally, check what your ceiling is made of. A joisted timber ceiling with drywall needs the mounts fixed into joists, or into proper drywall anchors if you cannot hit one. Concrete needs a masonry bit and suitable plugs. The kit comes with 34 sets of screws, which suits a straightforward fixing, so budget for anchors if your ceiling needs them.
Fitting it without drama
Mark your line on the ceiling first, using a chalk line or a long straight edge for the straight sections and freehand pencil marks around the curves. Measure down from the window frame rather than across from a wall, since walls are rarely parallel.
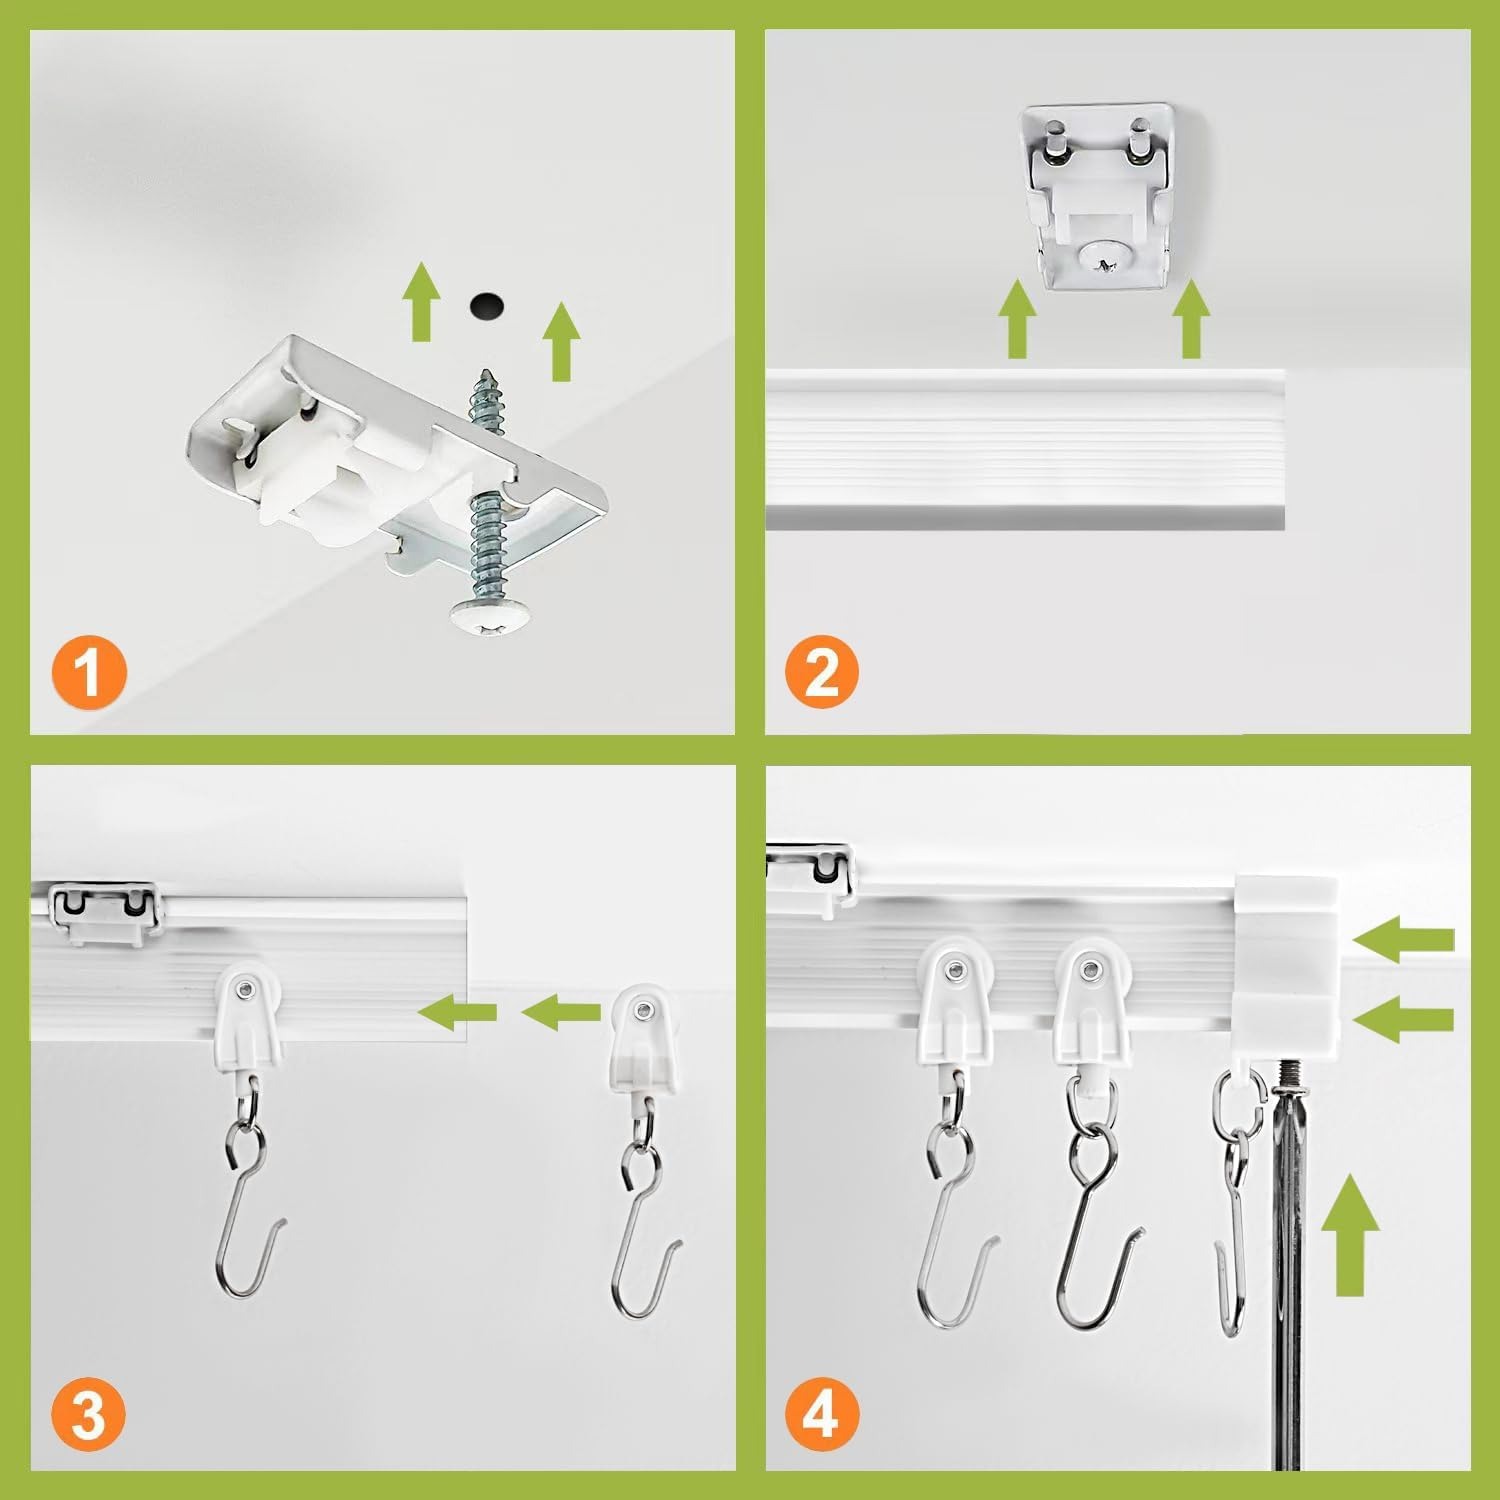
Cut the track with a fine-tooth hacksaw. A coarse blade will tear the PVC. File the cut end smooth so a carrier can pass over it without catching, because you will need to feed the carriers in from an end.
Load the carriers before you fit the last mount. This is the step people forget. Once both ends are secured, there is no way to add carriers without taking a section back down. Count them out generously, roughly one every 10 to 15 cm of curtain width, and add two or three spares.
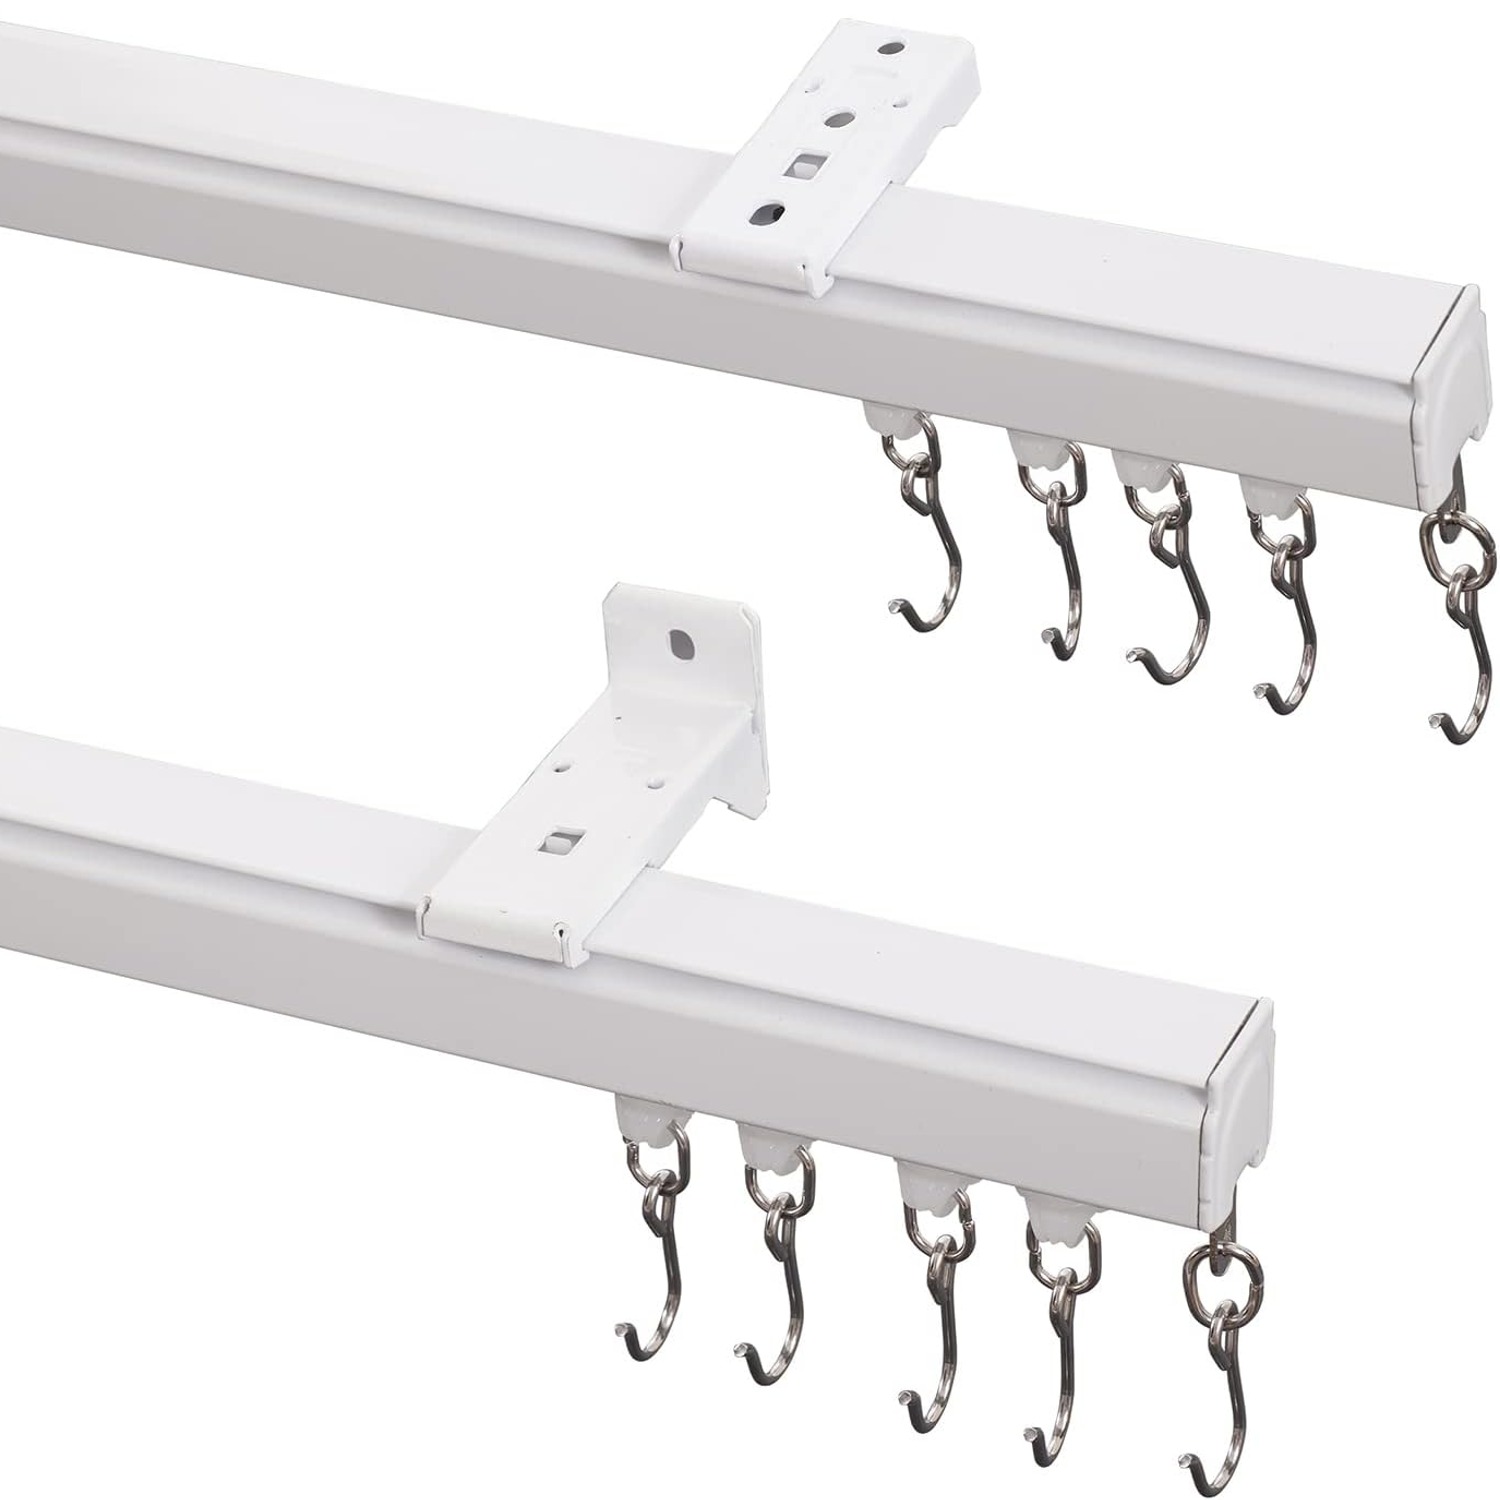
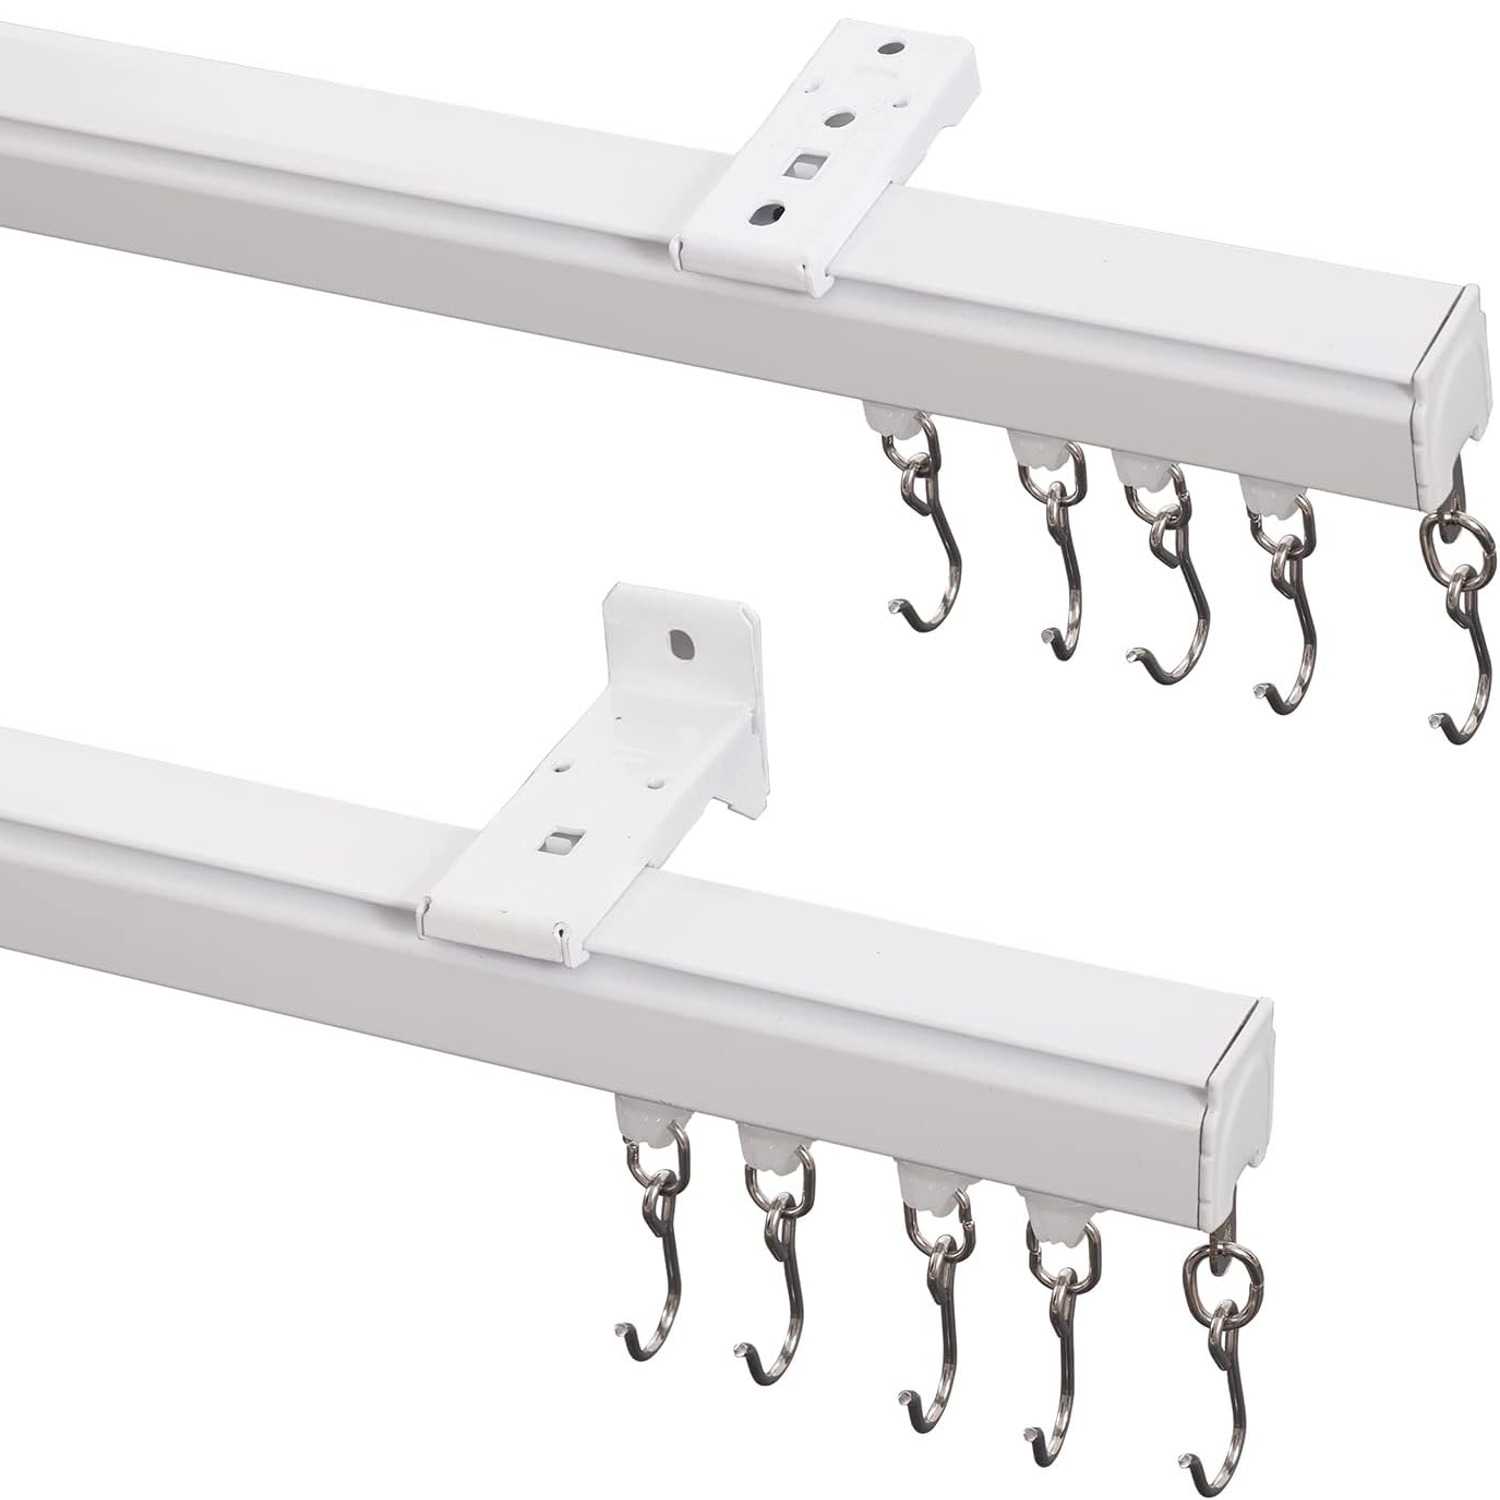
Fix the mounts working from one end to the other. Space them around 40 to 50 cm apart on straight runs and closer on bends, typically one just before the curve, one in the middle of it, and one just after. Tighten each as you go so the rail holds its line rather than drifting.
With 33 mounts supplied, you have room to be generous. Extra mounts cost you nothing here and they are the single best thing you can do for how the finished rail looks and behaves.
Choosing the right curtain
Any curtain with hook tape will work, since the kit includes 79 hooks. Pencil pleat and pinch pleat headings are the natural match. Tab top and eyelet curtains designed to thread onto a pole are the ones to avoid, unless you are happy to add hook tape to the back.
Because the rail mounts to the ceiling, measure your curtain drop from the ceiling, not from the window frame. That is the whole point of ceiling mounting. A full-height curtain makes a low room look taller and seals the window better against draughts, and a curtain cut for a wall-mounted pole will leave an awkward gap.
For dividers and backdrops, lighter fabric is easier to live with. You will be drawing it several times a day, and a lighter curtain is kinder to both the rail and your arm.
Looking after it
There is very little to do. Wipe the rail with a dry or slightly damp cloth when you dust the room. Skip solvents, bleach and scouring pads, which mark PVC permanently.
If the carriers start to feel stiff, the cause is almost always dust in the channel rather than a worn roller. Slide the carriers off at a cut end, run a cloth through the channel, and put them back.
Once or twice a year, push up gently on the rail at a few points and check nothing has loosened. Screws above a curtain that gets drawn twice a day do occasionally work free. Thirty seconds with a screwdriver sorts it.
The short version
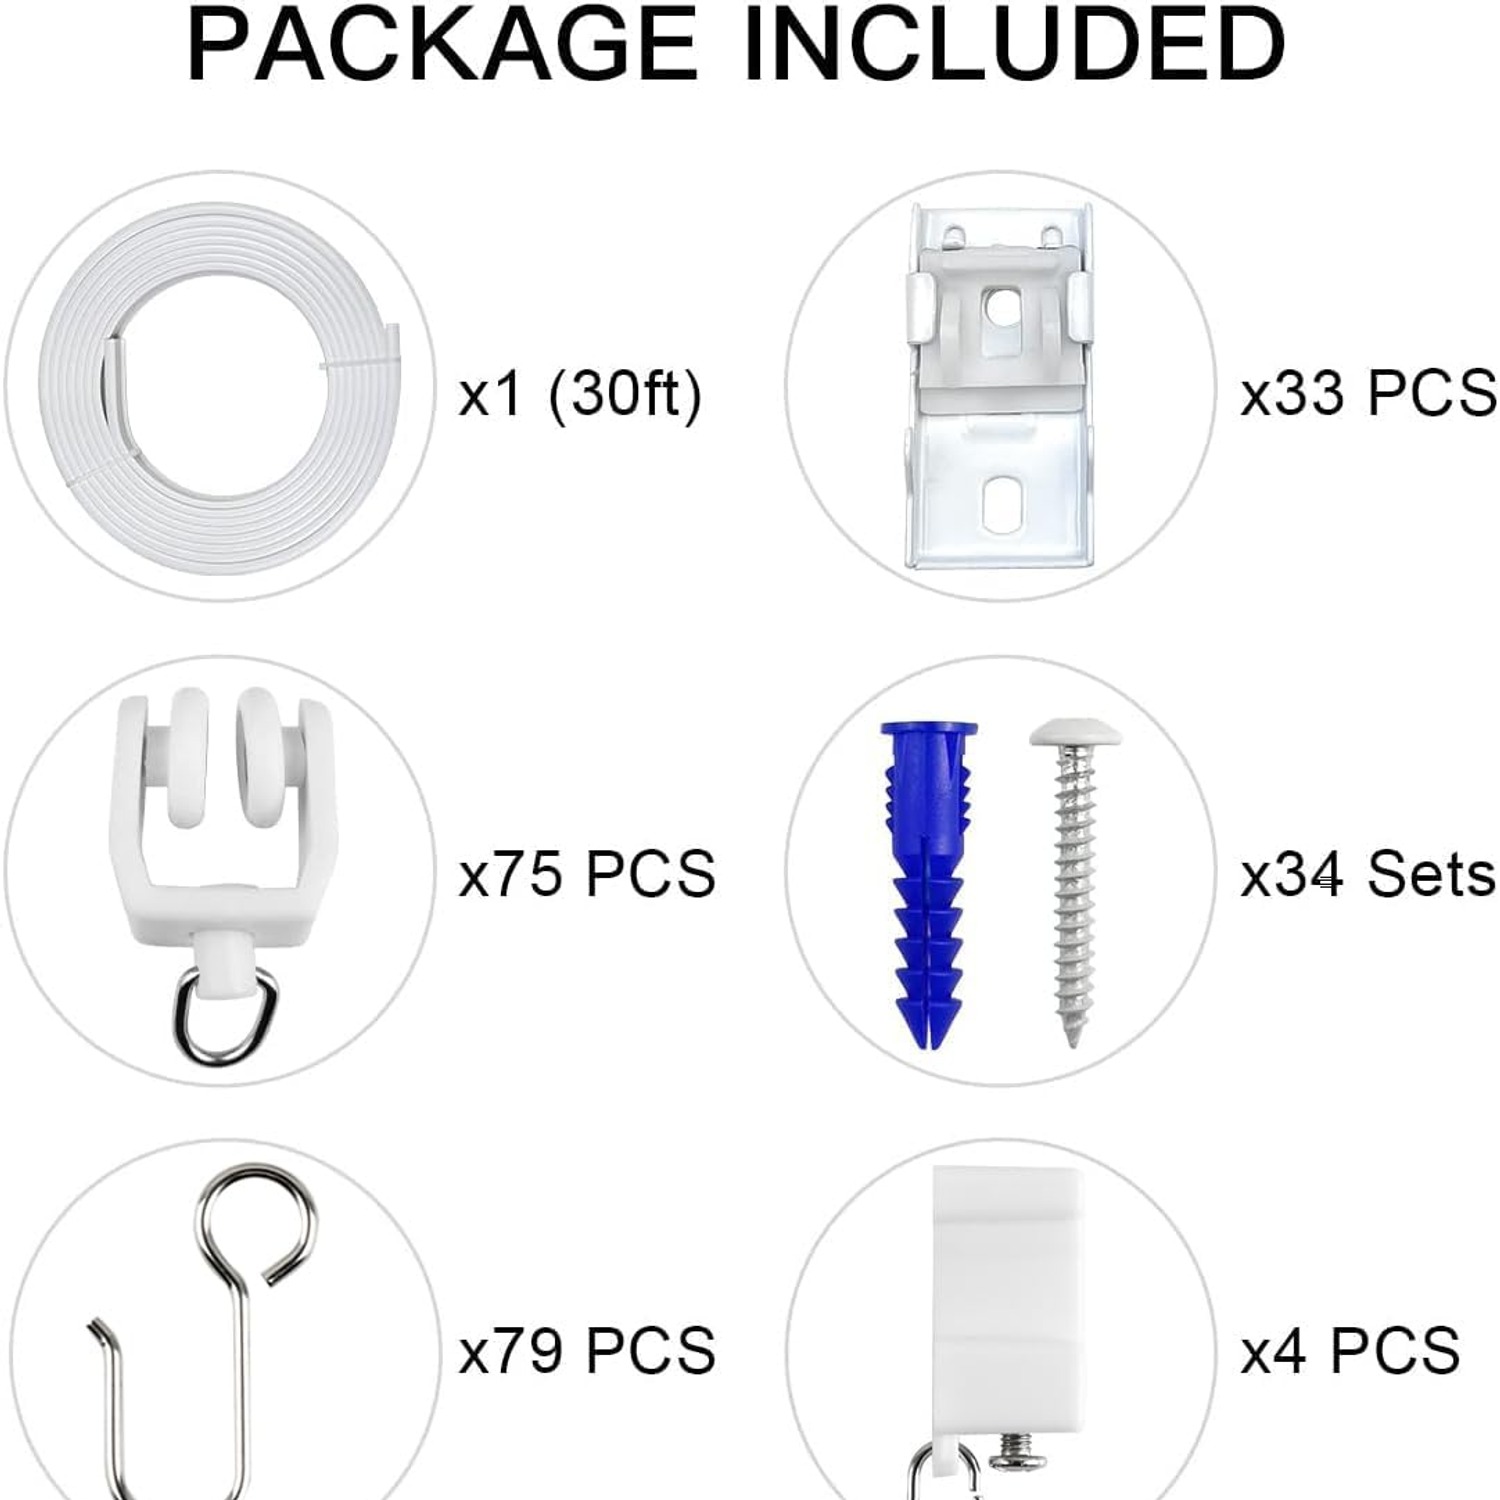
If your window or your room is not a neat rectangle, a bendable rail solves the problem that a pole cannot. This kit gives you 30 ft of white track with a steel plate inside for strength, 33 ceiling mounts, 34 screw sets, 75 carriers and 79 hooks, rated to 33 pounds.
Measure the full run including corners, add overlap at each end, cut with a fine-tooth hacksaw, load your carriers before the last mount goes in, and space the fixings closer than you think you need to. Do that and you end up with one clean curve of fabric where most people settle for three rails and a compromise.